
Related Manuals for Kohler Mira Honesty


Summary of Contents for Kohler Mira Honesty
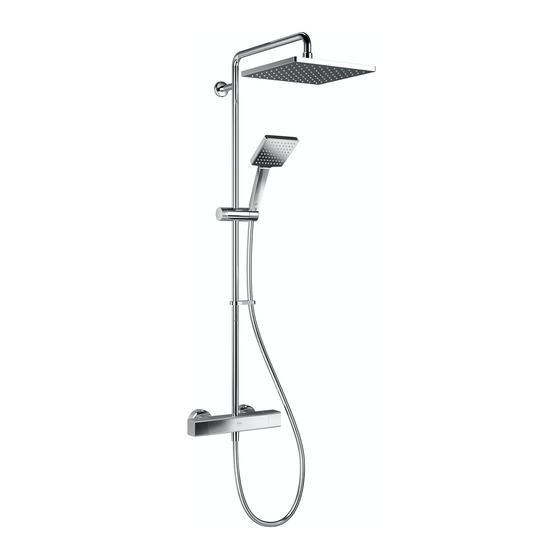
- Page 1 Mira Honesty ERD Bar Valve and Fittings These instructions must be left with the user Installation and User Guide 1333238-W2-A...
- Page 2 1333238-W2-A...
-
Page 3: Recommended Usage
Introduction Thank you for choosing a Mira shower. To enjoy the full potential of your new shower, please take time to read this guide thoroughly, and keep it handy for future reference. Guarantee For domestic installations, Mira Showers guarantee this product against any defect in materials or workmanship for a period of five years from the date of purchase (shower fittings for one year). -
Page 4: Pack Contents
Pack Contents 2 x Wall Plugs 1 x Wall Fixing Bracket 2 x Fixing Screws 1 x Grubscrew 1 x Bar Valve 1 x Riser Arm 1 x Concealing 2 x Wall Brackets Cover ... -
Page 5: Safety Information
DO NOT perform any unspecified modifications, drill or cut holes in the shower or fittings other than instructed by this guide. When servicing only use genuine Kohler Mira replacement parts. If the shower is dismantled during installation or servicing then, upon completion, an inspection must be made to ensure all connections are tight and that there are no leaks. - Page 6 DO NOT connect the outlet of the shower to any tap, control valve, trigger handset or showerhead other than those specified for use with this shower. Only Kohler Mira recommended accessories must be used. The showerhead must be descaled regularly. Any blockage of the showerhead or hose may affect showering performance.
-
Page 7: Specification
Specification Pressures • Max Static Pressure: 10 Bar. • Max Maintained Pressure: 5 Bar. • Min Maintained Pressure: (Gas Water Heater): 1.0 Bar (for optimum performance supplies should be nominally equal). • Min Maintained Pressure (Gravity System): 0.1 Bar (0.1 bar = 1 Metre head from cold tank base to shower handset outlet). -
Page 8: Installation
Installation Suitable Plumbing Systems Gravity Fed: The thermostatic mixer must be fed from a cold water cistern (usually fitted in the loft space) and a hot water cylinder (usually fitted in the airing cupboard) providing nominally equal pressures. Gas Heated System: The thermostatic mixer can be installed with a combination boiler. - Page 9 Position the shower unit where the controls are at a convenient height for the user. Position the showerhead so that the water sprays in line with the bath or across the opening of a shower cubicle. The installation must not cause the shower hose to be kinked during normal use or obstruct the use of the control handles.
- Page 10 Installation of the Bar Valve Fast Fix Kit Before installing the pipework, please ensure that there is a minimum of 1260 mm height clearance to allow for the rigid riser and overhead to be installed above. If installing in a restricted height area, a shorter riser rail can be ordered as a spare part. 25 mm 25 mm COLD...
- Page 11 Ø6 mm Install the fixing screws and tighten. Install the wall plugs. Install the olives and the connectors. Tighten finger tight and then another Turn on the water supply and flush the 1/4 to 1/2 turn. pipework. Assemble the bar valve with a sealing washer / filter in each inlet and attach Install the concealing plates.
- Page 12 Installing the Shower Fittings Fit the hose retaining ring and clamp bracket to the middle bar, then screw all three bars together. Fit the wall bracket into the riser arm with the grub screw at the top. Make sure that the lower bar is pushed fully into the valve to engage the seal. Failure to do so will position the wall bracket incorrectly and may result in a leak from around the outlet of the valve.
- Page 13 Riser Overhead O-seal Wall fixing 2.5 mm Bracket Hexagonal Wrench Riser Showerhead Concealing Cover Remove red protective cover Middle or white label before fitting Hose Retaining Ring Clamp Bracket Note! Make sure this bar is pushed fully into the top of the O-seal valve and grub screw secured.
- Page 14 Commissioning Maximum Temperature Setting Follow this procedure to check and adjust the temperature before using the shower for the first time. Make sure that all users are familiar with the operation of the shower. This guide is the property of the homeowner and must be left with them following installation completion.
-
Page 15: Operation
Operation Flow Operation Use the flow handle to turn the shower on / off and select either the overhead or the showerhead. Adjusting the Temperature Use the temperature handle to make the shower warmer or cooler. User Maintenance WARNING! PLEASE OBSERVE THE FOLLOWING TO REDUCE THE RISK OF INJURY OR PRODUCT DAMAGE: DO NOT allow children to clean or perform any user maintenance to the shower unit without supervision. - Page 16 Use your thumb or a soft cloth to wipe any limescale from the nozzles. Inspecting the Hose Important! The shower hose should be inspected periodically for damage or internal collapse, internal collapse can restrict the flow rate from the showerhead and may cause damage to the shower.
-
Page 17: Fault Diagnosis
Fault Diagnosis If you require a Mira trained service engineer or agent, refer to ‘Customer Service’. Symptom Cause / R ectification Water too hot or Inlets reversed (hot supply to cold inlet of shower unit), too cold rework inlet pipework. Check the washer ... -
Page 18: Spare Parts
Spare Parts 1836.179 Fixing Kit 1836.174 1836.171 Washer / Filter Concealing (x2) Plate 1901.017 Plug 1901.022 Flow 1901.018 Cartridge Nut Flow Cartridge 1901.015 Flow Knob Assembly 1901.014 Knob Assembly 1901.023 Temperature Cartridge 1744.108 Retaining Plate Assy Thermostatic 1836.182 Cartridge Riser Arm 1736.733 Wall Fixing 1901.011... - Page 19 Notes 1333238-W2-A...
-
Page 20: Customer Service
● Accidental or wilful damage. CustomerServiceEire@mirashowers.com ● Products purchased ex-showroom display. Mira is a registered trade mark of Kohler Mira Limited. The company reserves the right to alter product specifi cations without notice. 14648 1333238-W2-A © Kohler Mira Limited, April 2018...
Need help?
Do you have a question about the Mira Honesty and is the answer not in the manual?
Questions and answers