Makita DTR180 Original Instructions Manual
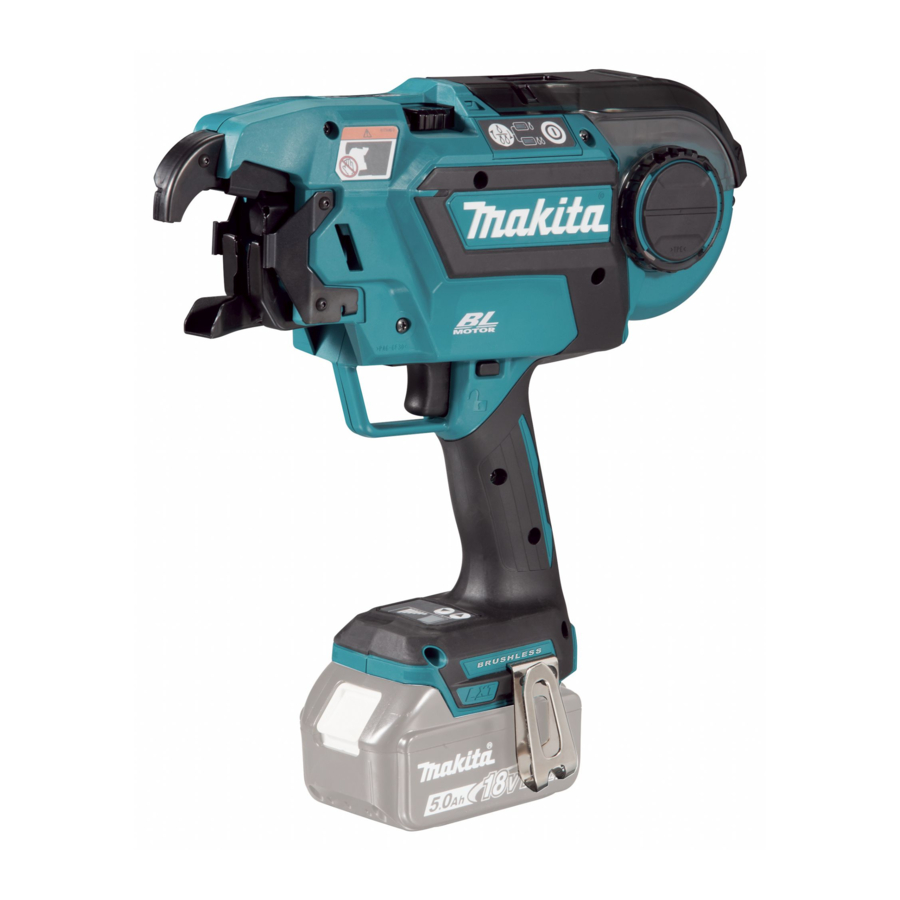
Cordless rebar tying tool
Hide thumbs
Also See for DTR180:
- Instruction manual (150 pages) ,
- Instruction manual (84 pages) ,
- Instruction manual (108 pages)
Table of Contents
Advertisement
Advertisement
Table of Contents

Related Manuals for Makita DTR180


Summary of Contents for Makita DTR180
- Page 1 INSTRUCTION MANUAL Cordless Rebar Tying Tool DTR180 Read before use.
- Page 2 SPECIFICATIONS Model: DTR180 Tie wire (Optional accessory) ø0.8 mm Diameter of rebars that can be tied From #3 x #3 to (#4 x 2) x (#4 x 2) From 10 mm x 10 mm to (13 mm x 2) x (13 mm x 2)
- Page 3 Symbols WARNING: The vibration emission during actual use of the power tool can differ from the declared emission The following show the symbols used for the equipment. value depending on the ways in which the tool is used. Be sure that you understand their meaning before use. WARNING: Be sure to identify safety measures to protect the operator that are based on an estima-...
- Page 4 When operating a power tool outdoors, use an extension cord suitable for outdoor use. Use of a cord suitable for outdoor use reduces the risk of electric shock. If operating a power tool in a damp location is unavoidable, use a residual current device (RCD) protected supply.
- Page 5 Do not repair the tool by When battery pack is not in use, keep it away yourself. Ask your local Makita Service Center from other metal objects, like paper clips, for repairs. If the tool is used in an incomplete coins, keys, nails, screws or other small metal state, an accident may occur.
-
Page 6: Battery Life
25. Securely place the arm against the rebars. If also void the Makita warranty for the Makita tool and it is not securely positioned, a clearance will be charger. created between the rebars, and tying strength will be compromised. -
Page 7: Overload Protection
Indicating the remaining battery FUNCTIONAL capacity DESCRIPTION Only for battery cartridges with the indicator CAUTION: Always be sure that the tool is switched off and the battery cartridge is removed before adjusting or checking function on the tool. Installing or removing battery cartridge CAUTION: Always switch off the tool before... - Page 8 Overheat protection NOTE: The tool has an auto power-off function. If the switch trigger is not pulled for 10 minutes, the tool When the tool or battery is overheated, the tool stops is automatically turned off to reduce battery power automatically and the corresponding error number is consumption.
- Page 9 Failure to do so may cause an accident. NOTICE: Using wires other than Makita's genu- ine tie wires (annealed wires) may cause the tool You can set the tying strength by adjusting the tying strength to malfunction.
- Page 10 Peel off the tape that holds the wire, and pull the Make the tip of the wire straight, and pass the wire tip of the wire out. through the guide. ► 1 . Tape 2. Tip of wire ► 1 . Guide Open the reel cover.
- Page 11 Remove all tape that holds the wire. Rewind the wire to eliminate its slack. ► 1 . Gear 2. Path of the wire 3. Wire NOTICE: When the lock lever is released and when the left and right gears mesh with each other, the grooves in the gears form a space.
- Page 12 Never bring your diately. Ask your local Makita Service Center for repairs. limbs or face close to the binding or rotating parts Checking the trigger-lock of the tool tip. Otherwise, you may be injured.
- Page 13 Preparation before work The hook holds and twists the wire, then returns to the original position after the wires have been tied. Make sure that the battery cartridge is removed and the trigger is locked. Insert the battery cartridge into the tool, and turn the power on.
- Page 14 Continuous actuation mode After tying, exercise care not to hook the arm on the rebars and pull the tool up. Switch the tool mode from the single actuation mode to the continuous actuation mode using the mode switching button. Cautions on working •...
- Page 15 Discoloration, deformation or cracks may result. To maintain product SAFETY and RELIABILITY, repairs, any other maintenance or adjustment should be performed by Makita Authorized or Factory Service NOTICE: When you make the second tie, bend Centers, always using Makita replacement parts. the tail of the first tie before making the second tie.
- Page 16 Remove bolt A, and remove wire guide B. Cleaning the cutter When the tool is used for a long period of time, dust and wire particles may become adhered to the cutter sec- tion. In such a case, disassemble and clean the cutter according to the following procedure.
- Page 17 Assembling Fix wire guide B by temporarily tightening bolt A. When cleaning is finished, assemble the parts accord- ing to the following procedure. Install cutter A and link arm A to fit the shape of arm plate A. ► 1 . Bolt A 2. Wire guide B Install the contact plate cover in the direction of the arrow. ► 1 .
- Page 18 After assembling, confirm that the contact plate can move as shown in the figure. ► 1 . Contact plate NOTE: If the contact plate is caught, press it as shown in the figure. 18 ENGLISH...
- Page 19 If an error occurs, an error tone will sound, and an error number will be shown on the display panel. Refer to the following table and take appropriate actions. If the error persists, ask Makita Authorized Service Centers for repairs.
- Page 20 Makita Europe N.V. Jan-Baptist Vinkstraat 2, 3070 Kortenberg, Belgium Makita Corporation 3-11-8, Sumiyoshi-cho, Anjo, Aichi 446-8502 Japan 885636-220 www.makita.com 20180411...
Need help?
Do you have a question about the DTR180 and is the answer not in the manual?
Questions and answers