Advertisement
Quick Links
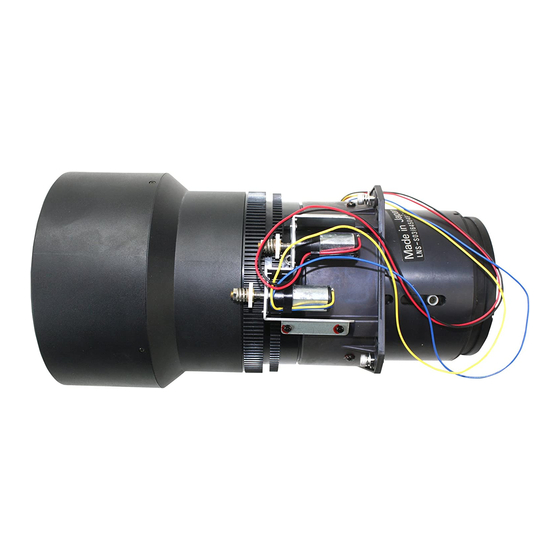
LCD PROJECTOR LENS
MODEL NO. LNS-S03
LENS REPLACEMENT
AND INSTALLATION PROCEDURES
NOTES ON REPLACEMENT AND INSTALLATION
The procedures and the needed pars for lens installation depend on the type of
cabinet. Before installing or replacing the lens, make sure the type of cabinet and be
sure to refer to the Installations corresponding with your projector.
When installing or replacing the lens, make sure the Lens Model No. matches with
your projector. Refer to the catalog, or contact your sales dealer for the proper Lens
Model No.
TYPE OF THE CABINET AND INSTALLATION PROCEDURES
Refer to the Installation procedure corresponding to your projector and install the lens
correctly. (See the chart below.)
Type of the Cabinet (1) See Page 2
For use the other models (other than above cabinet), contact your sales dealer.
Type of the Cabinet (2) See Page 6
1AA6P1P2987-- (IDAJ)
Advertisement

Summary of Contents for Sanyo LNS-S03
- Page 1 LCD PROJECTOR LENS MODEL NO. LNS-S03 LENS REPLACEMENT AND INSTALLATION PROCEDURES NOTES ON REPLACEMENT AND INSTALLATION The procedures and the needed pars for lens installation depend on the type of cabinet. Before installing or replacing the lens, make sure the type of cabinet and be sure to refer to the Installations corresponding with your projector.
- Page 2 NOTES ON LENS INSTALLATION • Lens installation and replacement should be made by the qualified service per- sonnel. • Be sure to install the lens following this procedure precisely. • The lens cover is on the lens for protection. Be sure to replace the lens cover before installation.
- Page 3 LENS REPLACEMENT AND INSTALLATION PROCEDURE Remove Lower Lens Cover. Remove 2 Screws A. Push part B and pull Lower Lens Cover down. (See Fig. 1.) Remove 4 Screws C. Pull Upper Lens Cover toward front and remove. (See Fig. 2.) Remove 2 Scres D and Cover Plate on the back of Upper Lens Cover.
- Page 4 Replace Lens Cap on the rear (mounting side) of Projection Lens and mount the lens on Lens Mouting Bracket with 4 Screws. To mount the lens with Lens Motor on the right. (See Fig. 4.) DRIVER IN THE LENS Part No. (610 275 6029) Connect Lens Motor Lead to the connector "K96T"...
- Page 5 Use a Light-Block Sheet (provided with projector) corresponding with lens. (Refer to the Type No. below.) Set Light-Block Sheet through the lens. Make sure the shape of Light-Block Sheet and be sure to set them as shown in the Fig. 6. NOTE: ●...
- Page 6 Replace Upper Lens Cover. Slide Light-Block Sheet into the guide of Upper Lens Cover and set them in front of the flap. (See Fig. 7.) Fix Upper Lens Cover with 4 Screws C. (See Fig. 2.) Replace Lower Lens Cover. Slide Light-Block Sheet into the guide of Lower Lens Cover and set them in front of the flap.
- Page 7 LENS REPLACEMENT AND INSTALLATION PROCEDURE Remove Lens Cover. Remove 2 Screws A. Push part B and pull Upper Lens Cover up. (See Fig. 1.) Remove 4 Screws C. Pull Lower Lens Cover toward front and remove. (See Fig. 2.) Remove 2 Screws D and Cover Plate on the back of Upper Lens Cover.
- Page 8 Replace Lens Cap on the rear (mounting side) of Projection Lens and mount the lens on Lens Mouting Bracket with 4 Screws. To mount the lens with Lens Motor on the right. (See Fig. 4.) DRIVER LOCATE MOTOR IN THE LENS ON RIGHT SIDE Part No.
- Page 9 Use 2 Light-Block Sheets (provided with projector) corresponding with lens. (Refer to the Type No. below.) Set 2 Light-Block Sheets through the lens. Make sure the shape of Light-Block Sheets and be sure to set them as shown in the Fig. 6. NOTE: ●...
- Page 10 Replace Lower Lens Cover. Slide Light-Block Sheets into the guide of Lower Lens Cover and set them in front of the flap. (See Fig. 7.) Fix Lower Lens Cover with 4 Screws C. (See Fig. 2.) Replace Upper Lens Cover. Slide Light-Block Sheets into the guide of Upper Lens Cover and set them in front of the flap.


