Advertisement
Quick Links
SUMMER MODE
1. In operating mode, pressing the 'PROG'
and 'TIME' (combination of buttons) to set
the summer mode. The clock will forward
on one hour (showing the icon
(Example: the clock will change to '11.00', if the time is '10.00' now
press "PROG' and 'TIME'.)
Note: Pressing the 'PROG' and 'TIME' (combinations of buttons) to exit the summer mode.
WIRING DIAGRAM
T205
L
13A Fuse
Supply
N
BATTERY BACK UP/LIFE
Note: Battery is fully charged after 14.5 hours.
The non-replaceable, fully charged battery, will retain any program information
for a period of 700 hours should their be power loss or the unit switched off with
the double pole isolation switch.
Display is not visible during this period unless a button is pressed.
TECHNICAL INFORMATION
Display:
Working Voltage:
Rated Impulse Voltage: 2,500V
Operating Temp:
Operation:
Max Load:
Resistive -
Inductive -
Isolation:
Switch
Conforms to:
Working Environment: Indoor use only
Pollution Degree:
Your GreenBrook Fused Timer Spur Switch
is guaranteed for 1 year from
the date of purchase.
This is in addition to your statutory rights.
PLEASE KEEP THESE INSTRUCTIONS
SAFE FOR FUTURE REFERENCE
WEST ROAD . HARLOW
ESSEX . CM20 2BG . UK
info@greenbrook.co.uk
www.greenbrook.co.uk
Dia.22
Dia.22).
S
TIMER
Isolation Switch
LCD
230V-50Hz
-5°C to +40°C
Integrated Control
13A
6A
Double Pole Isolation
BS 1363-4:1995+A4:2012,
BS EN 60730-1:2011,
BS EN 60730-2-7:2010.
2
GUARANTEE
Installation /Operating Instruction
for 7 day Fused Timer Spur Switch
Please read the instructions fully before attempting installation.
IMPORTANT
This unit should be installed by a competent person
in accordance with the current IET Wiring Regulations.
If in doubt consult a qualified electrician
L
• Timer Spur must not be mounted on a flammable surface.
• Ensure that the Timer Spur does not come into contact with any
Load
combustible materials such as towels or bedding.
• Ensure at least a 300mm air space is allowed around the Timer Spur
switch.
N
• A 12mm pattress is provided if extra spacing is required.
• Twin Earth terminal provided.
Note: Where earthing termination is required this must be connected to
a earth terminal as provided in a metal back box.
'ON' Indicator
Fuse
Holder
Dia.1
RESET THE DEVICE
1. To fully reset this unit press the recessed
'Reset' button with a insulated blunt probe.
2. A full display will show when the battery is
charged, then revert to the default screen
(
:
). No display indicates that the
battery requires charging for a minimum 3
hour period. (Dia.2 - Full display)
SETTING THE DAY OF WEEK
AND TIME
Note: Time setting is 24 hour mode.
1. Press the 'TIME' button for 2 seconds. Day of
week will start flashing (example shows 7 Day
setting Dia.3)
2. Use the '+' or '-' button to change the
display to the correct day of the week.
3. Press the 'TIME' button and the hour digits will
flash.
(Dia.4)
-
4. Use the '+' or '
' button to set the hours.
5. Press the 'TIME' button and the minute digits will
flash. (Dia.5)
6. Use the '+' or '-' button to set the minutes.
7. Press the 'TIME' button to save the setting
and return to operating mode.
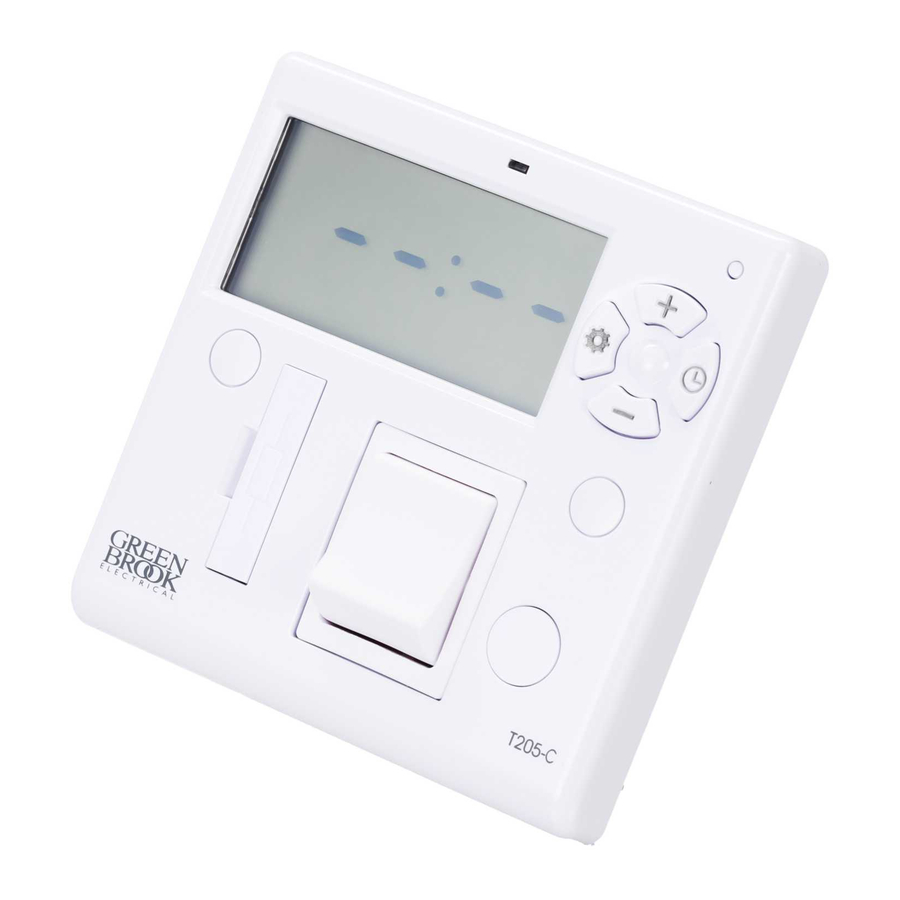
- Model: T205-C
OPERATING INSTRUCTIONS
Programme
Button
Button
Button
'+' and '-'
Button
Front Cable
Entry
Double Pole
Isolation Switch
Dia.2
Dia.3
Dia.4
.
Reset
Time
Advertisement

Summary of Contents for Green Brook t205-c
- Page 1 (Example: the clock will change to ‘11.00’, if the time is ‘10.00’ now press “PROG’ and ‘TIME’.) - Model: T205-C Note: Pressing the ‘PROG’ and ‘TIME’ (combinations of buttons) to exit the summer mode. Please read the instructions fully before attempting installation.
- Page 2 Dia.11 Note: If ‘+’ or ‘ ’ button is held for more than 2 Dia.5 (Example shown for copying data TUE to THU) seconds, the selected time digit will add or When the ON/OFF times for WED are set, the decrease quickly (about 5 steps per second), if display will show ‘THU’:- (Dia.11).


Need help?
Do you have a question about the t205-c and is the answer not in the manual?
Questions and answers