Advertisement
Quick Links
STEP 5
5.1 Attach Panel(E)to Panel(C)using Screw(1).
5.2 Fix Leg(6)to the bottom of Panel(E)and
tighten it to Long Pole(4).
(4)x2pcs
(1)x2pcs
(6)x2pcs
STEP 7
7.1 Attach Panel(G)to Panel(A)using Screw(1).
7.2 Attach Panel(D)to Panel(G)and tighten
Cam-Lock(9)using screwdriver.
7.3 Tighten Top Cap(7)to Pole (4).
Recommended Maximum Weight
10
20
*Unit in Pound(lbs)
STEP 6
6.1 Attach another Panel(E)to Panel(C)using
Screw(1).
6.2 Attach Short Pole(5)and tighten it.
(5)x2pcs
(1)x2pcs
(7)x2pcs
(1)x2pcs
(5)
WARNING:
>This unit has been designed to support the
maximum loads shown. Exceeding these
load limits could cause sagging, instability,
product collapse, and/or serious injury.
>DO NOT allow children to climb on unit.
>Put heavier items on lower shelves.
its Space. its Budget
Approx. 30 minutes
Recomm. 1 Person
Tools Required
Customer Support
NEED HELP? For help with assembly, or if you are missing a
part, please call Furinno Customer Service, 1-773-299-8111
from Mon-Fri, 9am-5pm (CST) or email: support@furinno.com
www.furinno.com
Assembly Instruction
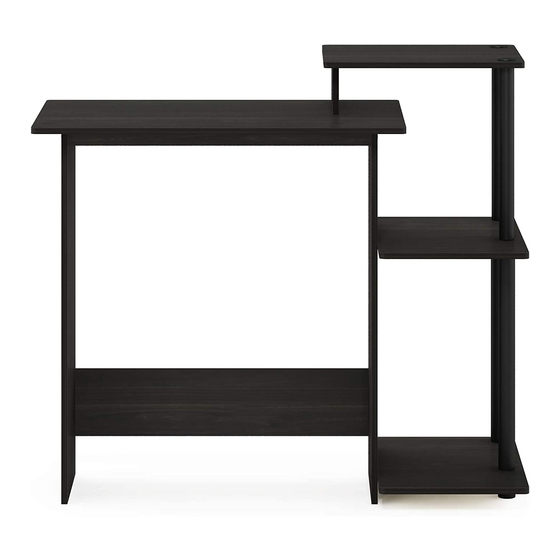
Furinno Efficient Home Laptop Notebook
Computer Desk
11192
MODEL
:
DIMENSION :
39.6"(W) x 33.6"(H) x 15.6"(D)
1119220160420
Advertisement

Subscribe to Our Youtube Channel
Summary of Contents for Furinno 11192
- Page 1 NEED HELP? For help with assembly, or if you are missing a product collapse, and/or serious injury. part, please call Furinno Customer Service, 1-773-299-8111 from Mon-Fri, 9am-5pm (CST) or email: support@furinno.com >DO NOT allow children to climb on unit.
- Page 2 STEP 1 STEP 2 Hardware List Parts List 1.1 Insert Dowel(2)to Panel(B)(C). Screw Cam-Lock Screw(8)into the pre-drilled 1.2 Insert Cam-Lock Nut(9)into Panel(B)(C)(G). holes on Panel(A)&(D). Top Panel Screw 1pcs 14pcs Note: Arrow on Cam-Lock Nut(9)should be pointing towards hole.** Left Side Panel 1pcs Plastic Dowel 4pcs...


Need help?
Do you have a question about the 11192 and is the answer not in the manual?
Questions and answers