Table of Contents
Advertisement
Quick Links
Check to make sure contents are complete:
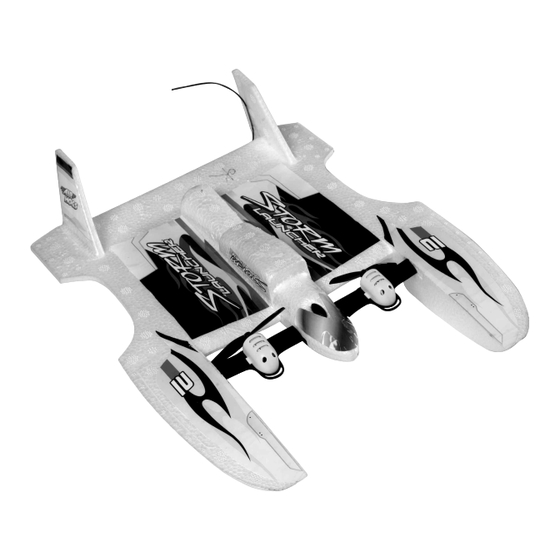
• 1 Air Hogs
®
Mini Storm Launcher™
• 1 Controller/Charger • 1 Instruction Manual
• 1 Propeller Protection Rod
Required:
• 8 AA alkaline batteries for the controller/
charger (not included)
BATTERY INSTALLATION
1. Use a Philips screwdriver
to remove the battery
door.
2. Install eight AA alkaline
batteries (not included) in
the battery compartment.
Be careful to align the
positive (+) and negative
(-) polarities with the
corresponding markings
inside the battery
compartment.
3. Reinstall the battery door.
ADJUSTING THE TRIM
Switch on the Mini Storm Launcher™ and turn
on the controller/charger.
Before attempting to fly your Mini Storm
Launcher™, you must first make sure the power
between the left and right motors is balanced.
TRIM ADJUSTMENT
In a large open area with a relatively smooth,
flat surface, drive your Mini Storm Launcher™
straight. If it turns to the right, adjust the
trim knob to the left until it goes straight and
vice-versa. It may take a few tries to get the
trim correct, but once you do, your unit will fly
much better.
First, determine the wind direction.
You should always launch into the wind.
FROM THE GROUND
In a large open area with a hard flat surface, drive Mini Storm
Launcher™ into the wind. Get it going in the right direction, at low
throttle and then gradually increase speed to full throttle. It may
take a few tries to get it going straight in the direction you want.
This just takes a little practice. Once it is going full speed in the
right direction, it should take about 30 feet.
HAND TOSS
Using the tab underneath the Mini Storm launcher™ to hold it,
toss the unit into the wind, parallel to the ground. It is not
necessary to throw upwards and in fact, throwing upwards can
cause a stall. Throw parallel to the ground.
®
INSTRUCTIONS
Storm Launcher™
LAUNCHING MINI STORM LAUNCHER™
TM
Mini
CHARGING INSTRUCTIONS
Make sure the Mini Storm Launcher™ is off
before charging.
1. With the controller/charger power off,
insert the battery charging hose from the
controller/charger into the charging socket
on Mini Storm Launcher™ as indicated.
2. Set the controller/charger switch to
"Charge Mode." Insert the charging hose
into the bottom of the Mini Storm
Launcher™ as shown.
3. The light will blink as the Mini Storm
Launcher™ is charging. If the battery is
fully drained, it should take around 30 to
40 minutes to fully charge.
Mini Storm
Launcher™ comes
with a propeller
protection rod that
will prolong the life
of your propellers.
To install this rod,
simply snap it into
the keyhole slot
above the cockpit
as shown.
Throttle
Charging/Power
Switch
Controller/Charger
INSTALLING THE PROPELLER
PROTECTION ROD
Left/Right
Toggle
Advertisement
Table of Contents

Related Manuals for Air Hogs Mini Storm Launcher


Summary of Contents for Air Hogs Mini Storm Launcher
- Page 1 30 feet. HAND TOSS Using the tab underneath the Mini Storm launcher™ to hold it, toss the unit into the wind, parallel to the ground. It is not necessary to throw upwards and in fact, throwing upwards can...
-
Page 2: Important Battery Information
IMMEDIATELY and place it in a fire- and dry place. • Never dispose of Mini Storm Launcher™ in fire. • Do not recharge the Mini proof location until it cools. • DO NOT modify the Air Hogs ®...
Need help?
Do you have a question about the Mini Storm Launcher and is the answer not in the manual?
Questions and answers