Table of Contents
Advertisement
Advertisement
Table of Contents

Related Manuals for Samsung PLASMA DISPLAY


Summary of Contents for Samsung PLASMA DISPLAY
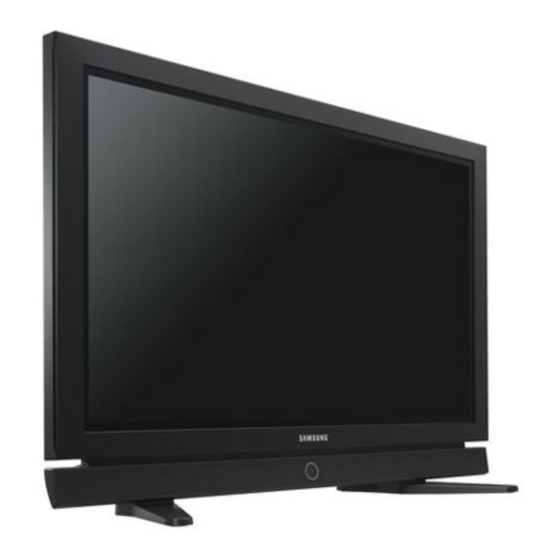
- Page 1 PDP-TELEVISION LASMA ISPLAY ANEL Owner’s Instructions Before operating the unit, please read this manual thoroughly, and retain it for future reference. This device is a Class B digital apparatus. Register your product at www.samsung.com/global/register...
-
Page 2: User Instructions
User Instructions ◆ Screen Image retention Do not display a still image (such as on a video game or when hooking up a PC to this PDP) on the plasma monitor panel for more than 2 hours as it can cause screen image retention. This image retention is also known as “screen burn”. -
Page 3: Table Of Contents
Contents ◆ G ENERAL NFORMATION User Instructions ... ■ Checking Parts... ■ Using the Stand-Base ... ■ Control Panel (depending on the model) ... ■ Connection Panel (depending on the model) ... ■ Viewing the Remote Control (depending on the model) ... ■... -
Page 4: Using The Stand-Base
Using the Stand-Base ➢ Two or more people should carry the PDP. Never lay the PDP on the floor because of possible damage to the screen. Always store the PDP upright. ➢ Pull the folded stand in the direction of the arrow. Control Panel (depending on the model) ➢... -
Page 5: Connection Panel (Depending On The Model)
Connection Panel (depending on the model) ➢ The actual configuration of your TV may be different, depending on your model. Rear Panel ∏ Ø ☛ Whenever you connect an audio or video system to your set, ensure that all elements are switched off. ☛... -
Page 6: Viewing The Remote Control (Depending On The Model)
Viewing the Remote Control ➢ Operation of remote control may be affected by bright artificial light near to the TV. Œ Œ Television Standby button ´ ´ Number buttons for direct channel access ˇ ˇ One/Two-digit channel selection ¨ ¨ Volume increase Volume decrease ˆ... -
Page 7: Switching Your Television On And Off
Switching Your Television On and Off The mains lead is attached to the rear of the television. Plug the mains lead into an appropriate socket. ➢ The main voltage is indicated on the rear of the television and the frequency is 50 or 60Hz. Press the (Power) button (On/Off) on the front of the television or press the POWER ( ) button on the remote control to switch the television on. -
Page 8: Plug & Play Feature
Plug & Play Feature When the television is initially powered on, several basic customer settings proceed automatically and subsequently. The following settings are available. Plug & Play Plug & Play Language English Deutsch Français Nederlands † Move Enter Skip Plug & Play Check antenna input. -
Page 9: Viewing An External Signal Source
Viewing an External Signal Source You can switch between viewing signal from connected equipment, such as a VCR, DVD, Set-Top Box, and the TV source (broadcast or cable). Press the MENU ( ) button to display the menu. Press the ENTER ( ) button to select Source List. -
Page 10: Storing Channels Manually
Storing Channels Manually You can store television channels, including those received via cable networks. When storing channels manually, you can choose: ◆ Whether or not to store each of the channels found. ◆ The programme number of each stored channel which you wish to identify. Channel √... -
Page 11: Skipping Unwanted Channels
Skipping Unwanted Channels You can exclude the channels of your choice from the channel scan operation. When you scan through the stored channels, those that you have chosen to skip are not displayed. All channels that you do not specifically choose to skip are displayed during scanning. -
Page 12: Changing The Picture Standard
Changing the Picture Standard You can select the type of picture which best corresponds to your viewing requirements. Picture √ Mode : Dynamic √ Size : Auto Wide √ Digital NR : On √ Dynamic Contrast : On √ Move Enter Return Mode... -
Page 13: Selecting The Picture Size
Selecting the Picture Size You can select the picture size which best corresponds to your viewing requirements. Press the MENU ( ) button to display the menu. Press the … or † button to select Picture, then press the ENTER ( button. -
Page 14: Viewing The Picture In Picture (Pip) (Available In Pc Mode)
Viewing the Picture in Picture (PIP) You can display a sub picture within the main picture of PC. In this way you can watch TV program or monitor the video input from any connected devices while watching PC. Picture √ Mode : Dynamic √... -
Page 15: Sound Features
Sound Features Press the MENU ( ) button to display the menu. Press the … or † button to select Sound, then press the ENTER ( Select the required option by pressing the … or † button, then press the ENTER ( ) button. -
Page 16: Time Features
Time Features Setup √ Plug & Play √ Language : English √ Time √ Energy Saving : Standard √ Blue Screen : Off √ Melody : Off √ √ Screen Burn Protection Move Enter Return Time √ Clock Set 00 : 00 √... -
Page 17: Language
Language / Blue Screen / Melody / Energy Saving Press the MENU ( ) button to display the menu. Press the … or † button to select Setup, then press the ENTER ( Select the required option by pressing the … or † button, then press the ENTER ( ) button. -
Page 18: Screen Burn Protection
Screen Burn Protection Setup √ Plug & Play √ Language : English √ Time √ Energy Saving : Standard √ Blue Screen : Off √ Melody : Off √ √ Screen Burn Protection Move Enter Return Screen Burn Protection √ Pixel Shift √... -
Page 19: Setting Up Your Pc Software (Windows Only)
Windows and your particular video card. But even if your actual screens look different, the same, basic set-up information will apply in almost all cases. (If not, contact your computer manufacturer or Samsung Dealer.) Right click the mouse on the Windows Desktop, then click on Properties. -
Page 20: Setting The Pc
Setting the PC ➢ Preset to the PC mode by pressing the SOURCE ( Setup √ Plug & Play √ Language : English √ Time √ Energy Saving : Standard √ Blue Screen : Off √ Melody : Off √ √... -
Page 21: Teletext Feature (Depending On The Model)
Teletext Feature (depending on the model) Most television stations provide written information services via teletext. The index page of the teletext service gives you information on how to use the service. In addition, you can select various options to suit your requirements by using the remote control buttons. -
Page 22: Installing The Display On The Wall Attachment Panel
Installation Notes ◆ Contact a technician for installing the wall bracket. ◆ Samsung Electronics is not responsible for any damages to the product or harm to customers when the installation is done by the customer. ◆ This product is for installing on cement walls. The product may not stay in place when installed on plaster or wood. -
Page 23: Troubleshooting
Troubleshooting Before contacting the Samsung after-sales service, perform the following simple checks. If you cannot solve the problem using the instructions below, note the model and serial number of the television and contact your local dealer. No sound or picture ◆... - Page 24 - AFTER SALES SERVICE - Do not hesitate to contact your retailer or service agent if a change in the performance of your product indicates that a faulty condition may be present. Correct Disposal of This Product (Waste Electrical & Electronic Equipment) (Applicable in the European Union and other European countries with separate collection systems) This marking shown on the product or its literature,...