Table of Contents
Advertisement
Advertisement
Table of Contents

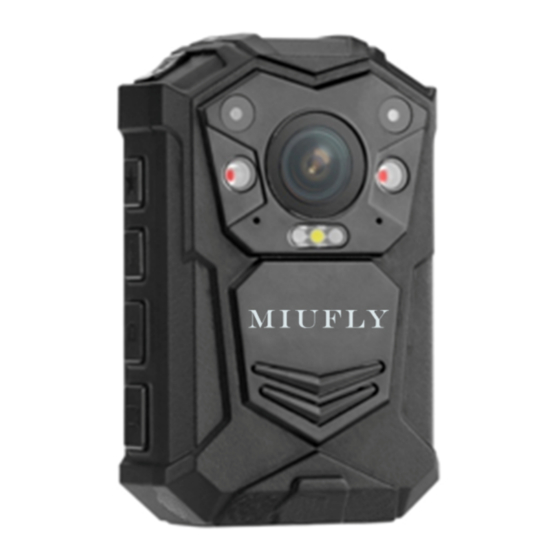
Summary of Contents for MIUFLY EH15
- Page 1 MIUFLY Body Camera User Guide...
-
Page 2: Table Of Contents
TABLE OF CONTENTS Introduction Product Overview Box contents Technical Specifications Features Main Manu Optional Detail Operation Troubleshooting... -
Page 3: Introduction
EH15 can also take up to 20 high-resolution snapshots, which, together with video, can be viewed on backlit, 2 inch LCD color screen or on an HDTV screen using a HDMI connector. -
Page 4: Technical Specifications
2. Technical Specifications Camera Sensor 5MP CMOS Wide Angle 140 degree wide angle lens Video 2560X1080 30p/ 2304x1296 30p/ 1920x1080 30p /1280x720 60p Video Resolution /1280x720 30p / 848x480 60p Video H.264/MPEG4 Compression Audio High Quality Build-in Microphone Audio Format Watermark User ID, Time and Date Pre-record... -
Page 5: Features
3. Features... - Page 7 Item Description 1.Camera Lens High Definition Camera a). Press to turn camera on; Hold for 3 seconds to turn off camera 2. Power Button b). Press to enter or exit screen saver when camera is on 3.IR/White a). Press to turn IR light on/off; Light button b).
- Page 8 a). Press to record audio when not in video-recording mode ONE PRESS AUDIO b). Press to mute/unmute video when camera is on RECORDING & CHANGE video recording RESOLUTION c). Hold to change resolution between 480P and 720P a). Press to take pictures in standby mode ONE PRESS b).
- Page 9 Red blinking record status icon indicates camera is recording, Record Status white solid is standby mode. Video Recording Time Recorded time of current clip Battery Charge Current battery charge level Camera and Officer ID Assigned camera and Officer IDs Remaining Time Estimated recording hours remaining SD Card Memory Internal SD Card capacity: Free space/Total capacity...
- Page 10 4. Main Menu Optional Detail To enter the setting menu: Press Menu ( ) button and then enter a password. Enter the password by using the following commands: Press Scroll Up ( ) button to change the character to the previous letter or number.
- Page 11 Setting Description Options 2304×1296 30P 1920×1080 30P 1440×1080 30P 1280×720 60P Resolution The image resolution for video 1280×720 30P 848×480 60P 848×480 30P 720×480 30P 32M (7600×4275 16:9) 30M (7304×4104 16:9) 28M (7056×3968 16:9) 25M (6664×3752 16:9) 23M (6480×3648 16:9) 21M (6144×3456 16:9) Megapixels The image resolution for photos...
- Page 12 The amount of the time the camera waits Delay off, 5 sec, 1 minute, 10 to stop recording video after you press the Record minutes Record button. When on, camera will power up automatically and start video recording Car DVR when it is charged.
- Page 13 When on, camera will play a tone each time Key Tone you press a button. When off, tone is On, Off disabled. The volume of camera speaker. This affects the loudness of video playback, audio playback, the key tone, record warning, and Volume 0-12 any other sounds played by camera.
-
Page 14: Operation
5. Operation Power on/off 1) Power on: when camera is off, press ( ) button, camera will power up and enter standby mode; Boot up image shows up; Working status LED indicator turns green; Boot up music; Camera vibrates; Camera voice “beeps” when [Record Warning] is ON. 2) Power off: press and hold power ( ) button for 2 seconds to turn off working-status camera:... -
Page 15: Video Recording
Otherwise, when circumstance brightness grew up, IR LED turns off, and image becomes colorful again. 2) Manual infrared mode: When night vision is needed, PRESS IR light button to switch to Infrared mode, IR LEDs will be turned on, black and white image. PRESS this button again to turn off IR LEDs, image becomes colorful. - Page 16 Audio Recording In standby mode, PRESS Audio ( ) button, with a beep and camera vibration, LED indicator turn yellow and flashes, audio recording started. PRESS Audio ( ) button again to stop audio recording. One Button recording When camera is powered off, HOLD Record ( ) button, camera will initiate and start video recording immediately.
- Page 17 After being connected to PC, password interface shows up, please enter the password(default password is 000000), the camera will be recognized by the computer. 5.14 Playback 1) In playback mode, PRESS OK ( ) to pause/resume playback; PRESS Scroll-Up ( ) button to rewind, PRESS Scroll-down ( ) button to fast forward, then PRESS OK (...
- Page 18 The included USB power adapter (connect to a power outlet) The included car charger. 2). Attach camera to the docking bay. Use a USB cable to connect the docking bay to one of the following: A USB port on your computer (powered on) The included USB power adapter (connect to a power outlet) The included car charger.
- Page 19 Run GPS player and Google Earth. Open the video (with GPS data) footages by the GPS player. PS: you could choose related maps in your region.
- Page 20 Click “Google Earth” icon to review GPS route on Google Earth program. (PS: make sure Google Earth program is working in your PC.) GPS route on Google Earth.
-
Page 21: Troubleshooting
6. Troubleshooting 6.1 Cannot enter Menu of Body Camera A. Stop Recording prior to entering Body Camera’s menu by pressing Record button. A. Body Camera supports a six character alphanumerical password format. Prior to entering menu of Body Camera, ensure that correct password is entered.
Need help?
Do you have a question about the EH15 and is the answer not in the manual?
Questions and answers