SHOEI VFX-WR Instructions For Use Manual
Hide thumbs
Also See for VFX-WR:
- Manual (47 pages) ,
- Instructions for use manual (42 pages) ,
- Safety instruction (41 pages)
Table of Contents
Advertisement
Quick Links
Instructions for use
Thank you for purchasing your new SHOEI helmet. This manual contains valuable information to help you
understand how to operate and maintain your helmet. Please read this manual carefully before use and keep it
for future reference. Your SHOEI dealer can provide a replacement if this manual is lost.
E n g l i s h
Read This First
Confirm the Packed Items
Parts Description
Installing the Visor/Peak
Removing and Installing
the Nose Cover
Installing the Mud Guard
Removing and Installing
the Neck Outlet
Replacing Interior Parts
Removing Interior Parts
Installing Interior Parts
Important Notice about
Handling Interior Parts
M.E.D.S.
(Motion Energy Distribution System)
E.Q.R.S.
(Emergency Quick Release System)
WARNING
Parts List
3
4
5
6
7
8
8
9
10
11 - 13
14
15
16
17
17
2
Advertisement
Table of Contents

Related Manuals for SHOEI VFX-WR


Summary of Contents for SHOEI VFX-WR
- Page 1 Instructions for use Confirm the Packed Items Thank you for purchasing your new SHOEI helmet. This manual contains valuable information to help you understand how to operate and maintain your helmet. Please read this manual carefully before use and keep it for future reference.
-
Page 2: Read This First
The contents of this manual are subject to change without notice. The illustrations in this manual may differ from the actual product. The copyrights for this manual belong to SHOEI CO., LTD. Reproduction or copying of this manual without written permission is strictly prohibited. HOW TO USE... -
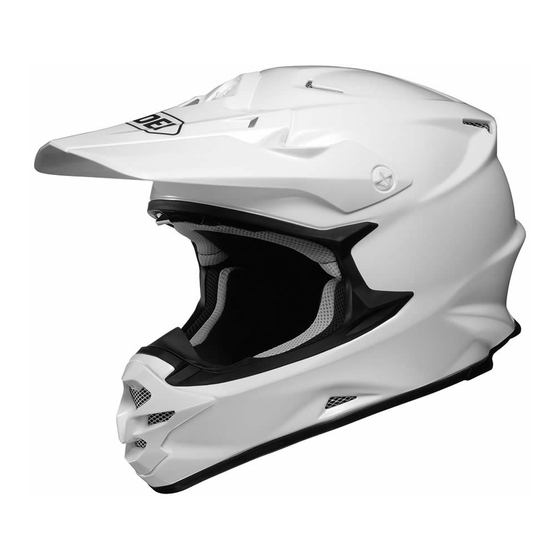
Page 3: Parts Description
7. Shell adjusting the angle. Check all screws once more 8. Top Air Outlet to ensure they are securely snug. NEVER USE ANY SCREW EXCEPT FOR ORIGINAL SHOEI 9. Rear Air Outlet VISOR/PEAK SCREWS TO PREVENT DAMAGE 10. Neck Outlet TO THE THREADED INSERTS. -
Page 4: Removing And Installing
E n g l i s h E n g l i s h Installing the Mud Guard Removing and Installing the Nose Cover Screw To remove the nose cover, remove the screw Mud Guard (Drawing 1), pull it as per Drawing 2, and lift the nose cover slightly. -
Page 5: Replacing Interior Parts
E n g l i s h E n g l i s h Removing Interior Parts Replacing Interior Parts Removing the Cheek Pads ● Unfasten the 3 snaps to remove the pad from the cheek Snap pad base (Drawing 1), and pull the plate (A) and (B) from the cheek pad bracket as per Drawing 2 and 3. -
Page 6: Installing Interior Parts
Chinstrap E n g l i s h Installing Interior Parts Installing the Chinstrap Covers ● The chinstrap covers have different shapes on the right and left sides of the helmet. Referring to the Snap drawing, identify the right and left sides. Pass the chinstrap through the cover and fasten the snap Chinstrap until it clicks in place. -
Page 7: Important Notice About
If the impact absorbing liner is exposed to high heat of any kind, contract your dealer or SHOEI directly for a safety evaluation. To prevent damage, do not use any of the following cleaning materials: hot water over 40℃;... -
Page 8: M.e.d.s
1. Make sure to hold the helmet firmly by your hand when pulling out cheek pads. 2. Use genuine SHOEI cheek pads only and never use non-SHOEI parts. Warnings 1. Never pull the emergency strip while riding. -
Page 9: Parts List
They should be removed promptly. * Be sure to use SHOEI genuine parts when replacing the visor/peak or interior parts. Parts List These optional parts are available for repair or replacement.
Need help?
Do you have a question about the VFX-WR and is the answer not in the manual?
Questions and answers