Table of Contents
Advertisement
Quick Links
User's Manual
Model ______________
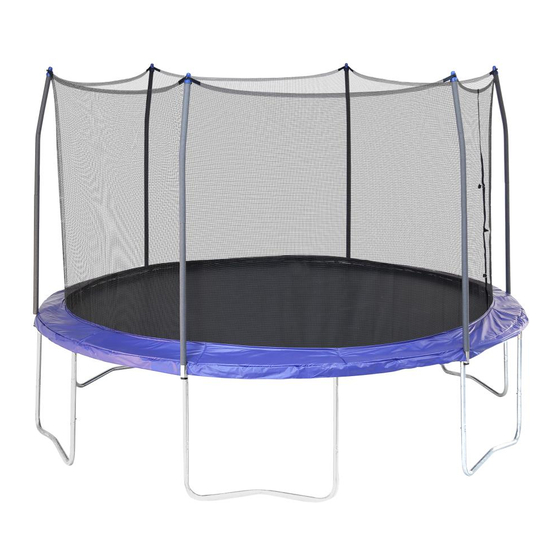
SWTC1200
WARNING
Read all precautions and
instructions in this manual before
using this equipment. Save this
manual for future reference.
Maximum user weight 200 lbs
IMPORTANT
Trampoline and Enclosures are
susceptible to winds. Be sure to
secure your trampoline and enclosure.
Wind Damage is not covered in the
warranty of your trampoline
Advertisement
Table of Contents

Summary of Contents for Skywalker SWTC1200
- Page 1 User’s Manual Model ______________ SWTC1200 WARNING Read all precautions and instructions in this manual before using this equipment. Save this manual for future reference. Maximum user weight 200 lbs IMPORTANT Trampoline and Enclosures are susceptible to winds. Be sure to secure your trampoline and enclosure.
- Page 2 ASSEMBLY ASSEMBLY (PUTTING THE TRAMPOLINE AND ENCLOSURE TOGETHER) IMPORTANT ASSEMBLY INFORMATION • Need phillips screw driver (included with trampoline) and 2 adjustable wrenches (for putting the trampoline together). A rubber mallet is also recommended to make assembly easier. • Assembly requires two adults. Keep children away from the trampoline and enclosure until they are completely put together. •...
- Page 3 3. Note: This step requires two persons. During this step, you will connect the six assembled leg sections with the remaining six Top Tubes (1). Leg Section Stand two leg sections and hold them in the positions Socket shown. Slide the large end of one of the remaining Top Tubes (1) onto the small end of the indicated Top Tube on one of the leg sections.
- Page 4 V-rings For mat, to have one Leg Extension (3) with warn- ing decal corresponded to door of the net, the first hole of the frame on the left of the net door is just the hole to attach first spring (11). Attach the Springs (11) as follows: Hook one end of a Spring (11) into a V-ring.
- Page 5 Do not use the trampoline without the Frame Pad (10). The Frame Pad is designed to reduce the possibility of Inner Straps injuries due to jumpers coming in contact with the tram- poline frame. If you do not have a Frame Pad, contact your dealer to obtain one.
- Page 6 Enclosure Assembly 1. Make sure that you understand the information in the box at the top of this page. 2. Lay one Straight Tube (5) with foam and one Curved Tube (6) with foam (8) on the ground, insert the Straight Tube(5) into the curved tube(6), secure with the screw(4).
- Page 7 Spring Jump mat V-ring Attach the Jump Mat to the trampoline frame by refer- ring to steps 4-5 in the trampoline assembly Be sure to place the door opening in the enclosure net- Align opening of enclosure ting so it is centered in between the two legs of the tra- as shown here, centered in mpoline where the jumpers will climb off and onto between the legs of the...
- Page 8 Poles Note: In Step 6 you will secure the enclosure poles to the frame of the trampoline. Start from the enclosure door, lift one of the poles assembled in Step 1, see the insert drawing. Insert the Straight Tube(5) through frame pad into the top hole of the Square Socket on trampoline frame as shown.
- Page 9 . Insert the end cap(3) into the bottom hole of the Socket. Insert end cap (3) into end of Socket Your trampoline enclosure is now fully assembled (put together). Make sure that all parts are securely attached. Familiarize yourself and all users with the trampoline and enclosure with the safety precautions, use and instructional materials, and care and mainte- nance instructions in this manual before using the...
- Page 10 WARNING TRAMPOLINE AND ENCLOSURE CARE AND MAINTENANCE Care To avoid damage to the trampoline and enclosure, do not allow pets or animals inside the enclosure. The trampoline is intended to be used by one person at a time who weighs not more than 200 pounds. The user should be either barefoot, wearing socks, or wearing gymnastic shoes.
- Page 11 EXPLODED DRAWING AND PARTS LIST FOR TRAMPOLINE Qty. Description Qty. Description (Two spare) t - f Top Tube(A with “T”-joint and Stitched Bed with 72 V-rings B with Socket ) Frame Pad Leg Extension Springs Leg Brace User’s Manual and Safety Placard Spring Tool Screw Driver Set of ASTM Frame Labels...
- Page 12 EXPLODED DRAWING AND PARTS LIST FOR ENCLOSURE . y t . y t Pole Cap M5x50mm Bolt Mesh with straps End Cap t - f w(1 spare parts) Screw Driver (screw driver included with Trampoline parts ) s ’ r # These parts are not illustrated.
-
Page 13: Limited Warranty
Skywalker Holdings, LLC authorized service center, or to products used for commercial or rental purpose. No other Warranty beyond that specifically set forth above is authorized by Skywalker Holdings, LLC.


Need help?
Do you have a question about the SWTC1200 and is the answer not in the manual?
Questions and answers