Table of Contents
Advertisement
Quick Links
Advertisement
Table of Contents

Related Manuals for Cozy N Safe EXCALIBUR


Summary of Contents for Cozy N Safe EXCALIBUR
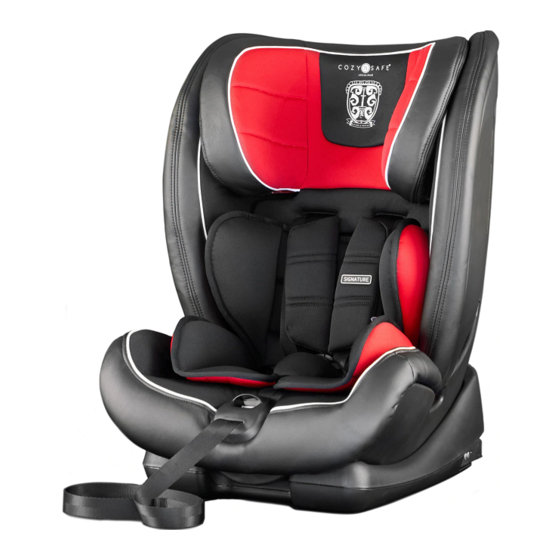
- Page 2 INSTRUCTION MANUAL 9 - 36kg (Approx. 9 months - 12 years) Model: EST-02 Group: 1/2/3 Please read this manual carefully before use...
-
Page 3: Table Of Contents
CONTENTS 1. WARNING..................................01 2. USE IN THE VEHICLE .............................02 3. PREPARATORY WORK..........................03 - 04 3.1 Prepare ISOFIX 3.2 Adjusting the headrest in the 5-Point Harness installation 3.3 Adjusting the headrest in vehicle belt installation 4. INSTALLATION..............................05 - 11 4.1 Group 1 (9-18kg) with ISOFIX + Top Tether + 5-Point Harness 4..1.1 Securing your child with 5-Point Harness 4.2 Group 1 (9-18kg) vehicle belt + 5-Point Harness... -
Page 4: Warning
1. WARNING Please read carefully before installing the child seat in the vehicle. 1. This child safety seat is suitable for use as Group 1/2/3 from approx. 9 months - 12 years age / 9 - 36kg. 2. Please read these instructions carefully, as incorrect installation could result in serious injury, If any injuries should occur as a result of incorrect installation, the manufacturer will accept no responsibility. -
Page 5: Use In The Vehicle
2. USE IN THE VEHICLE Please observe the instructions on the use of the child restraint systems described in your vehicle owner’s manual. The seat may be used in vehicles equipped with ISOFIX, Top Tether anchoring systems or 3-point belt. You can use your child car seat as follows: - In the direction of travel - Against the direction of travel... -
Page 6: Preparatory Work
3. PREPARATORY WORKS 3.1 Prepare ISOFIX 1. If your vehicle is not equipped with the ISOFIX insert guides as standard, clip the two insert guides (02 - Included with seat) with the cut our facing upwards onto the two ISOFIX attachment points(01) of your vehicle. Tip: The ISOFIX attachment points are located between the surface and the backrest of the vehicle seat(fig 1). -
Page 7: Adjusting The Headrest In Vehicle Belt Installation
3.3. Adjusting the headrest in vehicle belt installation A correctly adjusted headrest(07) ensures that the diagonal seat belt(11) is optimally positioned, and gives your child the optimal protection. The headrest(07) must be adjusted so that there is a space two fingers wide between the headrest(07) and your child’s shoulders(fig.6). -
Page 8: Installation
4. NEW INSTALLATION 4.1 Group 1 (9- 18kg) With ISOFIX + Top Tether + 5 Point Harness 1. Make sure that the child seat’s 5-Point Harness is installed correctly (see section 7). 2. Follow the steps in section 3.1 (to prepare the ISOFIX). 3. -
Page 9: Securing Your Child With 5-Point Harness
8. Take the Top Tether and if required, lengthen the belt by pressing the Top Tether brake button to release the trap, pulling to adjust as necessary(fig.11). 9. Hook the snap hook(17) into the Top Tether anchoring point recommended in your vehicle owner’s guide. - Page 10 4. Make sure that your child’s back lies flat against the backrest of the child seat. 5. Guide the two buckle latches(20) together and engage them before putting them into the harness buckle(21) - this should make a click noise(fig.15, 16, 17). 6.
-
Page 11: Group 1 (9-18Kg) Vehicle Belt + 5-Point Harness
4.2 Group 1 (9-18kg) Vehicle belt + 5-Point Harness 1. Make sure that the child seat’s 5-Point Harness is installed correctly(see section 7). 2. Follow the steps in section 3.2(to adjust headrest). 3. Place the child seat facing in the direction of travel on the vehicle seat. 4. -
Page 12: Group 2 (15-25Kg) Vehicle Belt + Top Tether + 5-Point Harness
4.3 Group 2 (15-25kg) Vehicle belt + Top Tether + 5-Point Harness 1. Follow the steps in the section 4.2 (to fix child seat by three point belt). 2. Take the Top Tether and if required, lengthen the belt by pressing the top tether brake button to release the strap, pulling to adjust as necessary(fig.23). -
Page 13: Group 2 (15-25Kg) & Group 3 (22-36Kg) Vehicle Belt
4.4 Group 2 (15-25kg) & Group 3 (22-36kg) Vehicle belt. 1. Make sure that the child seats 5-Point Harness is removed correctly (see section 9) 2. Follow steps in section 3.3 (to adjust headrest). 3. Follow steps in section 4.1, install child seat with ISOFIX and Top Tether(option). Tip! For Group 2 and 3 the ISOFIX connectors and Top Tether have been designed to improve stability. -
Page 14: Removal Of The Child Seat
4. INSTALLATION / 5. REMOVAL OF THE CHILD SEAT 8. Guide the diagonal seat belt section(11) into the red belt holder(30) of the headrest(07) until it lies completely in the belt holder(30) and is not twisted(fig.28). 9. Make sure that the diagonal seat belt(11) runs over your child’s shoulder bone, and not in front of his/her neck. -
Page 15: Removing The 5-Point Harness
6. REMOVING THE 5-POINT HARNESS 1. Loosen the 5-Point Harness(38) of the child seat as much as possible(fig.29). Back side of the child seat: 2. Press the button of the shoulder belt height adjuster(10) towards your(fig.30). 3. Move the shoulder belt adjuster(10) into the top position and fix the position by releasing the button of the shoulder belt height adjuster. -
Page 17: Refitting The 5-Point Harness
7. REFITTING THE 5-POINT HARNESS 1. Squeeze the adjustment handle(12) at the rear of the headrest(07) and push the headrest into the lowest position(fig.41). 2. Open the left and the right buttons on the lower part of the cover(43) and lay the cover piece on the seating area(fig.42). -
Page 19: Care And Maintenance
8. CARE AND MAINTENANCE 8.1 Care for the harness buckle It is vital for the safety of your child that the harness buckle works correctly. Malfunctions of the harness buckle are usually caused by accumulations of dirt or foreign bodies. Malfunctions are as follows: - The buckle latches are ejected only slowly when the red release button is pressed. - Page 21 C O Z Y S A F E e X C a L i B u R...
Need help?
Do you have a question about the EXCALIBUR and is the answer not in the manual?
Questions and answers