Table of Contents
Advertisement
Advertisement
Table of Contents

Related Manuals for Belling FSDF608D Sil


Summary of Contents for Belling FSDF608D Sil
- Page 1 Double Oven / User Manual 444410119 BEL FSDF608D Sil...
- Page 2 Thank you for choosing this product. This User Manual contains important safety information and instructions on the operation and maintenance of your appliance. Please take the time to read this User Manual before using your appliance and keep this book for future reference. Icon Type Meaning...
-
Page 3: Table Of Contents
CONTENTS 1.SAFETY INSTRUCTIONS ....................4 1.1 General Safety Warnings ....................4 1.2 Installation Warnings ......................7 1.3 During Use ........................8 1.4 During Cleaning and Maintenance ................10 2.INSTALLATION AND PREPARATION FOR USE ............12 2.1 Instructions for the Installer ..................12 2.2 Installation of the Cooker ....................13 2.3 Gas Connection ......................13 2.4 Gas Conversion (if available) ..................14 2.5 Electrical Connection and Safety (if available) .............15... -
Page 4: Safety Instructions
1. SAFETY INSTRUCTIONS • Carefully read all instructions before using your appliance and keep them in a convenient place for reference when necessary. • This manual has been prepared for more than one model therefore your appliance may not have some of the features described within. - Page 5 • For models which incorporate a hob lid, clean any spillages off the lid before use and allow the cooker to cool before closing the lid. • Do not operate the appliance with an external timer or separate remote-control system. WARNING: To prevent the appliance tipping, the stabilising brackets must be...
- Page 6 technicians may be dangerous. Do not alter or modify the specifications of the appliance in any way. Inappropriate hob guards can cause accidents. • Before connecting your appliance, make sure that the local distribution conditions (nature of the gas and gas pressure or electricity voltage and frequency) and the specifications of the appliance are compatible.
-
Page 7: Installation Warnings
be taken while cleaning to avoid scratching. Avoid hitting or knocking the glass with accessories. • Make sure that the supply cord is not trapped or damaged during installation. If the supply cord is damaged, it must be replaced by the manufacturer, its service agent or similarly qualified persons in order to prevent a hazard. -
Page 8: During Use
• Protect your appliance from the atmosphere. Do not expose it to sun, rain, snow, dust or excessive humidity. • Materials around the appliance (i.e. cabinets) must be able to withstand a minimum temperature of 100°C. • The Product must not be placed on a base, it must be placed on the floor. - Page 9 valve off when gas appliances are not in use. • Make sure the appliance control knobs are always in the “0” (stop) position when the appliance is not in use. • The trays (presence depends on the product model) incline when pulled out. Take care not to spill or drop hot food when removing it from the oven.
-
Page 10: During Cleaning And Maintenance
compartment may get hot when the appliance is in use. Avoid touching the inside surface. • Do not hang towels, dishcloths or clothes from the appliance or its handles. 1.4 During Cleaning and Maintenance • Make sure that your appliance is turned off at the mains before carrying out any cleaning or maintenance operations. - Page 11 disposed of correctly, you will help prevent potential negative consequences for the environment and human health, which could otherwise be caused by inappropriate waste handling of this product. For more detailed information about recycling of this product, please contact your local city office, your household waste disposal service or the retailer who you purchased this product from.
-
Page 12: Installation And Preparation For Use
2. INSTALLATION AND PREPARATION FOR USE Air inlet section WARNING : This appliance must be min. 100 cm installed by an authorised service person or qualified technician, according to the instructions in this guide and in compliance with the current local regulations. -
Page 13: Installation Of The Cooker
• The appliance should not be installed • There should be a minimum 2cm blank directly above a dishwasher, fridge, space around the appliance for air freezer, washing machine or clothes circulation. dryer. • If a cooker hood or cupboard is to be •... -
Page 14: Gas Conversion (If Available)
with gas should be checked once a year for your safety. • The hose must be kept clear of areas Gas pipe that may heat up to temperatures of more than 90°C. Seal • The hose must not be cracked, torn, Hose bent or folded. -
Page 15: Electrical Connection And Safety (If Available)
Changing injectors Valve without flame Valve with flame failure failure device device Hob burners • Cut off the main gas supply and unplug the appliance from the mains electrical supply. • Remove the burner caps and the adapters. Bypass screw Screw(inside the hole) •... -
Page 16: Anti-Tilting Kit
• During installation, please ensure that isolated cables are used. An incorrect connection could damage your appliance. If the mains cable is damaged and needs to be replaced this should be done by a qualified personnel. • Do not use adaptors, multiple sockets and/or extension leads. -
Page 17: Adjusting The Feet
Product Dimensions A (mm) B (mm) (Width X Depth X Height) (Cm) 60x60x90 (Double Oven) 297.5 50x60x90 (Double Oven) 247.5 90x60x85 60x60x90 309.5 60x60x85 309.5 50x60x90 247.5 50x60x85 247.5 50x50x90 247.5 50x50x85 247.5 2.7 Adjusting the feet Your product stands on four adjustable feet. -
Page 18: Product Features
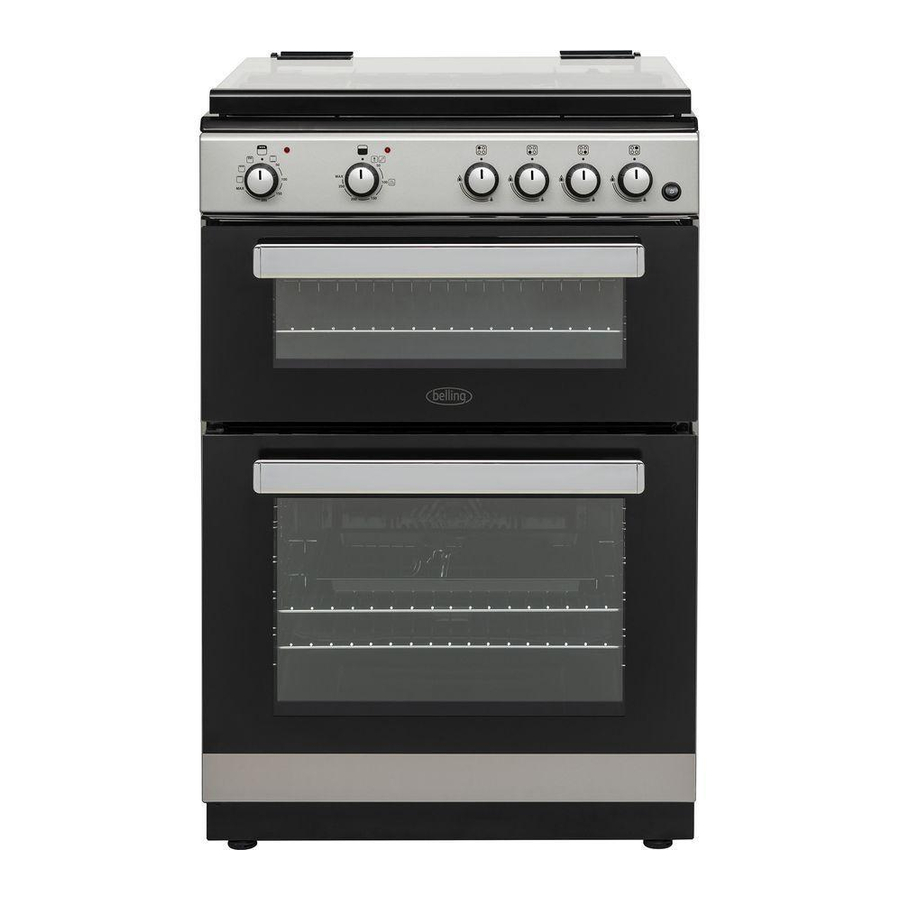
3. PRODUCT FEATURES Important: Specifications for the product vary and the appearance of your appliance may differ from that shown in the figures below. List of Components 1. Cooktop 2. Control Panel 3. Top Oven Door Handle 4. Top Oven Door 5. -
Page 19: Use Of Product
4. USE OF PRODUCT knob is in the ‘maximum’ position. Hold a lit match, taper or other manual aid to to the ignition hole that is located on the front 4.1 Use of Gas Burners left corner of the burner. Move the ignition Ignition of the burners source away as soon as you see a stable flame. - Page 20 Rapid / Wok Burner 22-26 cm Semi-rapid Burner 14-22 cm Auxiliary Burner 12-18 cm Make sure that the tips of the flames do not spread out from the outer circumference of the pan, as this may harm plastic accessories, such as handles. MAX position OFF position Switch the main gas control valve off when...
- Page 21 Upper Heating Main Oven Functions Function: Switch on the UPPER function * The functions of your oven may be using the top oven different due to the model of your product. function control knob. Defrost Function: The oven thermostat Switch on the and warning lights will DEFROST function illuminate, and the...
-
Page 22: Cleaning And Maintenance
WARNING: The grill pan has a detachable handle. Make sure when using the grill pan handle that it is centralised and secure, as shown in the figure. Do not leave the handle in position while grilling is in operation. Shut off mechanism 5. - Page 23 • Wipe the enamelled parts with a soft cloth soaked in soapy water. Then, wipe them over again with a wet cloth and dry them. Do not clean the enamelled parts while they are still hot from cooking. Do not leave vinegar, coffee, milk, salt, water, lemon or tomato juice on the enamel for a long time.
-
Page 24: Maintenance
Inorder to replace the oven door on the appliance reverse the above procedure. - Slide the hinge parts at the bottom of the door into their slots on the appliance properly holding the door almost closed. - Open the door slowly and close the locking catches. -
Page 25: Troubleshooting & Transport
6. TROUBLESHOOTING & TRANSPORT 6.1 Troubleshooting If you still have a problem with your appliance after checking these basic troubleshooting steps, please contact an authorised service person or qualified technician. Problem Possible Cause Solution The burners may be in the ´off` position. -
Page 26: Transport
Check that the optimum temperatures and shelf positions are being used. Do not frequently open the door unless you are Cooking is uneven Oven shelves are incorrectly cooking things that need to be turned. If you within the oven. positioned. open the door often, the interior temperature will be lower and this may affect the results of your cooking. -
Page 27: Technical Specifications
7. TECHNICAL SPECIFICATIONS 7.1 Injector Table G30 28-30mbar 7.5 kW 545 g/h II2H3+ Class: 1 G20 20 mbar G30/G31 28-30/37 mbar LARGE BURNER DIA. of INJECTOR (1/100mm) NOMINAL RATING (kW) CONSUMPTION 276 l/h 218,1 g/h MEDIUM BURNER DIA. of INJECTOR (1/100mm) NOMINAL RATING (kW) 1,75 1,75... -
Page 28: Energy Fiche
7.2 Energy Fiche Brand Model 444410119 BEL FSDF608D Sil Type of Hob Number of Cooking Zones Heating Technology-1 Size-1 Auxiliary Energy Efficiency-1 Heating Technology-2 Size-2 Semi-Rapid Energy Efficiency-2 59,0 Heating Technology-3 Size-3 Semi-Rapid Energy Efficiency-3 59,0 Heating Technology-4 Size-4 Rapid... - Page 29 Brand Model 444410119 BEL FSDF608D Sil Type of Oven ELECTRIC Mass 49,0(-/+2) Total Power 230V ~ 4300W 106,3 Energy Efficiency Index - conventional Energy Efficiency Index - fan forced Energy Class Energy consumption (electricity) - conventional kWh/cycle 0,75 Energy consumption (electricity) - fan forced...
- Page 30 Customer Care Please keep this handbook in a safe place as the information inside may be of use should you sell, or pass on the appliance. Please fill in the model number and serial number in the spaces provided below as they will assist us should you need to call.
- Page 31 52202020...
Need help?
Do you have a question about the FSDF608D Sil and is the answer not in the manual?
Questions and answers