Samsung SyncMaster 2243WM Quick Start Manual
Samsung lcd monitor quick start guide
Hide thumbs
Also See for SyncMaster 2243WM:
- Manual del usuario (79 pages) ,
- Guía de inicio rápido (20 pages) ,
- User manual (564 pages)
Table of Contents
Advertisement
Quick Links
Advertisement
Table of Contents

Related Manuals for Samsung SyncMaster 2243WM


Summary of Contents for Samsung SyncMaster 2243WM
-
Page 1: Lcd Monitor
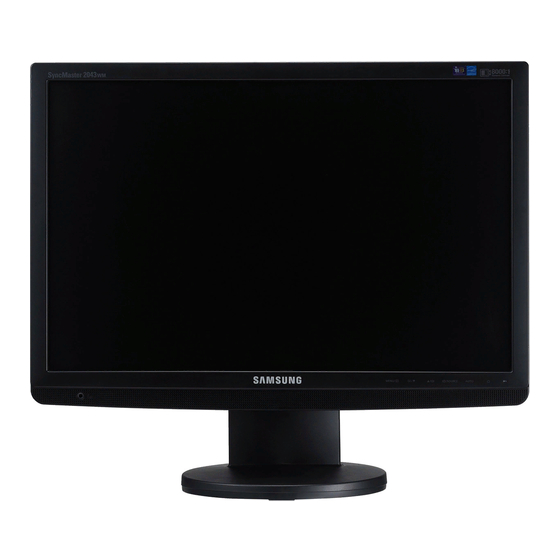
LCD MONITOR quick start guide 2043WM, 2243WM... -
Page 2: Package Contents
Introduction Package Contents Note Please make sure the following items are included with your monitor. If any items are missing, contact your dealer. Contact a local dealer to buy optional items. Unpacking Type 1 Monitor & Simple stand Note MagicRotation program can not be provided as Simple Stand does not support Pivot function. Type2 Monitor &... -
Page 3: Initial Settings
Cables D-Sub Cable Audio Cable Your Monitor Initial Settings Select the language using the up or down key. The displayed content will disappear after 40 seconds. Turn the Power button off and on. It will be displayed again. It can be displayed up to three (3) times. Make sure to adjust the resolution of your PC before reaching the maximum count. - Page 4 Front MENU button [MENU/ ] Opens the on-screen menu and exits from the menu. Also use to exit the OSD menu or return to the previous menu. Customized Key[ You can customize key assignment for the Custom button according to your pref- erences.
- Page 5 Note If you select the digital mode, you must connect your monitor to the graphic card's DVI port using the DVI cable. >> Click here to see an animation clip AUTO button Use this button for auto adjustment. >> Click here to see an animation clip Power button [ Use this button for turning the monitor on and off.
- Page 6 Connect the power cord for your monitor to the POWER port on the back of the monitor. AUDIO IN Connect the audio cable for your monitor to the audio port on the back of your com- puter. DVI IN port Connect the DVI Cable to the DVI IN port on the back of your monitor.
-
Page 7: Connecting Cables
Connections Connecting Cables Connect the power cord for your monitor to the power port on the back of the monitor. Plug the power cord for the monitor into a nearby outlet. Use a connection appropriate for your computer. Using the D-sub (Analog) connector on the video card. •... -
Page 8: Has Stand
Using the Stand Monitor Assembly Simple Stand Monitor and Bottom HAS Stand Attaching a Base This monitor accepts a 75.0 mm x 75.0 mm VESA-compliant mounting interface pad. Connections HAS Stand A. Stand Stopper... - Page 9 Samsung is not liable for these kinds of accidents. • Samsung is not liable for product damage or personal injury when a non-VESA or non-specified wall mount is used or the consumer fails to follow the product installation instructions.
- Page 10 Plug the power cord for the monitor into a nearby outlet. Use a connection appropriate for your computer. Using the D-sub (Analog) connector on the video card. • Connect the signal cable to the 15-pin, D-sub port on the back of your monitor. [RGB IN] Using the DVI (Digital) connector on the video card.
- Page 11 HAS Stand Attaching a Base This monitor accepts a 100.0 mm x 100.0 mm VESA-compliant mounting interface pad. Simple Stand A. Monitor B. Mounting interface pad (Sold separately) Turn off your monitor and unplug its power cord. Lay the LCD monitor face-down on a flat surface with a cushion beneath it to protect the screen. Remove four screws and then remove the stand from the LCD monitor.
- Page 12 Samsung is not liable for these kinds of accidents. • Samsung is not liable for product damage or personal injury when a non-VESA or non-specified wall mount is used or the consumer fails to follow the product installation instructions.
-
Page 13: Troubleshooting
Troubleshooting Self-Test Feature Check Note Your monitor provides a self test feature that allows you to check whether your monitor is functioning properly. Self-Test Feature Check Turn off both your computer and the monitor. Unplug the video cable from the back of the computer. Turn on the monitor. -
Page 14: Check List
noisy, and video mode not supported, etc. In this case, first check the source of the problem, and then contact the Service Center or your dealer. Judging the monitor's working condition If there is no image on the screen or a "Not Optimum Mode", "Recommended Mode 1680 x 1050 60 Hz"... -
Page 15: I Cannot See The On Screen Display
If the display exceeds SXGA or 75 Hz, a "Not Optimum Mode", "Recommended Mode 1680 x 1050 60 Hz" message is displayed. If the display exceeds 85 Hz, the display will work properly but the "Not Optimum Mode", "Recommended Mode 1680 x 1050 60 Hz" message appears for one minute and then disappears. -
Page 16: Led Is Blinking But No Images On The Screen
The screen can be unbalanced due to the cycle of the video card signals. Readjust Position by referring to the OSD. The screen is out of focus or OSD cannot be adjusted. Have you adjusted the resolution or frequency on the monitor? Adjust the resolution and frequency of the video card. -
Page 17: Check When Magictune™ Does Not Function Properly
MagicTune™ doesn't work properly. Have you changed your PC or video graphic card? Download the latest program. The program can be downloaded http://www.samsung.com/mon- itor/magictune Did you install the program? Reboot the computer after installing the program for the first time. If a copy of the program is already installed, remove it, reboot the computer, and then install the program again. - Page 18 Q & A How can I change the frequency? The frequency can be changed by reconfiguring the video card. Note that video card support can vary, depending on the version of the driver used. (Refer to the computer or the video card manual for details.) How can I adjusts the resolution? Windows XP: Set the resolution in the Control Panel →...