Advertisement
Quick Links
Before first use, you MUST
complete the steps below!
1.
Assemble Wheels
See Owner's Manual and assembly videos on
www.c3customcoolers.com/p/ownersmanual
2.
Pair Remote to Cooler
• Install batteries in remote
• Switch cooler power to OFF position
• Hold down Pairing Button until LEDs fl icker, continue holding
• Turn cooler ON (the motor will buzz when paired)
• Release Pairing Button
3.
Charge Battery 10-12 hrs
If you experience any issues, please
complete the steps below prior to
contacting customer service
1.
Complete quick start steps
See inside of this Quick Start Guide
2.
Check connections
Rough shipping & handling may loosen electronics connections
• Switch cooler power to OFF position
• Remove four screws attaching large, plastic access panel
• Ensure all wire connectors are tightly connected
• Replace access panel
3.
Refer to troubleshooting guide
See Owner's Manual: www.c3customcoolers.com/p/ownersmanual
Do not return product to store. Contact customer support
for assistance at 1-844-723-4909 or c3@seljan.com.
Pairing Button
WWW.C3COOLER.COM/P/OWNERSMANUAL
Remote Control Cooler
Quick
Start Guide
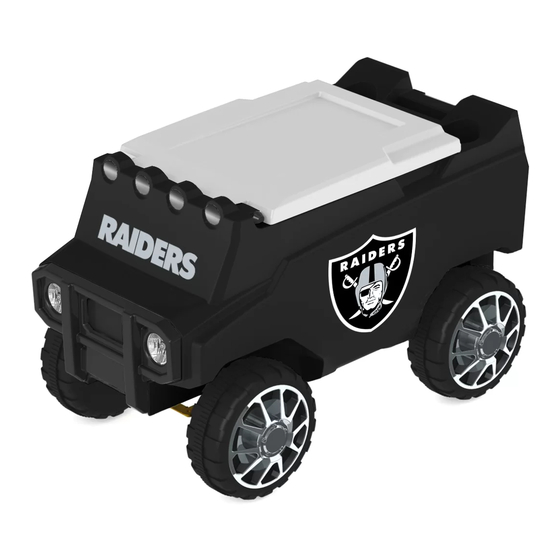
Applies to Models: ROVER, TRUCK, ZAMBONI
Styles and Colors May Vary
Designed, Molded and Assembled in the USA
Reference full owner's manual at
DO NOT SIT ON COOLER
MAXIMUM LOAD CAPACITY 60 LBS
FULL
MANUAL
ONLINE
Advertisement

Related Manuals for C3 Custom Coolers ROVER

Summary of Contents for C3 Custom Coolers ROVER
- Page 1 Complete quick start steps See inside of this Quick Start Guide Check connections Applies to Models: ROVER, TRUCK, ZAMBONI Rough shipping & handling may loosen electronics connections • Switch cooler power to OFF position Styles and Colors May Vary •...
- Page 2 Parts Step 4 Line up notches on hubcaps with notches on wheels. Gently press hubcaps to Washers Lock nut (1) Front axle assembly snap into place. (1) Front (6) Cotter (1) Rear axle rod steering rod (1) Bolt pins Wheels Hubcaps Step 5 Place cooler body upside down...
Need help?
Do you have a question about the ROVER and is the answer not in the manual?
Questions and answers