Advertisement
Quick Links
setup manual
stand assembly
1
1 Extend the bottom legs on stand (I)
and twist knob (I-1) to lock in place.
2
Twist handles on stand. Fully extend
both sections, adjusting for preferred
height, and tighten handles.
NOTE: Leave a minimum of 8 inches
extended at the top for device
holder (D).
3
Unscrew washer (I-2) from top
of stand. Slide studio holder (H)
onto stand with hook pointed
upward and twist knob to lock
in place. Screw washer back onto
top of stand.
4
Screw boom arm (G) onto top
of stand.
Screw mic holder (F) onto end
5
of boom arm (G).
Snap device holder (D) onto
6
stand (I).
Press here and lift
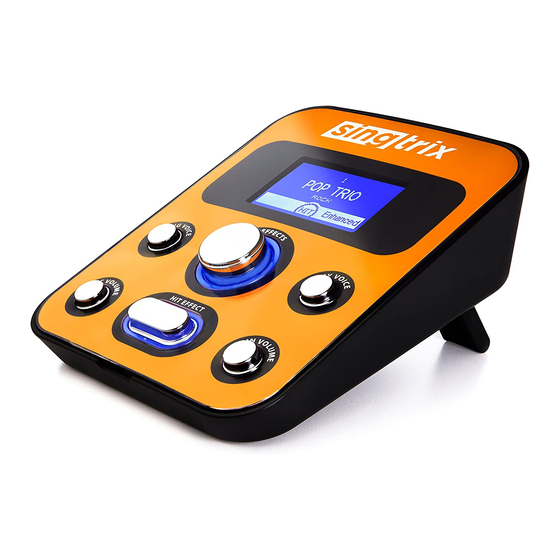
7 customize studio face plate
The studio can be customized to suite your color preference.
Press tab on studio (A) and lift cover. Insert studio face
plate (B) and close cover.
11 secure cables to stand (optional)
Use plastic clips (J & K) to secure audio cables to
microphone stand (I).
A
Studio
Studio Face Plate
®
F
Mic Holder
J
K
Small Plastic Clip
Large Plastic Clips (2)
8 attach studio to stand
Holding unlock button on back of studio, snap studio (A) to
studio holder (H) until a click is heard which means the studio
is locked. Lift up on the studio to make sure it is securely in place.
12 organize cables with clasp (optional)
To keep wiring organized and out of your way, use plastic clasp (J)
to secure cables to the leg facing towards speaker (O).
B
C
Studio Power Cable
G
Boom Arm
Studio Holder
L
M
Speaker Audio Cable
3.5mm Audio Cable
E
6
D
A
Updates/New Effects
USB to PC
Any Device
Any Music
OUTPUT 1
OUTPUT 2
Source
[ To Speakers Or Headphones ]
MUSIC IN
9 plug cables into studio
Connect your music source to the studio (A) by plugging the
3.5mm audio cable (M) into "MUSIC IN". Plug speaker audio cable (L)
into "OUTPUT 1" or "OUTPUT 2". Plug studio power cable (C)
into "DC IN". Plug mic (E) into "LEAD/MIC 1".
MIC 2 input can be used for a 2nd mic and has basic effects
including reverb & delay with no hit feature or pitch correction.
D
E
Device Holder
Mic (Microphone)
H
I
Stand
N
O
Speaker Power Cable
Speaker
and AC Adapter
5
F
4
G
3
3
H
2
I-1
1
I
DC IN
POWER
[ Hit Effects On Lead Mic Only ]
MIC 2
LEAD/MIC 1
10 plug cables into speaker
Connect the studio (A) to the speaker (O) by plugging
speaker audio cable (L) into "L/R MUSIC INPUT".
Plug speaker power cable (N) into "DC IN".
To register your product, check out performance tips,
and download the Singtrix Karaoke App.
go to singtrix.com
I-2
H
I
Advertisement

Related Manuals for singtrix singtrix


Summary of Contents for singtrix singtrix
- Page 1 To keep wiring organized and out of your way, use plastic clasp (J) microphone stand (I). to secure cables to the leg facing towards speaker (O). To register your product, check out performance tips, and download the Singtrix Karaoke App. go to singtrix.com...
- Page 2 There are 3 levels: enhanced, semi-pro, and pro. These levels Each preset has it’s own “Hit Effect.” Press the hit button on Singtrix works best when you sing about 2 inches away from Start by using preset 1 "Big Trio". Note that presets 1-8 are the determine the amount of voice enhancement Singtrix provides.
Need help?
Do you have a question about the singtrix and is the answer not in the manual?
Questions and answers