Table of Contents
Advertisement
Quick Links
Advertisement
Table of Contents

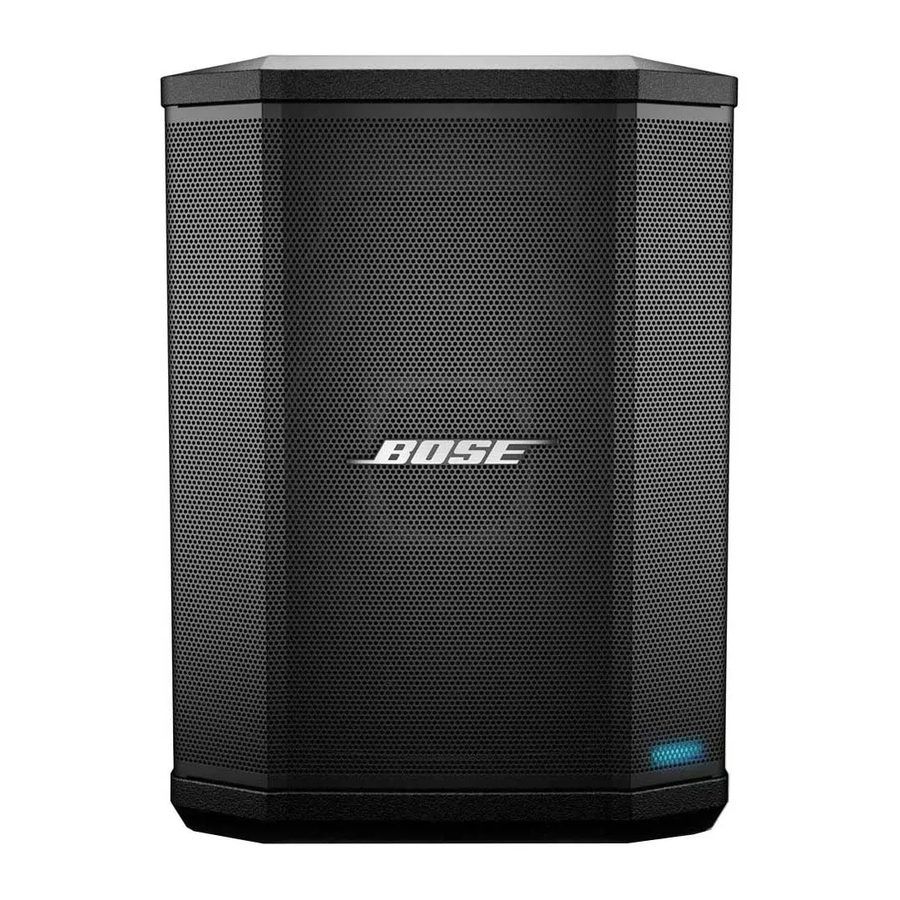
Summary of Contents for Bose S1 Pro
- Page 1 S1 Pro Multi-position PA System Owner's Guide...
- Page 2 Date of Manufacture: The eighth digit in the serial number indicates the year of manufacture; “7” is 2007 or 2017. Do NOT use the Bose S1 Pro system with a tripod/stand that is unstable. The loudspeaker is only designed for use on a 35 mm post, and the tripod/stand must be capable of supporting a speaker with a minimum weight of 7.1 kg (15.7 lbs)
-
Page 3: Table Of Contents
Speaker Stand ......................................13 General Purpose PA ....................................14 Stereo ........................................14 Dual-Mono/Daisy-Chain ................................15 Care & Maintenance Replacing the Battery .....................................16 Cleaning Your S1 Pro ....................................17 Troubleshooting ......................................17 S1 Pro Specifications ....................................18 Owner's Guide • S1 Pro System English • 3... -
Page 4: Overview
Multiple positions with Auto EQ allow the S1 Pro to be set down on the floor, up on a table, or even mounted on a speaker stand, ensuring that you always sound your best. And with a 3-channel mixer, reverb, Bluetooth®... -
Page 5: System Configurations
Overview System Configurations The versatile Bose® S1 Pro system operates in four unique modes. With Auto EQ, the system automatically updates to maintain optimum tonal balance for each position. Use the examples below to quickly identify the best mode for your application. -
Page 6: Bose® Connect App
System Setup Bose® Connect App Download the Bose® Connect app to access additional options and features like Stereo Mode, so that you can wirelessly stream audio to a second system for even more output. Features Easily connect to and switch between multiple mobile devices with a single swipe. -
Page 7: System Setup
System Setup System Setup Connections and Controls The S1 Pro control panel provides the necessary connectors, controls and indicators for operation. SIGNAL SIGNAL SIGNAL Use Channel 1 and 2 inputs for microphones and musical instruments. Integrated ToneMatch® signal processing allows microphones and instruments to sound their best. Use Channel 3 for Bluetooth®... -
Page 8: Connecting Power
Connecting Power Make sure the power switch is in Standby ( ). 2. Plug the power cord into the connector on the S1 Pro. 3. Plug the other end of the power cord into a live electrical outlet. 4. Power on the system by turning the power switch to On ( ). -
Page 9: Charging The Battery
The bottom of the S1 Pro system includes a pole cup for mounting the loudspeaker on a speaker stand. The pole cup fits a standard 35 mm post. When the S1 Pro is placed on a speaker stand, the EQ automatically updates to maintain optimum tonal balance. -
Page 10: Connection Scenarios
Elevated Surface Place the S1 Pro on a tabletop in the front of a room to give a business presentation or place it in the bed of your pickup truck for a tailgate party. Plug in a microphone and narrate over a multimedia presentation or get your friends pumped up before the game while listening to music wirelessly via your Bluetooth®-capable... -
Page 11: Tilt-Back
System Setup Tilt-Back Place the S1 Pro in Tilt-Back mode on the ground behind you for live musical performances. Tilting the loudspeaker onto it’s back edge creates a higher vertical coverage pattern, perfect for small audiences and passersby. Cue your backing tracks via Bluetooth® streaming and play along with a microphone and guitar. -
Page 12: Monitor
Monitor Place the S1 Pro on its horizontal side edge to use as a floor monitor. Face it toward the performer to be used as a personal monitor or send your mix to a main PA system, then dial in your equalization and reverb preferences for your performance. -
Page 13: Speaker Stand
System Setup Speaker Stand Using a conventional speaker stand, you can use your S1 Pro as a PA system. Connect a microphone and give a toast or sing a song while cuing music wirelessly via Bluetooth® streaming. SIGNAL SIGNAL SIGNAL Owner's Guide •... -
Page 14: General Purpose Pa
System Setup General Purpose PA Use a mixer with two S1 Pro systems as a conventional PA system. The wide and consistent coverage of the system ensures that the entire audience can easily hear the performance throughout the room. Stereo... -
Page 15: Dual-Mono/Daisy-Chain
Dual-Mono/Daisy-Chain Link two S1 Pro systems together in mono by using a TRS ¼" cable. Take the line out of the primary unit and plug it into the secondary S1 Pro system. Turn the channel volume up until both units are at desired volume. -
Page 16: Care & Maintenance
Power on the system by turning the power switch to On ( ). Note: Your replacement S1 Battery Pack will remain in Sleep mode until your S1 Pro is powered on. Note: To purchase a spare S1 Battery Pack, please visit www.Bose.com. -
Page 17: Cleaning Your S1 Pro
If solid red, please call Product and Technical Support at (877) 335-2673. With nothing Using an AC outlet tester, test the AC outlet the S1 Pro is plugged into for reversed plugged into the or open (hot, neutral, and/or ground) contacts. -
Page 18: S1 Pro Specifications
13 x 9.5 x 11.2 Net Weight 15.7 lbs (7.1 kg) Battery Type Rechargeable lithium-ion battery Charge Time 5 hours (3 hours in Quick Charge) Play Time Up to 11 hours 18 • English S1 Pro System • Owner's Guide... - Page 19 ©2018 Bose Corporation, All rights reserved. Framingham, MA 01701-9168 USA www.Bose.com All trademarks are the property of their respective owners AM807173 Rev. 01 April 2018...


Need help?
Do you have a question about the S1 Pro and is the answer not in the manual?
Questions and answers