Table of Contents
Advertisement
Advertisement
Table of Contents

Related Manuals for Samson C03


Summary of Contents for Samson C03
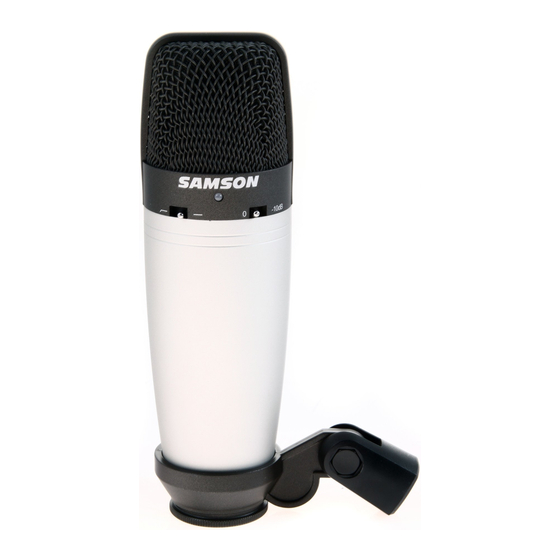
- Page 1 Multi-Pattern Studio Condenser Microphone -10dB -10dB...
-
Page 2: Table Of Contents
Cardioid Omni Figure-8 Microphone Placement P-Popping Stand Mounting Using the Optional SP01 “Spider” Shock-Mount Specifications Copyright 2003, Samson Technologies Corp. Printed March, 2003 Samson Technologies Corp. 575 Underhill Blvd. P.O. Box 9031 Syosset, NY 11791-9031 Phone: 1-800-3-SAMSON (1-800-372-6766) Fax: 516-364-3888 www.samsontech.com... -
Page 3: Introduction
And to expand your miking options and recording techniques, the C03 fea- tures three pickup patterns. The Cardioid pattern is great for miking applications where tight pickup is desired, and with the Omni and Figure 8 patterns you can mic multiple instruments, capture room sounds and expand your soundfield. -
Page 4: Operating The C03
A good mic pre with trim also will have a PEAK or CLIP LED. To set a good level on the mic, set the C03 up in front of the desired sound source and slowly raise the mic trim control until you see the PEAK LED light up. Then, turn the mix trim control down until the LED does not light any more. -
Page 5: Figure-8
You can also create some interesting slap back echo effects by positioning the C03 in Figure-8 pattern between a recorded instrument and a particular wall in the studio. The rear capsule will pick up the reflection of the sound off the wall, and by changing the distance of the micro- phone from the wall you can actually change the delay time of the echo. -
Page 6: Operating The C03
In order to maximize the sound quality, you must pay careful attention to the placement of your C03 and how it is positioned for the instrument or vocalist that you are miking. All microphones, especially uni-directional or cardioid microphones, exhibit a phenomenon known as the “proximity effect.”... -
Page 7: Using The Optional Sp01 Shock-Mount
Using the Optional SP01 Shock-Mount Using the Optional SP01 “Spider” Shock-Mount For additional isolation, the C03 can be fit- ted on the optional SP01 “Spider” shock mount. Follow the steps below the to install the SP01. • First, screw the SP01 shock mount onto your mic stand or boom arm. -
Page 8: Specifications
C03 Specifications Specifications Type Polar Pattern Frequency Response Sensitivity Rated Impedance Equivalent Noise level Max. SPL Dynamic Range Power Supply Current Consumption Dimensions Weight Phone: 1-800-3-SAMSON (1-800-372-6766) Condenser Microphone Super Cardioid/Fig. 8/Omni 40~18000 Hz -40 dBV/pa (10mv/pa) 350Ω 23 dB (A weighted IEC/DIN 651) 142 dB (THD≤...
Need help?
Do you have a question about the C03 and is the answer not in the manual?
Questions and answers