BRADEN PD12C Material List And Installation Instructions
Ratchet and pawl for use with the following braden hoists
Hide thumbs
Also See for PD12C:
- Installation maintenance and service manual (40 pages) ,
- Installation maintenance and service manual (40 pages)
Advertisement
Quick Links
For Use With The Following Braden Hoists:
LIT2137 R3
July 2017
Printed in USA
MATERIAL LIST
INSTALLATION INSTRUCTIONS
RATCHET AND PAWL
BRADEN
AND
PD12C
PD15B
PD10-75B
PD10-77B
PD15-75B
PD15-77B
PACR
800 E. Dallas Street, Broken Arrow, OK 74012
PHONE (918) 251-8511 FAX (918) 259-1575
www.paccarwinch.com
WINCH
Advertisement

Related Manuals for BRADEN PD12C

Summary of Contents for BRADEN PD12C
- Page 1 BRADEN MATERIAL LIST INSTALLATION INSTRUCTIONS RATCHET AND PAWL For Use With The Following Braden Hoists: PD12C PD15B PD10-75B PD10-77B PD15-75B PD15-77B PACR WINCH LIT2137 R3 800 E. Dallas Street, Broken Arrow, OK 74012 July 2017 PHONE (918) 251-8511 FAX (918) 259-1575 Printed in USA www.paccarwinch.com...
- Page 2 1.38 FIG 1 8.88 3.88 .531 9.25 4 HOLES .422 (+.008, -.003) thru FIG 2 1/2 -13UNC-2B Min. Mat’l Removal 12 holes for 80% Cleanup .06 R D ± .06 FIG 3 CLEVIS ADJUSTMENT NO PAINT ON THIS SURFACE 1.31 in. (33.3 mm) Disclaimer: Due to the added wrench flat feature on the pawl shaft, 1.31 inches is no longer feasible.
- Page 3 104322 11026 INSTALLATION INSTRUCTIONS FOR ASSEMBLY length will depend on the mounting structure. OF RATCHET AND PAWL KITS ON BRADEN “PD” Torque the capscrews to the proper torque specifi- HOISTS cation. 10. Check operation of hoist and ratchet & pawl assem- 1.
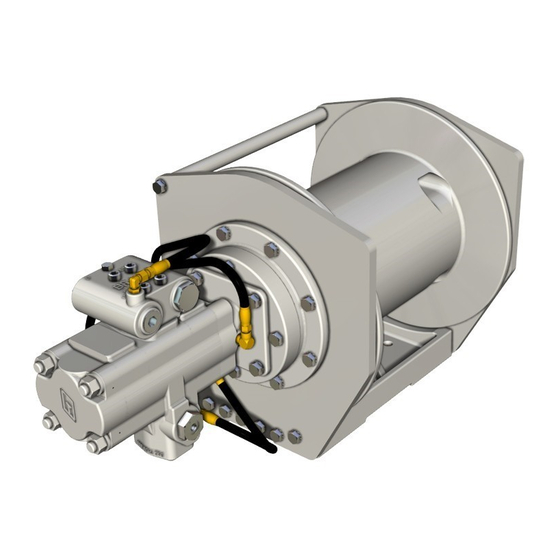
- Page 4 HYDRAULIC SCHEMATIC (FITTINGS SHOWN MAY NOT MATCH ALL HOISTS) NOTE: ONNECT PORT ON CYLINDER TO PORT MOTOR LOWERING ONNECT PORT ON CYLINDER TO PORT HOIST AND PORT ON BRAKE VALVE ONNECT PORT ON CYLINDER TO PORT MOTOR AND PORT ON BRAKE VALVE RATCHET AND PAWL CYLINDER PART NUMBER 81663 NOTE:...
Need help?
Do you have a question about the PD12C and is the answer not in the manual?
Questions and answers
how to assemble brake disc an components back onto unit
To assemble the brake disc and components onto the BRADEN PD12C unit, follow these steps:
1. Install the Brake Race (Inner and Outer)
- Place the inner brake race (Item 50).
- Position the outer brake race (Item 49) properly.
2. Install the Sprag Clutch Assembly
- Insert the sprag clutch (Item 54) inside the brake race.
- Install the sprag bushings (Item 51) and retainers (Item 52).
- Secure the assembly with retaining rings (Items 53 and 55), ensuring they are seated properly in the grooves.
3. Assemble the Brake Discs and Friction Discs
- Stack the brake discs (Item 7) and friction discs (Item 6) alternately in the correct order.
4. Install the Springs and Pressure Plate
- Place the springs (Item 5) in position.
- Install the pressure plate (Item 3) on top of the disc stack.
5. Install the Piston and Seals
- Insert the piston (part of brake cylinder, Item 1).
- Fit the piston seal (Item 2) and back-up ring (Item 4).
6. Secure with Fasteners
- Install capscrews (Item 42) to secure the assembly.
- Ensure all components are aligned and properly seated.
7. Final Checks
- Verify proper movement of the brake mechanism.
- Ensure the snap rings and fasteners are correctly installed.
This completes the brake disc assembly for the BRADEN PD12C unit.
This answer is automatically generated