Advertisement
Table of Contents
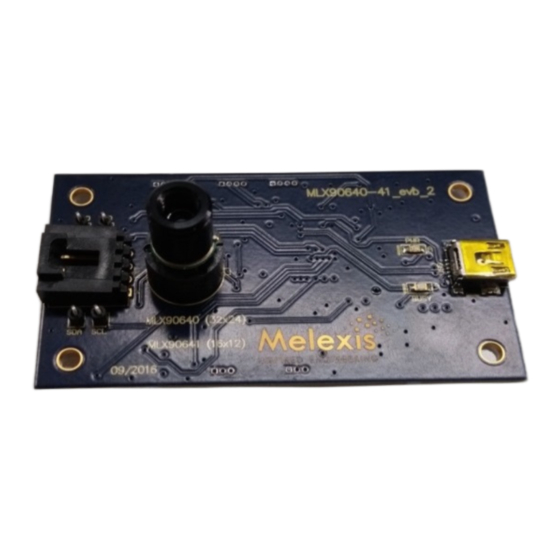
EVB90640/1
User manual
1. Installation
Before connecting the EVB to the PC, first install the EVB software. The EVB software can be downloaded from
the Melexis website:
https://www.melexis.com/en/product/EVB90640/Evaluation-Board-MLX90640
Insert the sensor in the ZIF socket on the PCB. Take care to align the notch with the silk screen on the PCB.
Next, connect the PCB with the USB port of the computer. The computer should indicate that a new USB device
is being installed and indicate after a while it has been installed successfully. This installation normally happens
only once. The pwr LED on the PCB should be on.
Rev. 2
Page 1 of 7
Advertisement
Table of Contents

Related Manuals for Melexis EVB90640


Summary of Contents for Melexis EVB90640
- Page 1 1. Installation Before connecting the EVB to the PC, first install the EVB software. The EVB software can be downloaded from the Melexis website: https://www.melexis.com/en/product/EVB90640/Evaluation-Board-MLX90640 Insert the sensor in the ZIF socket on the PCB. Take care to align the notch with the silk screen on the PCB.
- Page 2 EVB90640/1 User manual 2. Operation Now start the EVB program. The program will scan for the EVB and you should see a screen as below: The EVB has been recognized and a sensor has been found on the PCB. The I2C address of the sensor is shown and its factory ID.
- Page 3 EVB90640/1 User manual Now double click the measure tab: The measurement starts and the resulting thermal image is shown in a new screen. Pixel 1 Pixel 32 Pixel 768 In the top right corner one can see the maximum and minimum temperature of the temperature scale, the sensor temperature Ta and the temperature To of the pixel at the pointer location.
- Page 4 EVB90640/1 User manual In the Application tab one can control the color range of the visualization. This does NOT influence the actual measurement range. One can also choose the desired temperature unit and mirror the image if needed for presentation purposes. The restart on full EVB assures that the EVB would restart by itself if the memory of the EVB would overflow.
- Page 5 EVB90640/1 User manual In the log tab, one can control where and if the measured data is stored on the PC. The file can also be opened in Excel from here. After measurement of each sub-frame, The data is stored with all measurements of one full frame (768 pixels) in one line.
-
Page 6: Esd Precautions
EVB90640/1 User manual Clicking on the EEPROM tab will show you the EEPROM content. The program also shows what the current EEPROM content means for FPS, resolution setting and sub-frame pattern. This is the configuration the sensor will start in after POR. -
Page 7: User Manual
4. Disclaimer The information furnished by Melexis herein (“Information”) is believed to be correct and accurate. Melexis disclaims (i) any and all liability in connection with or arising out of the furnishing, performance or use of the technical data or use of the product(s) as described herein (“Product”) (ii) any and all liability, including without limitation, special, consequential or incidental damages, and (iii) any and all warranties, express, statutory, implied, or by description, including warranties of fitness for particular purpose, non- infringement and merchantability.
Need help?
Do you have a question about the EVB90640 and is the answer not in the manual?
Questions and answers