Advertisement
Quick Links
HBN22 Quick Start Guide - Front
Size: 432 x 140 mm
Printing Color: Black
Mat'l: 100 gsm WF paper
Nov 9, 2016
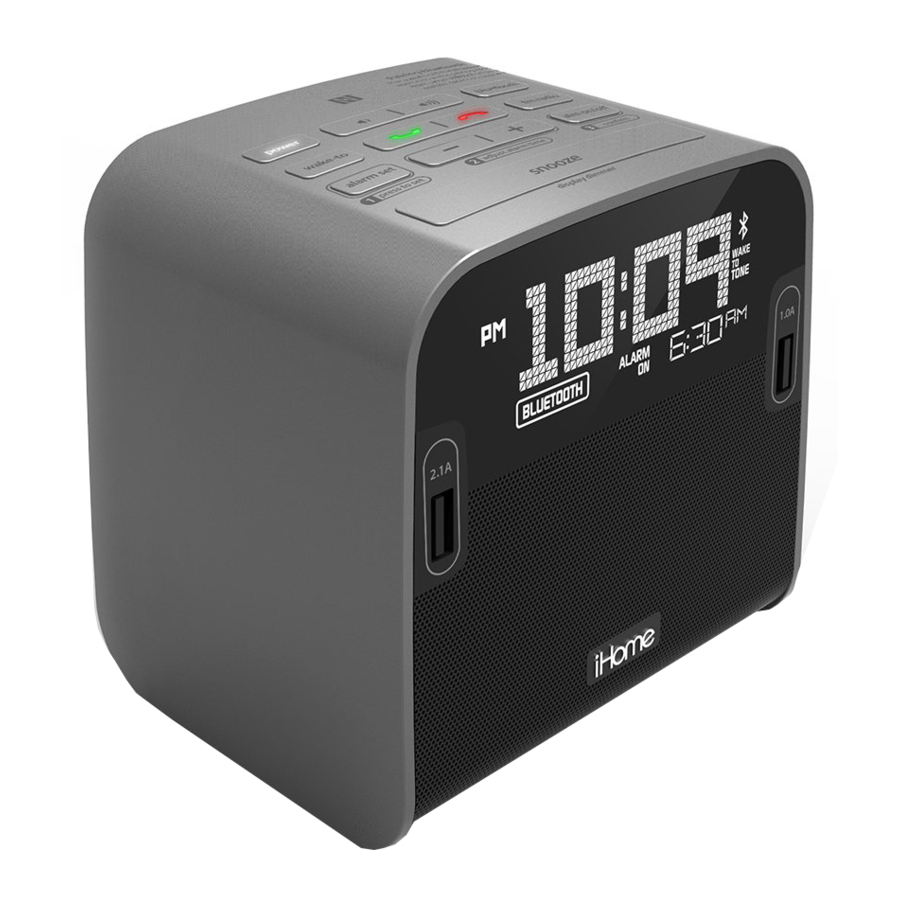
HBN22
Staff Quick Start Guide
Included
•
HBN22 system
•
Universal AC adaptor
HBN22 Quick Start Guide - Inside
Size: 432 x 140 mm
Printing Color: Black
Mat'l: 100 gsm WF paper
Daylight Saving Time
The unit ships with the Daylight Saving Time (DST)
switch in Auto position, and will automatically adjust
when the time changes in March and November. If
Daylight Saving Time is NOT observed in your loca-
tion, move the DST switch from AUTO to -1 or +1
BEFORE setting time.
Manual Clock Setting
Press and hold the time set button
for 2 seconds to enter clock setting mode.
time set
Press the - or + button to adjust time.
Set Up
1
Remove thumbscrew
and remove back cover
to access staff controls.
Connect the universal voltage AC adapter to
2
the DC jack on the back panel of the unit
and plug into a working outlet that is not
controlled by an On/Off switch.
outlet
DC 9V 3A
time set time zone
Press the time set button to confirm time.
The year will flash.
time set
Press the - or + button to set year
Press the time set button to confirm year.
The date will flash.
time set
Press the - or + button to set date (hold for faster
adjustment).
3
Secure the attached Security
Tether to a wall or other
time set time zone
permanent surface.
CAUTION: DO NOT attach to an
AC outlet or cause it to become
entangled with anything that
can create a hazardous
situation.
4
Set the Volume Limit Switch to High
for large rooms or to Low for smaller rooms.
5
Extend the FM antenna for best reception.
time set time zone
FM Antenna
Press the time set button to confirm date
and exit clock setting.
time set
Once staff has completed setup, replace security
cover on back of unit and tighten thumbscrew.
Backup Batteries
Keep unit connected to AC power when replacing
batteries or you will lose settings.
When Low Battery Icon appears on top left of the
display, replace backup batteries with 2 fresh AA
batteries. make sure to match polarity markings (-/+)
to those in battery compartment.
Setting the Time Zone and Clock
(Factory Preset Clock)
The first time you connect your new preset clock to
the AC outlet, the unit will automatically show the
correct Eastern Standard time, which is the default
setting. If you are not in the Eastern time zone, you
must change the default setting to match your time
zone (see Time Zone Setting below). Once the
correct time zone is set, if the time displayed is not
correct, follow steps under Manual Clock Setting to
set the correct time, year and date.
Time Zone Setting
Press and hold the time zone button for 2 seconds.
time zone
The currently set time zone will flash.
Press the – or + button to adjust to your
time zone.
Press the time zone button to confirm time zone.
time zone
Battery Cautions and Tips
• Only use the recommended/supplied batteries or equivalent.
• Use alkaline batteries for longer life.
• Do not mix old and new batteries, and do not mix alkaline, carbon-zinc or
rechargeable nickel-cadmium batteries.
• Insert batteries with proper polarity (+/–) as indicated.
• Remove exhausted batteries from product.
• Do not attempt to recharge non-rechargeable batteries.
• Do not open batteries or heat them beyond normal ambient temperatures.
• To prevent battery leakage or damage remove batteries from a product if it
will not be used for a month or longer.
• Use extreme caution handling leaking batteries (avoid direct contact with
eyes and skin). If battery leakage comes in contact with eyes, IMMEDIATELY
flush the eye with lukewarm and gently flowing water for at least 30
minutes. If skin contact occurs, wash skin with clear water for at least 15
minutes. Seek medical attention if any symptoms occur.
• Store in cool, dry, ventilated area away from hazardous or combustible
material.
• Do not dispose of batteries in the household trash or fire.
• Follow applicable laws and local regulations for the disposal and
transportation of batteries.
Maintenance
• Place the unit on a level surface away from sources of direct
sunlight or excessive heat.
• Protect your furniture when placing your unit on a natural
wood and lacquered finish. A cloth or other protective
material should be placed between it and the furniture.
• Clean your unit with a soft cloth moistened only with mild
soap and water. Stronger cleaning agents, such as thinner or
similar materials can damage the surface of the unit.
HBN22QSG-110316-A
© 2016 HTI Industries, LLC. All rights reserved
Printed in China
Advertisement

Related Manuals for iHome HBN22


Summary of Contents for iHome HBN22
- Page 1 HBN22 Quick Start Guide - Front Size: 432 x 140 mm Printing Color: Black Mat’l: 100 gsm WF paper Nov 9, 2016 Set Up Setting the Time Zone and Clock Secure the attached Security (Factory Preset Clock) Tether to a wall or other time set time zone permanent surface.
-
Page 2: Important Safety Instructions
Generic Legal Sheet for all Hotel model items - Front Generic Legal Sheet for all Hotel model items - Back Size: 108 x 140 mm Color: 1C + 1C (Black) Material: 100 gsm WF paper Aug. 04, 2015 IMPORTANT SAFETY INSTRUCTIONS LIMITED 30 DAY WARRANTY When used in the directed manner, this unit has been designed and manufactured to ensure your personal safety.
Need help?
Do you have a question about the HBN22 and is the answer not in the manual?
Questions and answers