
Related Manuals for Classic Cantabile UP-1


Summary of Contents for Classic Cantabile UP-1
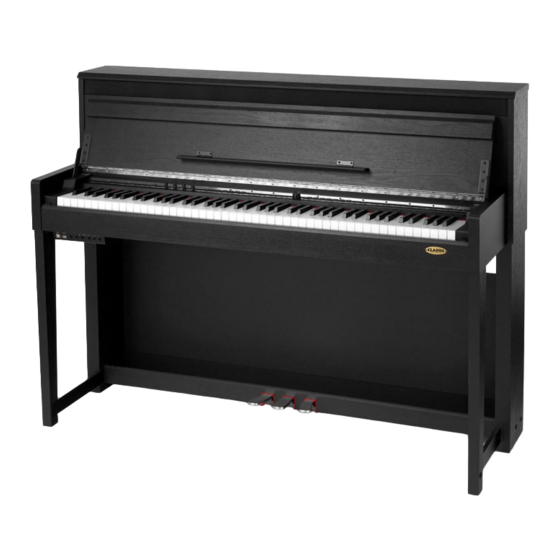
- Page 1 Digitalpiano UP-1 User manual ArtNr 00038290, 00044926, 00044927, 00044348 Version 05/2018...
-
Page 2: Information For Your Safety
INFORMATION FOR YOUR SAFETY! THE FCC REGULATION WARNING (for USA) This equipment has been tested and found to comply with the limits for a Class B digital device, pursuant to Part 15 of the FCC Rules. These limits are designed to provide reasonable protection against harmful interference in a residential installation. - Page 3 Contents...
-
Page 4: Front Panel
Front Panel 1. POWER SWITCH 14. [VOICE] button Enter the voice mode. If the “SPLIT” or “DUAL” Turn the power on or off. Page 8 function is on, press to switch between Voice L, 2. [MASTER VOLUME] knob Voice R1 and Voice R2. Page 10 Adjust the master volume. - Page 5 IO Panel 21. [USB TO HOST] terminal Connect to a computer, smart device or other USB host device. Page 22 22. [USB TO DEVICE] port Insert a USB flash drive. Page 13 23. [PHONE 1]/[PHONE 2] jacks Connect to headphones. Page 9 24.
-
Page 6: Component Guide
Setup In this section, we are going to introduce information about setting up your instrument and preparing to play. Please go through this section carefully before turning the power on. Component Guide Before proceeding to assemble the stand, you may need to prepare a tool, such as a Philip's screwdriver (not supplied). -
Page 7: Setup Guide
Setup Setup Guide Step 1: Using 4 PCS Ø6x40CM “+” Screw connect Left/Right stand board to Pedal box, finally cover 4 PCS screw cap on the screw hole. Step 2: As shown below, use 10 pcs 4x15 screws to fix big board with stand left/rigt board and pedal box. Step 3: Use 2 PCS Hand screw and 6 PCS Ø6x18 BM “+”screw to connect Piano body to Piano feet as shown. -
Page 8: Adjusting The Master Volume
Step 4: Using 2 PCS Ø3x8 BM screw to connect earphone bracket to IO functionbox , then insert the Pedal line into the Pedal line socket under the Piano bottom, assembly completed. Step 5 Connect the power cord to the DC IN jack at the rear of the piano,and then plug it to an AC outlet. -
Page 9: Connecting A Microphone
Connections Connecting a pair of Headphones We have designed two PHONES jacks for this instrument. Two standard pairs of stereo headphones can be plugged in here for private practice,monitoring or late-night playing. PHONES Jack: when headphones are plugged into the jacks, you can only hear the sound from the headphones, as the internal stereo speaker system is automatically muted. -
Page 10: Playing Two Voices Simultaneously
Playing Voices The piano features 40 realistic preset voices (Please refer to the Voice List). You may also try the voice related functions like Reverb, Chorus in the Function menu to enrich your performance. Playing Voices Press the [VOICE] button. The LCD displays currently selected voice name and number. -
Page 11: Playing Different Voices With Both Hands
Playing Different Voices with Both Hands The lower function splits the keyboard into right and left areas to create two different voices. The left area voice is lower voice, and you can allocate an appropriate spilt point on the keyboard. Press [SPLIT] button to turn the lower function on. - Page 12 Play the Piano with a Friend If you want to play a song together with a friend, you can try the Twinova mode. The Twinova mode can split the keyboard into two areas which have the same pitch and voice. Press [TWINOVA] button to enter Twinova mode.
- Page 13 Play Back Songs The piano has 90 preset classical songs of various genres. You can record and save the user song inside the piano. If a USB flash drive is connected, the piano can play back the MP3 and MIDI files from it. Play Back Preset Songs Press the [SONG] button, the LCD displays the selected song.
-
Page 14: Record Your Performance
Record Your Performance All notes you played on this keyboard can be recorded, you can play back the recorded user song anytime you need. You can turn the metronome on while recording; the metronome sound will not be recorded. Record Your Performance with a USB Flash Drive You may connect a USB flash drive to the piano before recording. - Page 15 Record with Accompaniment of a Preset Song If you want to record with accompaniment, do as the following procedures: Press panel [REC] [METRO] buttons simultaneously, enter the standby mode. If you choose not to use the USB flash drive, you may receive a question from the display, asking you if you want to overwrite the existing internal user song or not.
-
Page 16: Function Menu
Function Menu The function menu is a collection of the parameters of your piano. You can easily customize your configuration here. Common Settings Enter the common settings. In the VOICE interface, press the [FUNCTION] button. Select a parameter item. Repeatedly press the [FUNCTION] button to select a parameter item. - Page 17 Play Different Keys at the Same Position The transpose function allows the overall pitch of the piano to be shifted up or down by a maximum of one octave in semitone increments. Select the “Transpose” item. Use the data dial to set transpose parameter value, which changes in semitone.
-
Page 18: String Resonance
Set the Time Signature for the Metronome Select the “Metronome” item. Use the data dial to set the time signature type. Note: If the time signature of a preset song or a MIDI file is different from your setting, the Metronome will work according to the selected or played song. - Page 19 Add Chorus Effect to Your Performance The chorus effect creates a rich ensemble sound, as if one keyboard part was played by several instruments at the same time. Select the “Chorus Type” item. Use the data dial to select different chorus type, you can play the keyboard at any time to preview changes.
-
Page 20: Other Settings
Other Settings Some global parameters can be found in the Other Settings menu. You can configure these settings as below if necessary. Enter the “Other Settings” menu. In the VOICE interface, press and hold the [FUNCTION] button about 2 seconds to open the “Other Settings” menu. - Page 21 Set the System Date and Time You may need to set the correct system date and time, as it may be applied to the files saved to USB flash drive and some other functions. You can select the “Year”, “Month”, “Day”,“Hour”, or “Minute”...
- Page 22 Work with Computer or Smart Device Your piano is a powerful instrument with USB digital audio as well as USB MIDI IN/OUT. With this exciting new feature, now you can use the digital music coming from a computer or your smart phone as accompaniment, or use your piano as an excellent USB speaker.
-
Page 23: Troubleshooting
Troubleshooting Specifications LCD Display Record 2.08” Dot-matrix OLED SMF 1 MIDI 44.1KHz 16bit Stereo 320Kbps CBR MPEG-1 layer 3 audio Keys 88 Graded Hammer-Action Keys with triple switches USB to Device Mass Storage Class USB flash drive, 2GB~128GB, Polyphony FAT 32 Support SMF 0 and 1 MIDI file, MPEG-1 layer 3 audio file Preset Voices USB to Host... -
Page 24: Voice List
Voice List... -
Page 26: Midi Implementation Chart
MIDI Implementation Chart... - Page 27 WEEE-Declaration / Disposal Your product is designed and manufactured with materials and components of high quality, which are recyclable and can be reused. The symbol means that your product should be disposed of separately from household waste when it reaches its end of life. Please dispose of this equipment at your local collection point or recycling center.
Need help?
Do you have a question about the UP-1 and is the answer not in the manual?
Questions and answers