Advertisement
Quick Links
MANUAL
CONGRATULATIONS
On the purchase of your new professional CTEK Battery Analyzer. The Battery Analyzer
represents the latest technology in battery testing and will provide you quickly and safely
with easy to understand, accurate results.
IDENTIFYING YOUR BATTERY RATING
Your battery should have a label attached showing its performance rating. Use this infor-
mation to set the Battery Analyzer. If not visible contact your battery supplier for guidance.
Battery label
- typical location
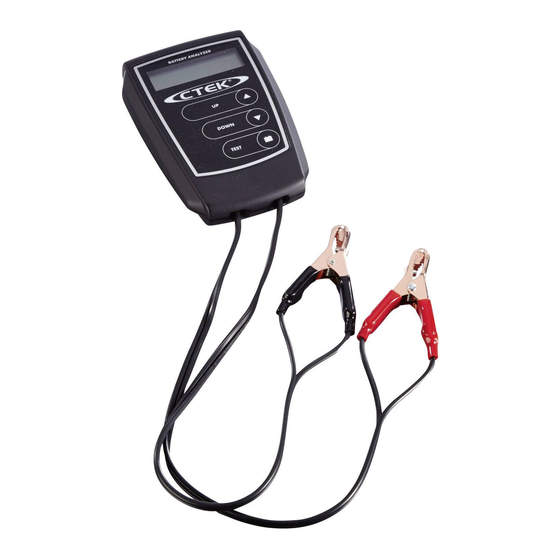
CONNECTING THE ANALYZER TO THE BATTERY
Note: Tests should only be undertaken with the vehicle engine and any electrical loads in
the 'Off' position.
5
3
4
1. Connect the red clamp to the positive (+) terminal and the black clamp to the negative (-)
terminal. The Battery Analyzer switches on when both connections are made.
2. Ensure a good connection by moving the clamps around on the terminals. The Battery
Analyzer requires that both sides of each clamp be properly connected before testing
can take place. A poor connection will result in the 'CHECK CONNECTION' warning.
If this happens, clean the battery terminals and clamps and reconnect.
3. Following the start up screens, enter the rating of the battery you are testing* (EN or
CCA according to Battery Analyzer model) using the '▲' and '▼' buttons. The default
setting is 500 EN (or 500 CCA according to model).
4. Press the TEST button and begin the battery test.
5. The result of the test is displayed on the screen.
6. If retest is required, disconnect the Battery Analyzer, reconnect it to the battery ter-
minals, and repeat the process.
2
1
EN • 3
Advertisement

Related Manuals for CTEK BATTERY ANALYZER

Summary of Contents for CTEK BATTERY ANALYZER
- Page 1 IDENTIFYING YOUR BATTERY RATING Your battery should have a label attached showing its performance rating. Use this infor- mation to set the Battery Analyzer. If not visible contact your battery supplier for guidance. Battery label - typical location 1.
- Page 2 BATTERY TEST RESULTS BATTERY RATING COMPARISON TABLE Use this table to compare your reading with other popular battery standards. See battery BATTERY GOOD label for details or contact your battery supplier for guidance. Return the battery to service. No action required. SAE/CCA GOOD / RECHARGE Fully charge the battery and return to service.
-
Page 3: Maintenance Instructions
MAINTENANCE INSTRUCTIONS The CTEK Battery Analyzer is maintenance-free. The unit must not be opened; doing so will invalidate the warranty. The casing can be cleaned using a damp cloth and mild cleaning agent. - Page 4 ENGLISH CTEK SAFETY INSTRUCTION • The charger is designed for charging only batteries according to the technical specification. Do not use the charger for any other purpose. • Always follow battery manufacturers’ user and safety recommendations. • Never try to charge non-rechargeable batteries. • Never place the charger on top of the battery or cover the charger when charging. • Never charge a frozen or damaged battery. • Never use a charger with damaged cables. Ensure that the cables have not been damaged by hot surfaces, sharp edges or in any other way. • Never place a fan-cooled charger so that dust, dirt or similar can be sucked into the fan. • A damaged cable must be replaced by a CTEK representative using an original part supplied by CTEK. A detachable cable can be replaced by the user using an original part supplied by CTEK. • Never extend the charge cable to a total length of more than 5.0 m. Use only original parts supplied by CTEK. • Connection to the mains supply must be in accordance with the national regulations for electrical installations. • Chargers with grounded mains plug must only be connected to a grounded socket outlet. • During charging, Lead-Acid batteries could emit explosive gases. Prevent sparks close to the battery. Provide for good ventilation. • Chargers with IP-class lower than IPX4 are designed for indoor use. See technical specification. Do not expose to rain or snow. • Connect the charger to the battery´s positive pole and then to the negative pole. For batteries mount- ed inside a vehicle, connect the negative connection to the vehicle chassis remote from the fuel pipe.
Need help?
Do you have a question about the BATTERY ANALYZER and is the answer not in the manual?
Questions and answers