Advertisement
Quick Links
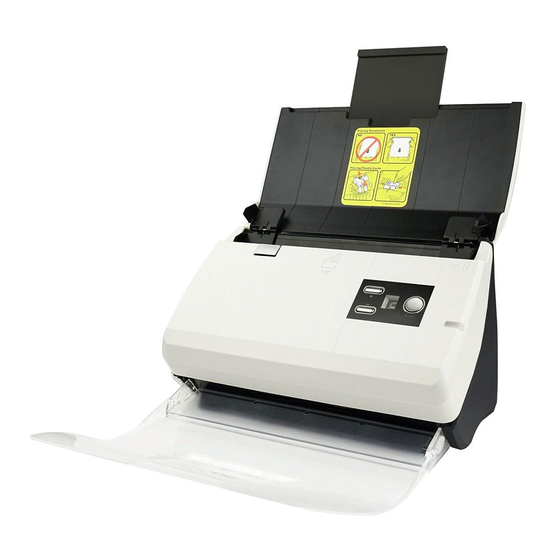
SmartOffice PS30D
Quick Start Guide
Please read this guide before using your scanner.
1
Unpack and Assemble
Note:
The Pad Module (No. 9) is a consumable part,
you need to replace it after 20000 times of scan.
2
Connect and Install Software
1.
Connecting the scanner to your computer.
Please use the AC adapter, and the USB cable provided with the scanner.
3
Scan a Document
1.
Fan the document
At an angle
Feed direction
Please scan the QR code in the title bar to see more software video tutorials.
1
1.
Remove all packing materials.
2.
Insert the Setup/Application DVD-ROM, included
with your scanner, into your DVD-ROM drive.
2.
Place the document
For product detailed information, please visit:
Scan me
2
2.
Open the cover and remove all packing
materials, then close the cover until you hear it
click into place.
3.
Follow the on-screen instructions to install all
software:
Visit our official download center for latest
Note:
driver, simply search by keywords: "Plustek
Download" via search engines.
3.
Click the Windows Start button to launch DocAction. Double-click
on the desired function icon to scan.
For software video tutorials, please visit:
Scan me
3
3.
Pull out the paper chute extension and install
the stacker.
4.
Check the scanner panel monitor to see if it is
displayed 1. Or check the system tray to see if
the installation is successful.
For Windows OS
For Mac OS
P/NO.: 17-07-2BB5060-C
Advertisement

Related Manuals for Plustek SmartOffice PS30D


Summary of Contents for Plustek SmartOffice PS30D
-
Page 1: Quick Start Guide
For Windows OS Visit our official download center for latest Note: driver, simply search by keywords: "Plustek For Mac OS Download" via search engines. Please use the AC adapter, and the USB cable provided with the scanner. -
Page 2: Clean The Scanner
Solution: The ISIS driver is originally packed with the installation disc, you may also find the ISIS driver on our support webpage: http://plustek.com/us/products/workgroup-scanners/smartoffice-ps30d/support.php Technical Support If you need further support, please call 714-670-7713 to speak to our support representatives, 9 AM to 5:30 PM PST, Monday through Friday.
Need help?
Do you have a question about the SmartOffice PS30D and is the answer not in the manual?
Questions and answers