Advertisement
Quick Links
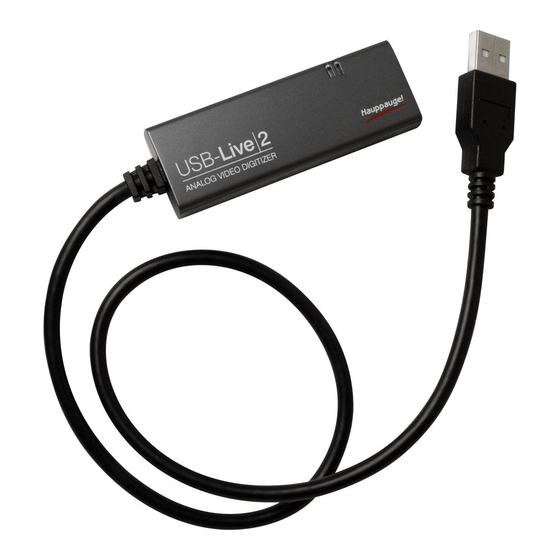
USB-Live2
Quick Installation Guide for Windows
Hauppauge Computer Works, Inc.
Hauppauge Computer Works, Ltd
91 Cabot Court
Crown House, Home Gardens,
Hauppauge, NY 11788
Dartford, Kent DA1 1DZ,
USA
United Kingdom
Phone:
631-434-1600
Phone: (+44) 203 405 1717
Fax:
631-434-3198
Email: support@hauppauge.co.uk
Tech Support: 631-434-3197
Web:
www.hauppauge.co.uk
Email:
support@hauppauge.com
Web:
www.hauppauge.com
1. Package Contents
• USB-Live2 video capture device
• WinTV v8 Download Document with
Serial Number*
- or -
WinTV Installation CD ROM with
Serial Number* on the sleeve
For the exact contents please refer
to the packaging description on the
box.
* Please keep the serial number in a
safe place. It will be required for
future installations.
2. How the USB-Live2 works
USB-Live2 is a Windows video capture device. It can be used for digitizing and com-
pressing video from video cameras, video tape recorders and other devices which
create analog video signals.
Two applications are available for USB-Live2:
• WinTV v8, which is used for displaying live video on your PC screen and to create
video recordings,
• Hauppauge Capture, which is used for displaying live video, record video, perform
simple video cuts, and upload videos to YouTube
When recording live video with the WinTV v8 application, USB-Live2 creates a .TS
(transport stream) file. Using options in the WinTV v8 application, you can also create
.MPEG files.
With Hauppauge Capture you can record your video, perform simple cuts and can
then directly upload your video to YouTube.
USB-Live2 is based on a Windows WDM capture driver, which is compatible with
most video applications which use WDM capture devices.
5. Installing the USB-Live2 Software
otes:
• This step requires that the USB-Live2 is connected to the USB port.
• It is recommended to disable your anti-virus software for the duration of the
software installation.
•
n Internet connection is required for software activation.
If a CD ROM is included, install the
software from CD ROM.
If a CD ROM is not included:
Open your web browser and enter
the download link from the WinTV v8
Download Document into the ad-
dress bar. Or alternate, visit
www.hauppauge.com ,
click on "SUPPORT", then "WinTV
v8".
Download the WinTV8 Setup file to
your computer. Run the downloaded
file, for example
wintv8setup_34148.exe (the version
number may vary).
Select your language and click
"Next". Follow the instructions on your
screen.
First the USB-Live2 device driver will
be installed.
When you are prompted to enter the
serial number, enter the serial number
from the WinTV v8 Download Docu-
ment.
Then the WinTV application will be in-
stalled. It is recommended to use the
default directories for the program and
data files.
After the installation, you will find a
'WinTV 8' icon on your desktop and
a Hauppauge WinTV folder in the
Windows Start menu.
Hauppauge Capture Installation
To download and install Hauppauge
Capture, visit this site:
www.hauppauge.com/capture
English
Hauppauge Digital sia Pte Ltd
1093 Lower Delta Road #04-05
Tiong Bahru Industrial Estate
Singapore 169204
Tel: +65 62769163
Fax: +65 62769167
Email:
support@hauppauge.com.sg
sales@hauppauge.com.sg
Web: www.hauppauge.com.sg
1
3
3. Installing the USB-Live2 device
Locate a free USB 2.0 or 3.0 port (normally located at the side or back on the laptop
or desktop PC). Plug USB-Live2 into the USB port.
N
ote: We do not recommend connecting via a USB Hub.
Indicator LEDs
The blue LED will be lit when USB-Live2 has been activated by Windows.
The green LED will be lit in addition if a video signal is detected.
4. Connecting an /V source
• Plug the A/V input cable into the connector on the side of the USB-Live2 (see pic-
ture below). The A/V connector can be removed from USB-Live2 by pressing the
'Push' button.
• Connect the video signal of your video source to the yellow RCA plug or the black
S-Video plug on the A/V input cable.
• Connect the audio signal to the red and white RCA plugs.
Connectors on the A/V input cable
RCA yellow:
Composite Video Input
RCA red:
Audio Input, right channel
RCA white:
Audio Input, left channel
4-pin Mini-DIN black:
S-Video Input
N
ote: When using the S-Video connection, audio must be connected to the
red and white RCA plugs, as the S-Video cable only carries a video signal.
Connecting a Video Recorder with SCART
To connect a video recorder with SCART connector, you need a SCART-to-RCA
adapter labeled "Video Out" or a switchable adapter (not included).
The direction of the signal must be from SCART to RCA. A SCART-to-RCA adapter la-
beled "Video In" is not suitable.
VHS video recorders usually do not supply an S-Video signal on the SCART output.
When using a SCART-to-S-Video adapter on such a recorder the video will be just
black and white.
6. Running WinTV v8 for the first time
To start the WinTV v8 appli-
cation, double-click on the
WinTV 8 icon on your desk-
top. On the first start, the
Device Setup Wizard will appear.
Set the checkmark on "External In-
puts (Composite/SVideo)" and click
Next.
You will be presented with the option
to add a Composite and an S-Video
Input. Either leave the selection as
'AUTO' or select the video source
and click Next.
If you wish to connect a source not
normally designed for operation in
your country, you can configure the
Video Format manually from the
drop down list. Change the value
from "AUTO".
N
ote: PAL is the commonly
used format in Europe. NTSC
is used in North America.
7. Using the WinTV v8 pplication
Start live
video
Skip back (10s)
Skip back (60s)
Open file for
playback
Menu
Stop
Settings
Snapshot
Record
2
Minimize
Full Screen
Close WinTV
Video Preview
Skip forward (30s)
Skip forward (60s)
Mute
Pause
Select Input Channel
4
Volume
Advertisement

Related Manuals for Hauppauge USB-Live2


Summary of Contents for Hauppauge USB-Live2
- Page 1 4. Connecting an /V source Web: www.hauppauge.com Web: www.hauppauge.com.sg • Plug the A/V input cable into the connector on the side of the USB-Live2 (see pic- ture below). The A/V connector can be removed from USB-Live2 by pressing the 1. Package Contents ‘Push’ button.
- Page 2 Pause beled "Video In", that is used to bring video into the video recorder, there will be no video with USB-Live2, as the video signal has the wrong direction. You must use a SCART-to-RCA adapter labeled "Video Out" to connect to USB-Live2.
Need help?
Do you have a question about the USB-Live2 and is the answer not in the manual?
Questions and answers