Table of Contents
Advertisement
Quick Links
Advertisement
Table of Contents

Related Manuals for Garner HD-3WXL Series

Summary of Contents for Garner HD-3WXL Series
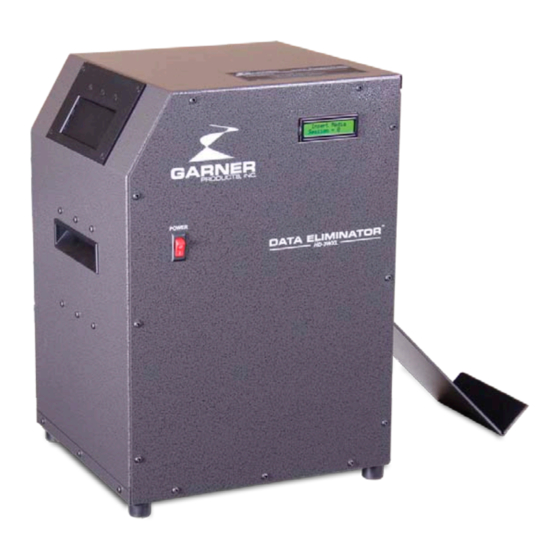
- Page 1 HD-3WXL Series Continuous Degaussing System Operation and Installation Manual www.Garner-Products.com (800) 624-1903 10620 Industrial Ave., Suite 100 Roseville, CA 95678 Manufactured in the U.S.A. PN 4075-244 Rev H HD-3WXL Operation and Installation Manual...
-
Page 2: Table Of Contents
TABLE OF CONTENTS DECLARATION OF CONFORMITY GENERAL INFORMATION MAGNETIC FIELDS External Magnetic fields PACE MAKER USERS SPECIFICATIONS INSPECTION INSTALLATION Power Requirements Input Voltage Configuration Power Plug Fuse Block Placement Cooling OPERATION Controls and Indicators POWER Button/ON Indicator (Yellow) LCD Display Degaussing Instructions Automatic Degaussing Powering Up... -
Page 3: Declaration Of Conformity
DECLARATION OF CONFORMITY HD-3WXL Operation and Installation Manual... -
Page 4: General Information
For security purposes, if an insufficient field is detected, the HD-3WXL will not release the media. For assistance from Garner Products, Inc. call (916) 784-0200. MAGNETIC FIELDS... -
Page 5: Specifications
SPECIFICATIONS Selectable: 95~105, 105~115, 115~125, 215~225, 225~235 or Power Supply (HD-3WXL): 235~240, 50/60Hz. Power Consumption 100V: Under Standby 0.3A While charging 9.0A (HD-3WXL): At the time of ERASE 0.6A 110V: Under Standby 0.25A While charging 8.5A At the time of ERASE 0.55A 120V: Under Standby 0.2A While charging 8.0A At the time of ERASE 0.5A... -
Page 6: Inspection
Check the power specifications label located on the back of the degausser. It is important to ensure the correct power is applied to the degausser. Call Garner Products, Inc. if the voltage listed is not compatible with your voltage. International customers call 011 916 784-0200. - Page 7 To check or change the voltage configuration of the HD-3WXL, follow the steps listed below: 1) Read the Warning labels on the preceding page and on the HD-3WXL. 2) Remove the power cord from the back of the HD-3WXL. 3) Confirm and note the outlet voltage the HD-3WXL will plug into. 4) Loosen the (4) screws from the Voltage Selection Panel and remove the Voltage Selection Panel.
- Page 8 5) Using the Line Voltage Selection Reference label on the Voltage Selection Panel, confirm the correct jumper setting for the outlet voltage noted in Step 3. 6) To change the jumper position, pull the brown jumper wire from terminal on the upper side of the fuse block and move it to the corresponding terminal that matches your outlet voltage.
-
Page 9: Power Plug
Notice, this photo shows the correct jumper setting for 240 VAC. Power Plug Plug the EIA connector attached to the supplied power cord into the receptacle on the back of the HD-3WXL. Fuse Block Located behind the Voltage Selection Panel, on the back side of the HD-3WXL, are six separate fuses, one each for 100, 110, 120, 220, 230 &... -
Page 10: Operation
OPERATION HD-3WXL operation is automatically completed in one cycle or when the media has been released down the exit chute. Note: As a safeguard, the media will stay in the degaussing chamber until a successful erase sequence has been completed. CONTROLS AND INDICATORS POWER Button The POWER button is a toggle switch that will change states from on to off when pressed. -
Page 11: Automatic Degaussing Steps
Step 4: Remove degaussed media from Media Slide. Step 5: Repeat Steps 2,3 & 4. The following information appears on the LCD Display from power-up through one automatic degaussing cycle: Action LCD Display Description GARNER Displays Manufacturer. Step 1: PRODUCTS, INC. Press POWER button ON HD-3WXL Displays Degausser Model. -
Page 12: Automatic Degaussing Technical Detail
Automatic Degaussing Technical Detail 1) The LCD displays “Insert Media Session = #”. 2) The media to be degaussed is inserted into the degaussing chamber through the Media Entrance Door. While the media is sliding into the degaussing chamber and the door is open, the LCD will display “Door Open”. -
Page 13: Degaussing Instructions For Dlt Media
DEGAUSSING INSTRUCTIONS FOR DLT MEDIA The HD-3WXL allows DLT media to be erased in their plastic protective cases. Simply follow the degaussing instructions above for complete erasure. Note: For DLT media that is to be re-used. Although the data is completely degaussed in one operation, a second pass rotated at 90 degrees is required to smooth out any magnetic fluctuation. -
Page 14: Error Codes
ERROR CODES Charge Error The LCD displays “CHARGE ERROR”. This error indicates that the HD-3WXL failed to charge to the determined power level necessary to successfully erase the media in the degaussing chamber. Note: The media will stay in the degaussing chamber until a successful erase sequence has been completed. -
Page 15: Parts List Model Hd-3Wxl
PARTS LIST MODEL HD-3WXL Part Number Description 1500-026 Capacitor, 33,000uF 200VDC 225-0033 Filter Assembly, HD-3WXL Series 225-0034 Fan Guard, internal HD-3WXL Series 250-0015 Handle, recessed pull 2825-029 Feet, Rubber 318-0136 Fuse Block, AC 15A 250V 3500-056 Motor, Fan HD-3WXL Series... -
Page 16: Warranty
Garner; (e) to damage caused by service performed by anyone who is not a representative of Garner or a Garner authorized service provider; (f) to a product or part that has been modified to alter functionality or capability without the written permission of Garner;...
Need help?
Do you have a question about the HD-3WXL Series and is the answer not in the manual?
Questions and answers