Advertisement
Quick Links
PERFORM ALL ADJUSTMENTS OR CHANGES WHILE THE VEHICLE IS STOPPED.
enter the main menu
scroll up and down
enter selection
start/stop logging data
return to previous screen
cycle gauge screens
USB cable port
connect to computer
Getting Started
Use the Tune File Wizard to prepare your PVCX
device with the stock (stk) and tune (djt) files needed
to flash your vehicle.
1. Connect the PVCX to the vehicle.
2. Turn the key on. The PVCX will scan for files.
There are four possible file states:
• File State 1: No compatible tune or stock files.
• File State 2: All files found, ready to flash a tune
to the vehicle.
• File State 3: Stock file found, need a tune file.
• File State 4: Tune file found, need a stock file.
3. Gauges are displayed.
Dynojet Research • 2191 Mendenhall Drive • North Las Vegas, NV 89081
98200094.01
1-800-992-4993 • www.dynojet.com • www.flashyourharley.com
Quick Start Guide
Quick Start Guide
DO NOT OPERATE THIS DEVICE WHILE DRIVING.
diagnostic cable port
connect to vehicle
File State 1: Go to
www.dynojet.com/pvcxws.aspx.
Upload the PV_INFO.TXT file to
retrieve files.
File State 2: All files found. The
PVCX is ready to flash a tune
to the connected vehicle.
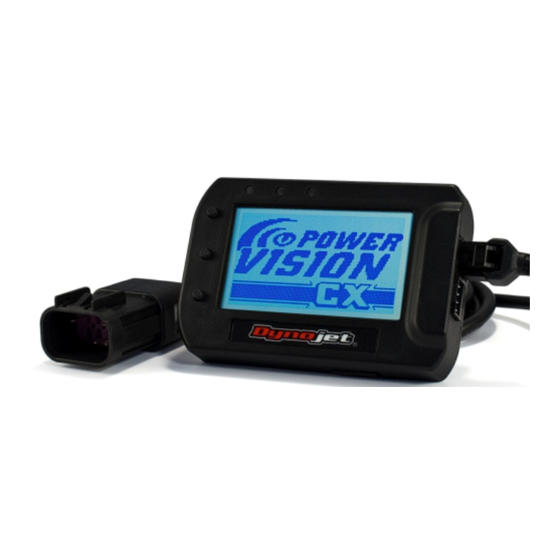
Thank you for purchasing the Power Vision CX (PVCX) from Dynojet Research. The PVCX module is the
interface device between your computer and the vehicle ECU allowing you to tune your stock ECU to
achieve optimal performance from your vehicle.
Use the three buttons to navigate the device menus, make selections, cycle through the five available
gauge screens, and log data. Connect to the diagnostic port to flash a tune; use the USB connection to
interface between the PVCX and your computer.
Download the Power Core software and take tuning to a whole new level.
1. Go to www.dynojet.com/PowerVision.
2. From the top navigation menu, select Support>Downloads.
3. Select Power Vision CX from the drop-down menu.
4. Download the Dynojet Power Core Software. Save the file in a convenient location such as your desktop.
5. Double-click the saved file to begin installation. Follow the on-screen prompts.
Refer to the Power Core Help for information and step-by-step guidance for common tasks.
1. Secure the PVCX to the vehicle using the supplied Velcro or a suitable mount using the
standard AMP mounting holes on the back of the PVCX (optional mount P/N 61300062).
Make sure the PVCX will not interfere with the operation and steering of the vehicle.
Note: The PVCX does not need to be mounted to the vehicle.
2. Attach the diagnostic cable to the diagnostic cable port on the PVCX and to the
diagnostic port on the vehicle. Touring Models: located behind the left hand side cover.
ECU Read—The PVCX will
read the ECU and create the
stock file. This process takes
about fifteen minutes.
PVCX Introduction
Installing the Power Core Software
Installing the PVCX
File State 3: Go to
www.dynojet.com/pvcxws.aspx.
Upload the PV_INFO.TXT file to
retrieve files.
File State 4: Press the top
button for ECU Read to begin
the tuning process.
Advertisement

Related Manuals for Dynojet Power Vision CX


Summary of Contents for Dynojet Power Vision CX
- Page 1 PVCX Introduction enter the main menu Thank you for purchasing the Power Vision CX (PVCX) from Dynojet Research. The PVCX module is the scroll up and down interface device between your computer and the vehicle ECU allowing you to tune your stock ECU to enter selection achieve optimal performance from your vehicle.
- Page 2 3. Connect the PVCX to your computer. Retrieve Files: Go to www.dynojet.com/pvcxws.aspx. Upload the PV_INFO.TXT file to retrieve updated tunes for your vehicle. Tech Support: If requested by Dynojet Tech Support, email PV_INFO.TXT to PVCXtech@dynojet.com. Viewing Gauges and Logging Data 1.
Need help?
Do you have a question about the Power Vision CX and is the answer not in the manual?
Questions and answers