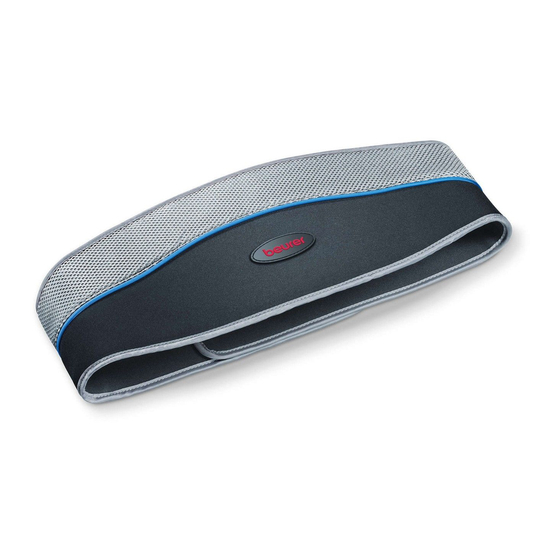
Beurer EM 38 Instructions For Use Manual
Back pain belt
Hide thumbs
Also See for EM 38:
- Instructions for use manual (74 pages) ,
- Instruction manual (24 pages) ,
- Instruction manual (108 pages)
Table of Contents
Advertisement
Rückenschmerzgürtel
D
Gebrauchsanweisung ................ 2-14
Back pain belt
Instruction for Use.................... 15-27
Ceinture lombaire
F
Mode d´emploi ......................... 28-40
Cinturón terapéutico lumbar
E
Instrucciones para el uso ......... 41-53
Beurer GmbH • Söflinger Str. 218 • D-89077 Ulm (Germany)
Tel.: +49 (0) 731 / 39 89-144 • Fax: +49 (0) 731 / 39 89-255
www.beurer.de • Mail: kd@beurer.de
Cintura per dolori lombari
I
Istruzioni per l´uso.....................54-66
Sırt ağrısı kemeri
TR
Kullanma Talimatı .....................67-79
Электростимулятор для
RUS
спины
Инструкция по применению....80-92
Pas likwidujący ból pleców
PL
Instrukcja obsługi ....................93-108
EM 38
0483
Advertisement
Table of Contents

Summary of Contents for Beurer EM 38
- Page 1 Instrucciones para el uso ..41-53 Pas likwidujący ból pleców Instrukcja obsługi ....93-108 Beurer GmbH • Söflinger Str. 218 • D-89077 Ulm (Germany) Tel.: +49 (0) 731 / 39 89-144 • Fax: +49 (0) 731 / 39 89-255 0483 www.beurer.de • Mail: kd@beurer.de...
-
Page 2: Table Of Contents
English Contents About the unit ......16 Signs and symbols ....17 Important notes......17 Unit description......21 Using the unit for the first time and changing the batteries ..22 Operation.........23 Cleaning and care of the unit and belt........25 Disposal........25 Troubleshooting.......26 Technical specifications ..26 Included in delivery •... -
Page 3: About The Unit
With kind regards apy, massage and air. Your Beurer team Pain relief on lower back with the EM38 stimulation current unit How does stimulation current work? The back belt works on the basis of electri- dorphins, which decrease the sensation of cal nerve stimulation (TENS). -
Page 4: Signs And Symbols
Signs and symbols The following symbols appear in these The following symbols are used on the identification plate. instructions. Type BF applied part Warning Warning instruction indi- cating a risk of injury or damage to health. Refer to instructions for use Important Safety note indicating possible damage to the Caution! -
Page 5: Safety Precautions
Safety precautions Warning Warning To prevent harm to your health, we ur- gently recommend that you do not use • Carry out the first few minutes of treat- the unit in the following situations: ment while sitting or lying down, so that if •... - Page 6 • Consult a doctor before use in For hygienic reasons, the belt may be used by one person only. the following situations: • Ensure that during stimulation, no metal- • lic objects can contact the electrodes, as Acute diseases, particularly in case of otherwise localised burns can occur.
- Page 7 Before using the unit for the first Notes on handling batteries time • Keep batteries out of the reach of chil- dren. Children can put batteries in their Important mouth and swallow them. This can cause severe harm to their health. In •...
-
Page 8: Unit Description
Unit description Overview of the control unit Item Designation Item Designation On/off/pause button Battery status, appears when batteries are used up Intensity adjustment Intensity, level 0 - 20 increase Pause symbol, flashes when decrease activated Program/locking key TIMER: Remaining time of the Battery compartment active programs in minutes Display with LCD display... -
Page 9: Using The Unit For The First Time And Changing The Batteries
Inserting the control unit vertical seams A are at the same place • Insert the control unit into the holder on on each side of your body. The Beurer the belt. logo B is then in the middle of the spinal •... -
Page 10: Operation
• Release the magnetic connection by gently pulling the control unit away from the belt. You can feel the magnetic connection of the two contact buttons unsnap. • Insert 3 x 1.5 V batteries, type AAA (LR 03 Micro). Ensure the correct polarity. See the diagram inside the battery compartment. - Page 11 Note: Reacting to unpleasant sensations If you change the program during If you feel a stinging or itching sensation, the stimulation (for example from A switch off the unit and proceed as follows: to B), the initial intensity in the new •...
-
Page 12: Cleaning And Care Of The Unit And Belt
Cleaning and care of the unit and belt • Cleaning the unit Important • Remove the batteries from the unit be- The belt and control unit are not suit- fore each cleaning. able for machine washing. • Clean the unit with a soft cloth mois- tened slightly with water after use. -
Page 13: Troubleshooting
Troubleshooting Problem/question Possible cause/remedy The unit does not 1. Ensure that the batteries are inserted correctly and have con- switch on when you tact. The on/off button must be pressed and held down to press the ON/OFF switch the unit on. button. - Page 14 We reserve the right to make any technical alterations that are necessary in order to im- prove and develop the product further. If the unit is used outside of the specifications, proper function is no longer guaranteed! This unit complies with European stan- The unit conforms to the requirements of dards EN60601-1, EN60601-1-2 and is the European Directive for Medical Prod-...


Need help?
Do you have a question about the EM 38 and is the answer not in the manual?
Questions and answers