Advertisement
Quick Links
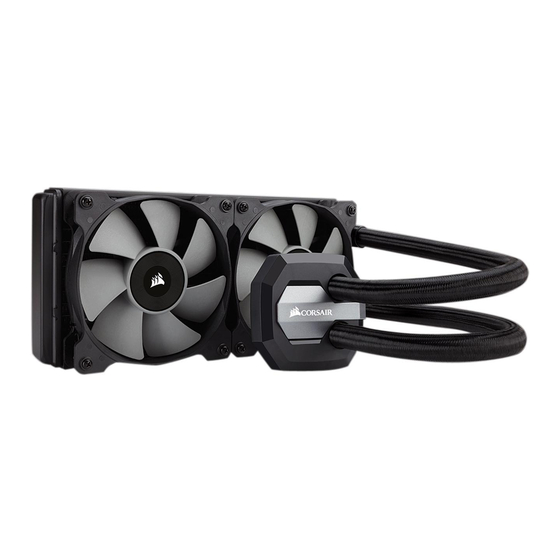
H100i v2
QUICK START GUIDE
EXTREME PERFORMANCE LIQUID CPU COOLER
Note: Most newer PC cases include a CPU cutout to allow access to the bottom
of the motherboard. If your case does not include a cutout, you will need to
remove your motherboard from the case before installation.
TM
Included Hardware
Highlighted parts for Intel installation only
A
x8 LONG FAN SCREWS
x4 LGA 115X / 1366 STANDOFF
E
x4 THUMBSCREWS
x2 SP120L FANS
I
x1 INTEL MOUNTING BRACKET
x1 AMD MOUNTING
(PRE-INSTALLED)
Note: The H100i v2 comes with Intel mounting bracket pre-installed on the pump for quick installation.
B
C
x4 LGA 2011 STANDOFF
F
G
x16 WASHER
J
K
x8 SHORT SCREWS
BRACKET
D
x4 AMD BLACK STANDOFF
H
x1 INTEL BACKPLATE
L
CORSAIR LINK USB CABLE
(Included)
Advertisement

Summary of Contents for Corsair H100i v2
- Page 1 Note: Most newer PC cases include a CPU cutout to allow access to the bottom of the motherboard. If your case does not include a cutout, you will need to remove your motherboard from the case before installation. Note: The H100i v2 comes with Intel mounting bracket pre-installed on the pump for quick installation.
- Page 2 Installing the Intel Backplate LGA 1366 • For LGA 115X installation, slide the backplate pins inside (figure 1). • For LGA 1366 installation, slide the backplate pins outside (figure 1). • Install the assembled backplate (figure 2). Note: Intel LGA 2011 does not require backplate installation.
- Page 3 Installing the Intel Stando Screws Install the Fans and Radiator Attach the radiator and the fans as shown. For the best cooling performance, we recommend mounting the fans • Attach the provided Intel stando . LGA 115X/1366 as an air-intake to your PC case. •...
- Page 4 Installing the Pump Unit Connect Power to the Fans and Pump • Align the bracket and pump over the • Connect the pump power cable to the stando screws as shown. CPU_FAN header on your motherboard. • Tighten the thumbs screws until all •...
-
Page 5: Included Hardware
INTEL BACKPLATE x4 THUMBSCREWS x2 SP120L FANS x1 INTEL MOUNTING BRACKET x1 AMD MOUNTING x8 SHORT SCREWS CORSAIR LINK USB CABLE (PRE-INSTALLED) BRACKET (Included) Note: the H100i v2 comes with the INTEL mounting bracket pre-installed on the pump for quick installation. - Page 6 Installing the AMD Stando Screws • Remove the stock AMD top mounting bracket(s) shown. (figure 1) • Attach the provided AMD stando . (figure 2) • Tighten all four screws until firmly secure. (figure 2) Note: The stock AMD motherboard backplate is used for AMD installation.
- Page 7 Installing the AMD Mounting Bracket Note: It is important that the AMD retention bracket be evenly secured on all sides before installation! • Remove the integrated Intel mounting bracket by pushing on the metal piece, turning 1/8th turn, figure 1 figure 2 and pulling away from the copper coldplate (figure 1).
- Page 8 Installing the Pump Unit Install the Fans and Radiator Attach the radiator and the fan as shown. For the best cooling performance, we recommend mounting the fans • Align the bracket and pump over the as an air-intake to your PC case. stando screws as shown.
- Page 9 Connect Power to the Fans and Pump Connect Pump to USB Header • Connect the pump power cable to the Using the included Corsair Link USB cable, ™ CPU_FAN header on your motherboard. attach pump unit to a motherboard USB header.
- Page 10 An arrow located on the side of the fan indicates the direction of air flow. 2. Can I reuse the pre-applied thermal paste on the H100i v2 for a re-installation? Re-installation of the H100i v2 cooler will require you clean o the pre-applied thermal paste and apply an aftermarket paste.


Need help?
Do you have a question about the H100i v2 and is the answer not in the manual?
Questions and answers