
Summary of Contents for Sensortech PMT-330
- Page 1 Portable Moisture Tester PMT-330 User Manual Sensortech Systems, Inc. 2221 E. Celsius Ave. Unit B Oxnard, CA 93030 805-981-3735 main 805-981-3738 fax www.sensortech.com © Sensortech Systems, Inc. 2014 Page 1 of 15 Rev.5-2014...
- Page 2 Typical continuous operating time is 3 hours and the 3-minute time-out feature saves power and significantly extends the length of the operating time by conserving the battery charge. The operation of the PMT-330 will be familiar to PMT-220 users and the digital display and keyboard will be simple to operate for new users.
-
Page 3: Quick Start Guide
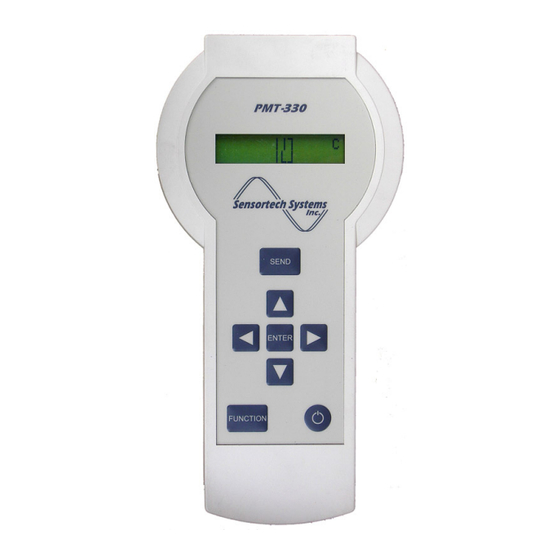
Quick Start Guide To ensure best results, place the PMT-330 on the battery charger cradle and allow to fully charge for approx. 90 minutes before use or calibration. After the PMT-330 is fully charged perform the following: Alpha-Numeric display 1. Remove the PMT-330 from the charger and press the Power key. - Page 4 Operating the PMT-330 Keyboard Controls The Power key turns the PMT-330 on and off. After pressing the • <Power> key, the PMT-330 performs internal diagnostic checks and enters the Continuous Measurement mode. If the PMT-330 is not manually powered off by pressing the <Power> key, it automatically turns off after a selectable time-out period of 1, 2 or 3 minutes.
-
Page 5: Measurement Modes
2. Press <FUNCTION> to advance to the ‘Time Out’ parameter. Press keys to select the desired time-out period of ‘1’, ‘2’ or ‘3’ minutes. The PMT-330 will power off after this time-out period to save battery charge. 3. Press <SEND> to save changes to microprocessor memory and return to Continuous Measurement mode. -
Page 6: Diagnostics Mode
‘Recharge Batteries’ will be displayed and the PMT-330 must be recharged before further use. If the voltage is less than the minimum operating voltage, the PMT-330 will not power on and needs to be recharged for 30 minutes or longer. -
Page 7: Mode Selection
Mode Selection The PMT-330 modes are organized in modules. Each module represents a measurement or configuration mode e.g. Continuous Measurement mode, Product Code mode, Set-up mode, Diagnostics mode, etc. At initial power-up, the PMT-330 enters Continuous Measurement mode. Each push of the <FUNCTION>... - Page 8 Press <FUNCTION> 4 times Figure 4. Set-Up & Diagnostics Mode Module Parameters © Sensortech Systems, Inc. 2014 Page 8 of 15 Rev.5-2014...
- Page 9 The Zero/Reference calibration is intended to be performed before each use of the PMT-330. To perform a Zero/Reference Calibration: 1. Hold the PMT-330 off the table and away from product with the Sensor Electrode clear of any objects, moisture or material.
- Page 10 The Standardization value is calculated so that, when using a Span = 1 and a Zero = 0, the PMT-330 will show a moisture value of 25 when placed on the Standardization Block. This value is multiplied by the Span and offset by the Zero.
- Page 11 4. Press <ENTER> to enter Diagnostics mode. 5. Press <FUNCTION> key until ‘Std. Factor’ is displayed. 6. Press the PMT-330 Sensor Electrode onto the center of the Standardization Block and hold it down firmly. 7. Press <ENTER> and the number in the lower display will change to the new ‘Std. factor’. The typical Std.
- Page 12 The Span and Zero values are determined by the Product Code selected and are pre-set at the factory. The PMT-330 displayed moisture are adjusted by the Span and Zero values. The Zero and Span may be used to match a laboratory calibration moisture range value, to match the IMPS-4400 system or other hand-held moisture measurement.
- Page 13 Moisture is determined as M = 100 x (WW – DW)/WW Enter the calculated value in the actual moisture column. If PMT-330 values have been individually entered resulting in 4 PMT-330 readings per sample, the weight and moisture results should be duplicated for all 4 measurements.
- Page 14 Many regression packages are available including Microsoft Excel. Plot an x-y graph with the laboratory values on Y-axis and the PMT-330 readings on the X-axis. A sample graph is shown below. If you are using Excel, position the cursor over any data point, and right-click the mouse. Select ‘add trend-line’, and choose ‘linear fit’.
- Page 15 Figure 9. PMT-330 with Accessories: 1. PMT-330 Portable Moisture Tester 2. Charger Cradle and International Plug Adaptors 3. Standardization Block © Sensortech Systems, Inc. 2014 Page 15 of 15 Rev.5-2014...
Need help?
Do you have a question about the PMT-330 and is the answer not in the manual?
Questions and answers