Advertisement
Advertisement
Table of Contents

Summary of Contents for Blupont A72
- Page 1 A72 DVR guide...
- Page 2 Thank you for choosing this blupont product. This quick operation guide will help you get set up and show you the basics of how to use the blupont A72. You will find that the product is easy to use and offers the perfect solution for your security concerns. The A72 range provides the user with HD picture quality, which can be viewed by you anywhere in the world, the A72 is sure to meet your demands.
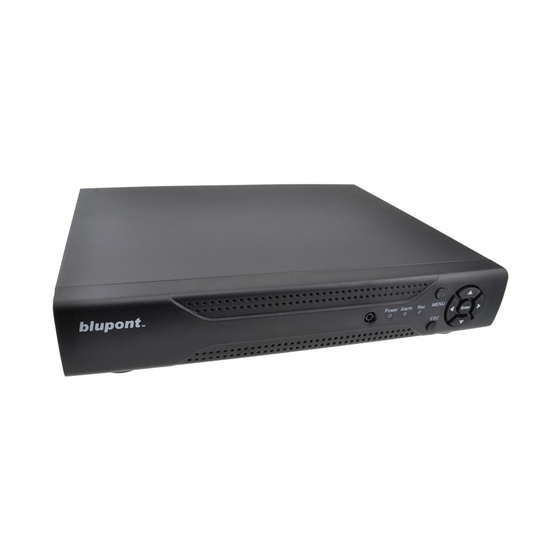
- Page 4 Once power is connected to the DVR a red LED light on the front will confirm it is on. Wait whilst the DVR boots up with the blupont Logo. It will then take you to the Set-up Wizard. See picture below. If the cameras have already been connected, with the CCTV cables provided, you will now be able to view the cameras in the background of the main page, whilst the set-up wizard (shown below), is running.
- Page 5 Configure the date and time, then click ‘Next’. Network Test will now begin. If the DVR connects automatically it will confirm all connections are OK. See picture below. Click ‘Next’. If the network test fails, it will be because the default IP address of the DVR (192.168.1.10) as shown below is already allocated on your network.
- Page 6 not have a QR code Scanner app on your phone search ‘QR code scanner’ in android play store or Apple app store download the app and open. This will bring up a series of prompts to get the app working. 1. Follow the link, click ‘OK’ 2. Download the app, click ‘download’...
- Page 7 (as shown in the image below) to bring up the QR code scanner to instantly input the DVR’s unique serial number. Click next on the DVR to view the DVR’s unique Serial Number in a QR code format. See example picture below. Scan this code through the app. This will connect the device via the cloud to allow remote viewing from anywhere in the world.
- Page 8 Record/Playback (Section 3): This next section will explain how to access the record and playback functions. In addition, it will explain how to access the DVR’s motion detection settings within the main menu. Using the mouse right click on the main page (showing all camera channels) this will bring up a drop down menu showing a variety of option.
- Page 9 To access and configure the DVR settings from the CMS software click ‘System’ in the bottom right then click ‘remote config’ in the menu which appears on the right-hand sidefrom here select the device and you will then be able to configure all the DVR’s settings through the CMS software. Internet Explorer remote login - xmeye (Section 4): ...
- Page 10 CCTV and Video Recording General Amendment Using Domestic CCTV Systems within Your Property To help get the maximum utility from the CCTV system and to help keep good Relationships with any neighbours and/or adjacent businesses or occupied buildings (either private or public);...
- Page 11 WARNING: MAKE EVERY ATTEMPT TO MAKE A NOTE OF YOUR LOGIN/USERNAME AND PASSWORD. REACTIVATION OF THE UNIT COULD TAKE UP TO 14 DAYS. Please Note: Do not attempt to open any component supplied with the kit, they are not user-serviceable parts. Due to high voltages, there may be danger of electrocution.

Need help?
Do you have a question about the A72 and is the answer not in the manual?
Questions and answers