Table of Contents
Advertisement
Advertisement
Table of Contents

Related Manuals for Empress Effects Reverb


Summary of Contents for Empress Effects Reverb
- Page 1 user manual version 4.01...
- Page 2 - sometimes a moving picture with sound is worth a million words. The Empress Reverb firmware can be updated via an SD card. If you want a say in what features we add to future firmware revisions, sign up for our voting forum at www.empresseffects.com/votingforum...
- Page 3 QUICKSTART All modes are designed to sound good with all knobs at 12 o'clock. Start there and then tweak to taste. Concert Hall Modulated Ghost...
- Page 4 QUICKSTART Room Delay + Reverb Reverse...
- Page 5 Studio Plate Very smooth decay, no Pre Delay Time Early Reflection modulation. Level Spring Bright Spring In the Fender Twin Reverb Rattle Decay Rattle Level realm. Dark Spring In the Fender Deluxe Rattle Decay Rattle Level realm.
- Page 6 Chorused Reverb Similar to Modulated but a Modulation Modulation more muted sound in the Rate Depth mid range frequencies. Flanged Reverb Has a wide-sweeping Modulation Modulation flanger type effect on the Rate Depth output. Tremolo Reverb Tremolo is applied after a...
- Page 7 Warble Distorted and wobbly Warble Dirtiness delay lo-fi sounds. Beer Glitch The reverb tail is fed into a Glitch Speed Glitch Tone - filter that randomly determines the changes between low-pass time spent on and high-pass. HPF vs. LPF...
-
Page 8: Firmware Updates
This pedal has firmware that can be updated with an SD card. Performing A Firmware Update 1) download the firmware file off the website www.empresseffects.com/reverb-firmware 2) copy the file to the root directory of the SD card (a high-capacity SD card that's been formatted FAT32) 3) insert the SD card then power on the pedal. - Page 9 LEDs will flash very quickly. This represents the manual preset. If you recall this preset, the Reverb will get its settings from the current knob positions. In the manual preset, no preset LEDs are lit.
- Page 10 Saving a Preset To save the current settings to a preset, press the scroll stompswitch until you reach the preset location you want to write to. While the lights are flashing, hold down the save button and press the scroll stompswitch. Your preset is now saved.
- Page 11 BANK PRESET SYSTEM Preset Organization In Advanced Configuration you'll select the number of banks you wish to use. The preset LEDs display which bank is selected by changing color. Each stompswitch represents a preset. So there are 3 presets per bank. Recalling a Preset and Bypassing the Pedal To recall a preset, press on a stompswitch.
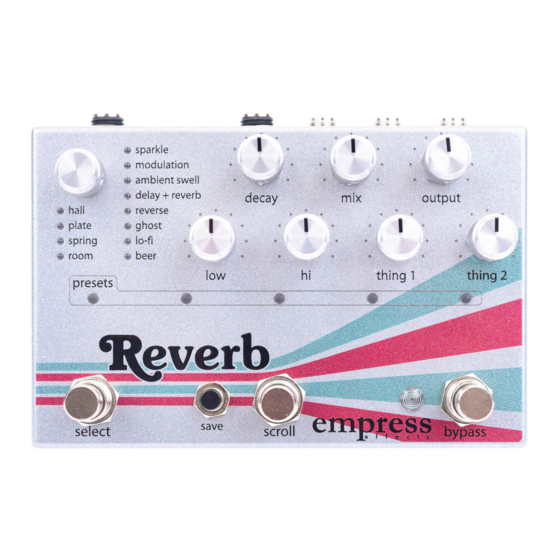
- Page 12 Controls a low and hi: controls the reverb mode selector: selects which tone through EQ and damping. mode is active. Each mode can have many submodes which are indicated by di erent color LEDs. select: used to engage a preset that has been scrolled to with the scroll stompstwitch.
- Page 13 Glance mix: sets the ratio of wet signal decay: controls how long the (reverb) to dry signal (una ected). reverb tail takes to decay. Counterclockwise is 100% dry, clockwise is 100% wet, with 50/50 being somewhere around 2 o’clock.
-
Page 14: Expression Pedal
CONTROL PORT The control port jack allows the Empress Reverb to be controlled by a multitude of devices. The pedal ships configured to accept an expression pedal. Please see the Advanced Configuration section on how to configure the control port for the device you plan to use. - Page 15 To use MIDI with your Empress Reverb, you'll have to: Connect the Empress Midibox (not included with the Reverb) using a ¼” patch cable to the control port. A TRS cable is required to send MIDI out messages if you're using the reverb to control other pedals.
- Page 16 7 activates preset 7. Midi with Preset Out The Reverb can send out MIDI program changes on the ring of the control port jack whenever a preset is loaded on the Reverb. The Reverb will send out these program changes on the 4 channels above the Reverb's current MIDI channel.
- Page 17 MIDI CONTROL CHANGE MESSAGES REFERENCE Reverb Parameter CC #: Note: Modes The modes and sub-modes are numbered starting from 0 (Hall = 0, Plate = 1, etc.) To translate the modes and sub-mode to a single number you apply the following...
- Page 18 Please Note: The Empress Reverb requires at least 300mA of current to function properly. Any power supply rated at 9V DC, supplying negative tip polarity ( ) and at least 300mA...
- Page 19 ADVANCED CONFIGURATION The advanced configuration customizes how your pedal operates. The options are listed in the table that follows. Entering Advanced Configuration While holding down the select and bypass stompswitches, press the save button. All the preset LEDs will blink yellow twice to confirm you're in.
- Page 20 MIDI channel. (ex. If for MIDI). the 3rd LED is lit, it's going to listen on MIDI channel 3). Knob Lock - lock the Delay + Reverb 1. Unlocked* presets so they don't 2. Locked - knobs are locked in change accidentally on presets (not manual preset) stage.
- Page 21 Cabinet Simulator Reverse 1. Cab sim is off.* puts a cabinet simulation 2. Bright 4x12 cab. algorithm on the output, 3. Dark vintage cab useful if you don't have 4. Balanced modern cab an amp. Signal Configuration Ghost 1. stereo in/stereo out.* 2.
-
Page 22: Factory Reset
To restore the Reverb to its factory settings, do the following: while in the advanced configuration (see Entering Advanced Configuration): press and release the stompswitches in this order: Select, Bypass, Select, Bypass. - Page 23 Young coding rock-star Matt Cyr for crushing it so hard on the calibration tools. Chris 'C+++' DeVisser for making us some awesome internal tools we use every day. Thanks to beta testers Dan Hay, Jordan Craig, and Jeff Logan for their valuable input when we couldn't tell the forest from the trees.
-
Page 24: Specifications
SPECIFICATIONS Input Impedance: 1MΩ Output Impedance: 100Ω Output Impedance (transformer): 600Ω Frequency Response (-3dB, dry): 10Hz – 50kHz Frequency Response (-3dB, wet): 10Hz – 23.4kHz Total Harmonic Distortion (dry): 0.09% Total Harmonic Distortion (wet): 0.22% Dynamic Range (dry): 106.9 dBA Dynamic Range (wet): 105.5 dBA Input Headroom (dry):...
Need help?
Do you have a question about the Reverb and is the answer not in the manual?
Questions and answers