Table of Contents
Advertisement
Quick Links
Advertisement
Table of Contents

Related Manuals for Disaster Area Designs DMC.micro


Summary of Contents for Disaster Area Designs DMC.micro
- Page 1 DMC.micro User Manual v1.00c ...
- Page 2 Revision History: v1.00c 12/24/2017 Corrected an error in the setup mode v1.00b 12/11/2017 Corrected an error in the MID-2 setting description v1.00 12/4/2017 Initial Release Disaster Area Designs DMC.micro Gen3...
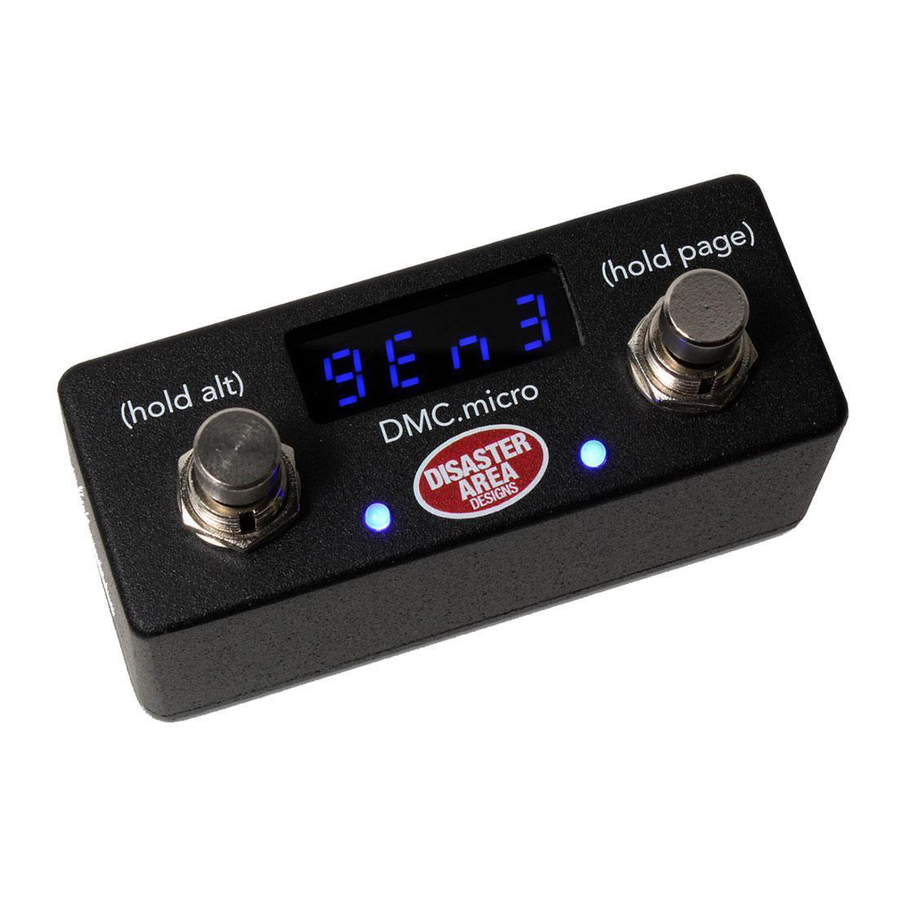
- Page 3 DMC.micro User Manual Thanks for purchasing a Disaster Area Designs DMC.micro controller. The DMC.micro is our smallest MIDI controller, but don’t let its size fool you - it packs quite a punch! Let’s take a look at the DMC.micro and see what it can do for your rig:...
- Page 4 The MIDI port can connect to multiple devices by “daisy-chaining” them from input to output. For example, if you wish to connect both a Timeline and a BigSky to your DMC.micro, simply plug one MIDI cable from the DMC MIDI port to the MIDI input of your Timeline. Plug a second MIDI cable from the Timeline’s MIDI output to the MIDI input of the BigSky.
- Page 5 (Setting up the DMC.micro, continued) Once you have plugged in all of your cables, it’s time to introduce the DMC.micro to your devices. Power on the DMC and hold the left button to enter the Setup menu. Release the button when you see the word “SETUP” scroll across the screen.
- Page 6 Chase Bliss devices must be set to receive on the correct channel in order to operate with the DMC.micro: Make sure that the DMC.micro is set to talk to a Chase Bliss pedal on the device (DevA, DevB, DevC) you’d like to use.
- Page 7 (setting up the DMC.micro, continued) EVENTIDE (H9, SPACE, TIMEFACTOR, MODFACTOR, PITCHFACTOR) Eventide devices have a robust MIDI mapping capability, but none of their functions are set from the factory. In order for these devices to recognize the commands we send, a few parameters must be set in their MIDI menus If using H9 Control, navigate to Pedal ->...
-
Page 8: Preset Mode
UTIL To move to the next page, just hold down the right button on the DMC.micro - we’ve marked it (hold page) on the DMC itself. If you don’t need or want to use a certain page, you can disable it easily in the DMC setup menu. -
Page 9: Looper Mode
These modes are designed to get you quick access to the programs and bypass / engage functions on your MIDI pedals. We also use these modes to change the programs that the DMC.micro will use for its presets if the Preset mode is enabled. -
Page 10: Utility Mode
Utility Mode The final mode on the DMC.micro is for the tweakers - this mode allows you to send just about any MIDI message you want to your devices. It requires some careful setup, but once that’s done you’ve got all kinds of control! To use Utility Mode, enter the DMC setup and configure UTIL = ON. -
Page 11: Setup Menu
We’ve covered some of the more common setup tasks throughout this manual, but here is the full Setup reference in case you want to dive in deep and really get to the nuts and bolts of your DMC.micro. To enter Setup, hold the LEFT button on the DMC.micro when “DISASTER AREA” scrolls on the display. Release the button when you see “SETUP” scroll. - Page 12 If you would like to use the DMC.micro as an interface to your computer or iPad, set USB = MIDI in the DMC setup menu. Restart the controller and connect it to your device. You should see a MIDI interface called “Disaster MIDI” in your application’s list of available devices.
Need help?
Do you have a question about the DMC.micro and is the answer not in the manual?
Questions and answers