Table of Contents
Advertisement
Advertisement
Table of Contents

Related Manuals for Peachtree M24

Summary of Contents for Peachtree M24
- Page 1 POWERED SPEAKER SYSTEM...
-
Page 2: Powered Speaker System
POWERED SPEAKER SYSTEM Safety Information Front & Rear Panels Remote Control Connecting Speakers & Using Bluetooth USB DC Port Phono Input Aux Input USB & Optical Inputs Warranty and Repair Specifications ... -
Page 3: Safety Instructions
Congratulations on your new M24 Powered Speaker System. Please take a few minutes to read this manual to understand its features and operation. Thank you and enjoy! You can register your M24 at: www.peachtreeaudio.com/support/product-registration.html. SAFETY INSTRUCTIONS Please store this instruction manual for future reference. - Page 4 INFORMATION Unpacking These speakers were carefully tested and inspected during production. After unpacking please check for any damage. It is rare that a unit is damaged during shipping, but if this has occurred, please contact the seller immediately. We recommend that you retain the original carton and packing material in the event shipping is required in the future.
-
Page 5: Front And Rear Panels
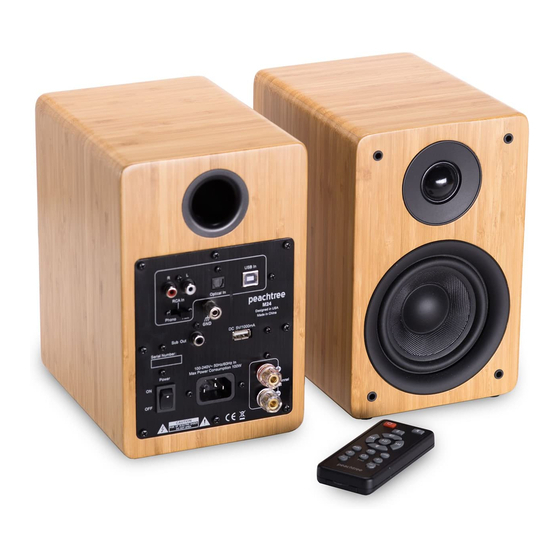
FRONT & REAR PANELS B Status LEDs & IR Receiver Window: • Red: Standby or Auto-Standby • White: Optical Input (after 30 minutes without playing) • Green: RCA Input (Phono/Aux Input) • Blinking RED: Mute • Orange: USB Input C Volume Up/Down & Input Select: Rotate clockwise/counter-clockwise to increase/ decrease the volume level. -
Page 6: Remote Control
REMOTE CONTROL Bass Flat Treble B Toggles between On and Standby J Toggles mute on and off K Selects the next track C Selects the Bluetooth input L Toggles between play and pause D Increases the volume M Selects the USB input E Selects the previous track N Selects the Optical input F Decreases the volume... -
Page 7: Bluetooth Function
This may take a few seconds to appear. If a pairing code is required enter; “1234” or “0000.” 3. Once paired, the M24 will beep and the input LED will turn solid blue. You may now begin playing audio from the paired device. -
Page 8: Phono Input
3. Connect the ground wire from the turntable to the GND on the rear panel of the M24. 4. Press Aux on the M24 remote control. You can also select this input by pressing the volume knob on the front panel until you see the green LED. -
Page 9: Using The Aux Input
Using the Aux Input 1. Slide the Phono/Aux switch to Aux position. 2. Connect the RCA L/R or 3.5mm from your audio device to the RCA L/R inputs on the rear panel of the M24. 3. Press Aux on the M24 remote control. - Page 10 USB output from computer. 1. Connect the USB output from your computer to the USB In on the rear panel of the M24. 2. Press USB on the M24 remote control. You can also select this input by pressing the volume knob on the front panel until you see the orange LED.
-
Page 11: Warranty And Repair
Any products received without an RA number may be misdirected and repair delayed. If a RA number is issued by Peachtree Audio, please ship the product using FedEx or UPS. Do not ship using a Postal Service. Peachtree Audio assumes no responsibility for products in transit. Please insure the shipment for the product’s replacement value in the unlikely event it is lost, stolen or damaged in...
Need help?
Do you have a question about the M24 and is the answer not in the manual?
Questions and answers