Dacor DDW24S Service Manual
Hide thumbs
Also See for DDW24S:
- Use and care manual (24 pages) ,
- Installation instructions manual (20 pages) ,
- Planning manual (3 pages)

Related Manuals for Dacor DDW24S


Summary of Contents for Dacor DDW24S
- Page 1 Dishwasher Ser vice Manual Models: DDW24S, RDW24I, RDW24S Style varies, model RDW24S shown Document No. SM1005 Rev. A...
- Page 2 All specifications subject to change without notice. Dacor assumes no liability for changes to specifications. © 2012 Dacor, all rights reserved.
-
Page 3: Table Of Contents
Service Menu - RDW24I and RDW24S..................... 14 Service Information ..........................16 Tools Required for Service ........................ 16 Accessing Components Under the Wash Compartment ..............16 Overflow Guard Wiring ........................18 Wiring Diagram ........................... 19 Notes..............................20 Service Manual - Dishwasher Models DDW24S, RDW24I and RDW24S... -
Page 4: Important Safety Instructions
Use an extension cord. ♦ Use a power cord that is frayed or damaged. ♦ Use of a ground fault interrupter (GFI) is not recommended. Grounding type electrical outlet Three prong grounding plug Service Manual - Dishwasher Models DDW24S, RDW24I and RDW24S... -
Page 5: Introduction
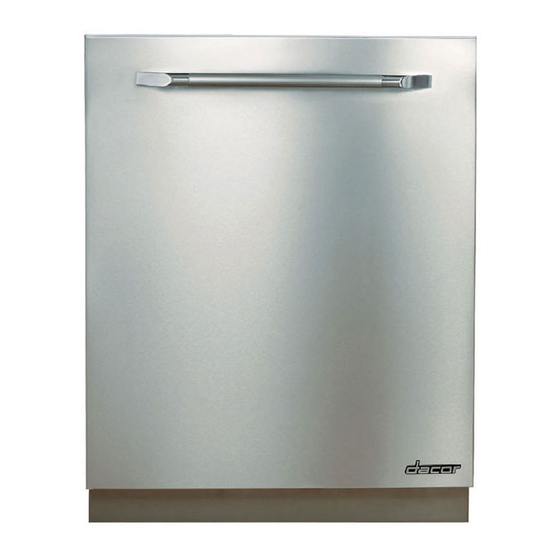
Control panel mounted on top of door with all stainless steel door front RDW24I Control panel mounted on top of door, with glass or custom door front. The glass door front is available from your Dacor dealer, while the custom door panel must be supplied by the customer. -
Page 6: Troubleshooting Flow Chart
• Conduct general troubleshooting. Use the wiring diagram, service bulletins and other documents on dacorservice.com/partscatalog. Fault Fault diagnosed? found? Repair and check function/safety. Contact Dacor Technical Service for assistance. Carry out the actions suggested by Technical Service. Service complete Service Manual - Dishwasher Models DDW24S, RDW24I and RDW24S... -
Page 7: Control Panel Types
31.4 ohm Circulation pump Secondary winding 76 ohm Drain pump 16 L (4.2 gallon)/min 26 ohm Inlet valve 4 L (1 gallon)/min 0,95 kohm Thermo actuator 0,85-1.2 kohm Fan motor 185 ohm Service Manual - Dishwasher Models DDW24S, RDW24I and RDW24S... -
Page 8: Components And Function Description
2 bar (29 psi). Output signal: 220 pulses per liter (0.26 gallon) of water flowing through. Inlet Valve Service Manual - Dishwasher Models DDW24S, RDW24I and RDW24S... -
Page 9: Circulation Pump
Purpose: To vent the hot, damp air from the cleaning compartment so that the dishes dry during the drying program and to prevent condensation forming between the machine’s inner and outer doors. Service Manual - Dishwasher Models DDW24S, RDW24I and RDW24S... -
Page 10: Pressure Sensor
CU, • the drain pump starts, the program is interrupted and the machine indicates an overflow. Purpose: To provide protection from any water leaks or flooding from the machine. Service Manual - Dishwasher Models DDW24S, RDW24I and RDW24S... -
Page 11: Troubleshooting
Cycle Process Description Presented below is a detailed description of the Quick cycle process. This description applies to a DDW24S with no options selected. If the component test in the service menu is not sufficient to identify a fault, you can run the Quick cycle and compare the results with the process description below. -
Page 12: Poor Dishwashing Results
Check that the access plug on the left side of the bot- tom drain by the drain pump is in place. When servicing a DDW24S dishwasher it is important to • Check that the machine heats to the right temperature. -
Page 13: Fault Codes
“uncertainty” in the auto program. Spray arm diverter fault: Position switch Check spray arm diverter (functioning gearbox, F:45 always closed or open. The cycle contin- switches and cables). ues. Only indicated in service menu. Service Manual - Dishwasher Models DDW24S, RDW24I and RDW24S... -
Page 14: Service Menu - Ddw24S
Time, flow meter switched off, intake time: pulse value x 0.068 [s] L: 5 Time-controlled water intake increases by +5% L:10 Time-controlled water intake increases by +10% L:15 Time-controlled water intake increases by +15% Service Manual - Dishwasher Models DDW24S, RDW24I and RDW24S... - Page 15 Troubleshooting Menu step/Turn/Push Numeric Display Comments/instructions START U: 1 Not used Variant U: 2 DDW24S (controller option settings match the control panel for this model) U: 3 Not used PROGRAM U: 4 Not used U: 5 Not used U: 6...
-
Page 16: Service Menu - Rdw24I And Rdw24S
Time, flow meter switched off, intake time: pulse value x 0.068 [s] L: 5 Time-controlled water intake increases by +5% L:10 Time-controlled water intake increases by +10% L:15 Time-controlled water intake increases by +15% Service Manual - Dishwasher Models DDW24S, RDW24I and RDW24S... - Page 17 No total reset next time START is pressed, default setting. Total reset Total reset next time START is pressed. Should be done after PROGRAM r: 1 replacing the control unit to reset all the sensors. START Service Manual - Dishwasher Models DDW24S, RDW24I and RDW24S...
-
Page 18: Service Information
1. Remove the three screws on each side of the wash compartment. 2. Take one of the M6 screws (with O ring) and insert it in the rear hole on the inside of the base. Repeat for both sides of the dishwasher. Service Manual - Dishwasher Models DDW24S, RDW24I and RDW24S... - Page 19 6. Put your foot on the base and lift the wash compartment up. Hang the wash compartment on the two screws previ- ously placed in the rear holes on either side of the dishwasher. Service Manual - Dishwasher Models DDW24S, RDW24I and RDW24S...
-
Page 20: Overflow Guard Wiring
If reattached incorrectly the dishwasher will not start. Connect the 2-pin connector (2) to the two upper pins on the micro-switch and the single pin connector (1) to the lowest pin. Service Manual - Dishwasher Models DDW24S, RDW24I and RDW24S... -
Page 21: Wiring Diagram
UART: UART FILTER VAX: VAX ACTUATOR FLOW METER FL/FN 1: FAN DOOR FLOAT SWITCH WIRES IN ALL MACHINES HE (PTC): HEATING ELEMENT PTC INTERNAL CONNECTION HUMIDITY SENSOR WIRES IN SOME MACHINES Service Manual - Dishwasher Models DDW24S, RDW24I and RDW24S... -
Page 22: Notes
Notes Service Manual - Dishwasher Models DDW24S, RDW24I and RDW24S... - Page 24 Dacor ● 600 Anton Blvd. Suite 1000 Costa Mesa, CA 92626 ● Phone: (800) 793-0093 ● Fax: (626) 403-3130 ● www.dacor.com...
Need help?
Do you have a question about the DDW24S and is the answer not in the manual?
Questions and answers