Advertisement
Advertisement

Summary of Contents for X10 WM100
- Page 1 Model WM100 Product Manual...
-
Page 2: Table Of Contents
1. Hardware ............................3 2. Software ............................4 3. Features ............................5 4. Installation ............................6 5. App – Devices ........................... 9 6. App – Rooms ..........................12 7. App – Scenes ..........................14 8. App – Setup ............................ 18 Contents Model WM100... -
Page 3: Hardware
However, unlike traditional transceivers, this unit can control all of the 256 different possible codes. In addition, this WiFi Module can also be used to detect what X10 signals are being seen on the electrical line by the WM100. This history can be found in Setup > X10 WiFi history and settings. -
Page 4: Software
Software o The Apple App can be found here: https://itunes.apple.com/us/app/x10-wifi/id1330310265?mt=8 o Android App can be found here: https://play.google.com/store/apps/details?id=com.leconiot.wm100&hl=en Software Model WM100... -
Page 5: Features
Multiple users can control the WM100 simultaneously • The WM100 has an active ‘sense’ technology that will adjust the status of the devices in the app • regardless of if the signal was sent from the WM100 or any other source (like a hand remote) -
Page 6: Installation
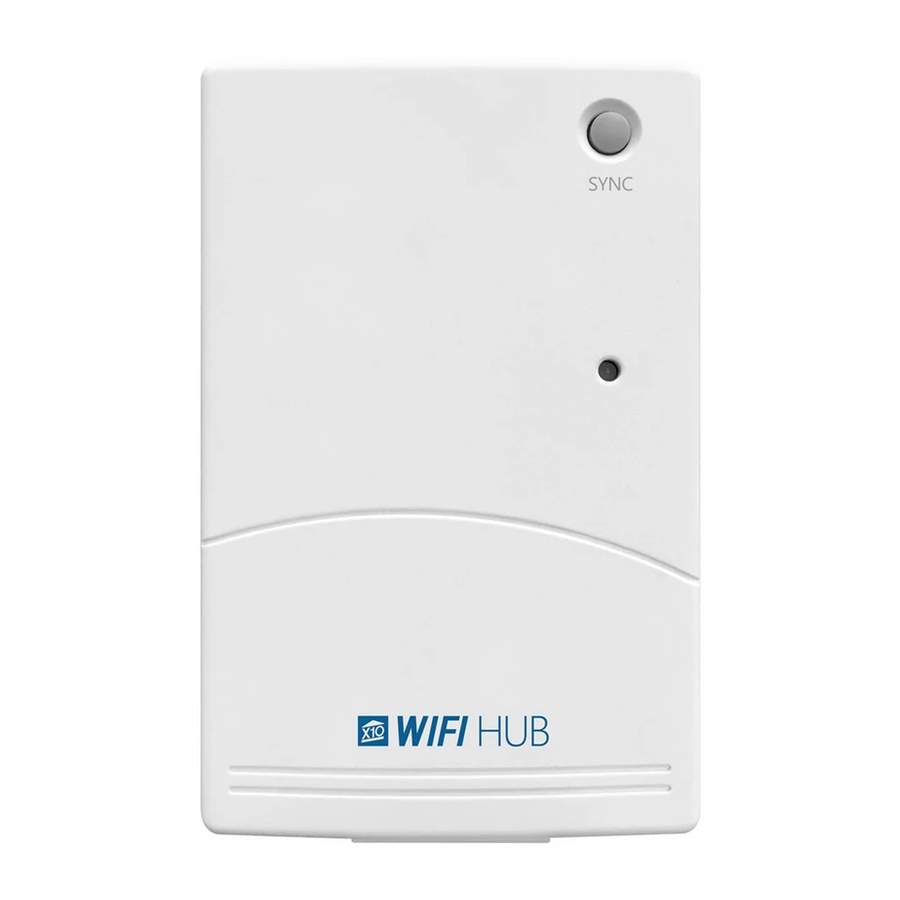
Select the “setup a new X10 WiFi HUB” On the back of the WM100 HUB there is a unique QR code. Locate the QR code and hit the “SCAN QR” button in the app to scan it. - Page 7 HUB for about 5 seconds (until the LED begins to blink steadily), then, let go of the SYNC button. While the LED is blinking on the WM100, go back to the App and press the “CONNECT” button.
- Page 8 Load the app on the new device and select “Connect to an existing Hub”. Scan the QR Code when prompted and quickly plug the WM100 into the outlet. The App will connect and download the settings and preinstalled devices from the WM100.
-
Page 9: App - Devices
On the Add Device page, you can give the device a name, set the house and unit code (it should match the X10 device you are trying to control) and indicate if it is a dimmable module or not (like the LM465 or WS467). - Page 10 Adding a Timer To add a timer, hit the “Add Timer” button in the lower left of the Edit • Device Screen (as seen above) App - Devices Model WM100...
- Page 11 You can then individually select the days you would like the timer to operate. The Security button is a feature found on other X10 units (like the MT14A mini- timer) that allow the user to make the home look ‘lived in’ and is usually used when the user is out of town.
-
Page 12: App - Rooms
Do this to as many devices as you would like in the room. When finished, hit the “Back” button in the upper left. App - Rooms Model WM100... - Page 13 “ROOM ON” “ROOM OFF” buttons to control the whole room. NOTE: The “ROOM ON/OFF” buttons will alter the status of every X10 device added to that Room (lamp modules, appliance modules, switches, receptacles, etc.). Please be aware of this when setting up your Room.
-
Page 14: App - Scenes
Scenes – Scenes allows the user to do a string of more complex commands with the touch of one button. A scene is something like a “wake up” command, or a “leave house” command that may turn on or off specific X10 devices across your whole home. o Add Scene To start adding a Scene, go to the “Scenes Tabs”... - Page 15 ON/OFF state, the DIM level (if the device is dimmable) and set a delay if you would like one. You can delete this device by pressing the red trash can icon on the right. When finished, hit “Save”. App - Scenes Model WM100...
- Page 16 To run this scene, select “Save”, “Back”, or hit the “Scenes” tab at the top. App - Scenes Model WM100...
- Page 17 You can press the button again to stop the scene early. You can also run or stop all the scenes listed by hitting the “RUN ALL” or “STOP ALL” buttons in the upper right. App - Scenes Model WM100...
-
Page 18: App - Setup
If you would like to clear the history, simply hit this button to do o Sync Data from HUB Hitting this button will sync your Apps data with the WM100. This is useful if, for instance, you have made changes from another device and they have not yet showed up on your current device. - Page 19 The app will notice the reset and also ask if you wish to reset to factory • settings. Once confirmed, your WM100 and App will be completely reset to factory settings. For additional troubleshooting and X10 community support, you can visit the X10 Forums below: http://forums.x10.com/index.php?board=148.0 App - Setup Model WM100...


Need help?
Do you have a question about the WM100 and is the answer not in the manual?
Questions and answers