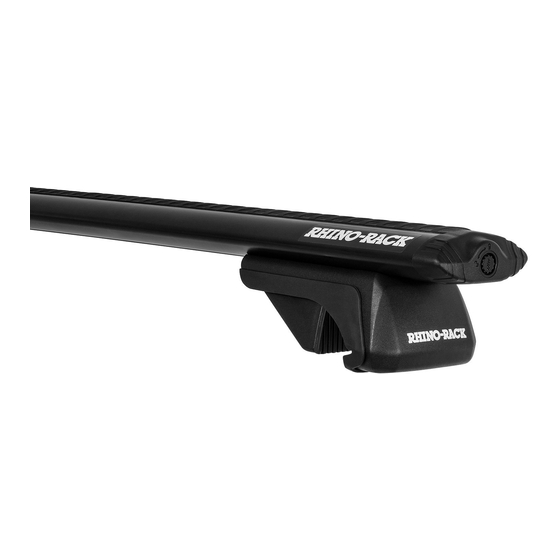
Advertisement
Quick Links
Place these instructions in the vehicle's glove box after installation is complete.
Important:
Max: Up to 100kg (220lbs)
use lower of the two fi gures.
Recommendations:
It is essential that all bolt connections be checked after driving a short distance when you fi rst install your crossbars. Bolt connec-
tions should be checked again at regular intervals (probably once a week is enough, depending on road conditions, usage, loads
and distances travelled). You should also check the crossbars each time they are refi tted. Make sure to fasten your load securely.
Please ensure that all loads are evenly distributed and that the centre of gravity is kept as low as possible. Please remove cross-
bars when putting vehicle through an automatic car wash.
Load Ratings:
Maximum permissible load is 100kg (220lbs) for two cross bars including the weight of the cross bars, 5kg (11lbs). When cross-
bars are to be used in off-road conditions, please build a safety factor of 1.5 into this load limit for off-road use (66kg / 145lbs),
include two crossbars = 5kg 11lbs. Although the crossbars are tested and approved to AS1235-2000/ 15011154, Off road condi-
tions can be much more rigorous. However, increasing the number of crossbars does not increase the vehicles maximum permis-
sible roof loading.
Note for Dealers and Fitters:
It is your responsibility to ensure instructions are given to the end user or client.
Please read these instructions carefully prior to installation.
Please refer to your fi tting instruction to ensure that the roof racks are installed in the
correct locations.
Check the contents of kit before commencing fi tment and report any discrepancies.
.*Refer to vehicle owners manual for vehicle specifi c maximum roof loading. Always
SX100
Page 1 of 5
Advertisement

Summary of Contents for Rhino-Rack SX100
- Page 1 SX100 Place these instructions in the vehicle’s glove box after installation is complete. Important: Please read these instructions carefully prior to installation. Please refer to your fi tting instruction to ensure that the roof racks are installed in the correct locations.
- Page 2 SX100 km/h ? kg Ensure Ladder is well supported on the ground to help support tent. Take extreme caution when climbing heights above 1.2m/4ft. When these roof racks are to be used on a vehicle that Up to, 2 bars...
-
Page 3: Parts List
End Cap M640 End Cap Barrel M622 Lock Barrel Key M623 VA Under Bar Strip M641 SX100 Leg Torque Allen Key TORKEY-L Fitting Instructions R1159 Note: Crossbar lengths will vary Tools Required: - Tape Measure. depending on vehicle. *Sold as separate. - Page 4 SX100 Sit the Crossbars onto the Factory Rail so that the Leg Assembly clamps over the Rail. Position the Crossbars at a 700 - 700-800mm 800mm spacing. (27,9/16”-31,1/2”) Set an equal overhang on the Crossbars. Check Gasket is fl ared out and not tucked under prior to tightening. Note: The Gasket will create a seal with the Roof Rail when pressure is applied.
- Page 5 SX100 Fasten each Leg alternately using the Allen Key provided to 4-5Nm. Donward force may be required on top of the Crossbar Leg as shown. With Torque Key inserted, turn clockwise until handle straightens as below. This indicates 4-5 Nm. More pressure may be required in extreme climates.


Need help?
Do you have a question about the SX100 and is the answer not in the manual?
Questions and answers