
Related Manuals for TENSITRON ACX-100-1


Summary of Contents for TENSITRON ACX-100-1
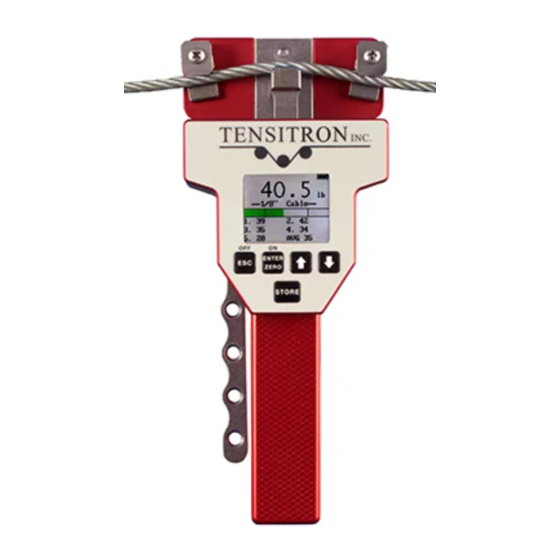
- Page 1 Operating Instructions ACX-1 Series Digital Aircraft Cable Tension Meter pg. 1 ACX-1 Series Instrument www.tensitron.com...
-
Page 2: Table Of Contents
• DATA LOGGING Screen ..................12 View Data Stats ....................12 View Data Log ....................12 Clear Single Point Log ..................12 • TENSION UNITS Screen ..................13 • SELECT MATERIAL Screen ..................13 pg. 2 ACX-1 Series Instrument www.tensitron.com... -
Page 3: Warranty Policy
Tensitron warrants that all Tensitron-manufactured equipment will be free of any defect in materials or workmanship for the period of (1) year. Warranty begins from the date of shipment from a Tensitron facility. The warranty is extended to customers and applies to all Tensitron-manufactured equipment purchased, installed, and used for the purpose for which such equipment was originally designed. -
Page 4: Specifications
3.37” x 8.14” x 1.39” All models except 500 and 1200: 5.20” x 8.14” x 1.39” ACX-500 and 1200: (See Figure 1) Weight 1.5 lb. (depending upon instrument configuration). Environment: Indoor or outdoor use, dust-free environment. pg. 4 ACX-1 Series Instrument www.tensitron.com... -
Page 5: Safety And Maintenance
If instrument is damaged return it to Tensitron for repair. Unplug charger when not in use. WARNING: Only use battery pack assemblies provided by Tensitron with your meter (P/N: BATTERY, ACX). Other types of batteries might explode, causing personal injury and damage. -
Page 6: Instrument Options
4. INSTRUMENT OPTIONS • Standard Instruments Resolution Range Model Cable Selection (pounds) (pounds) ACX-100-1 1/16”, 3/32”, 1/8”, 5/32” 5-100 ACX-100-M-1 2.0mm, 2.5mm, 3.5mm 5-100 ACX-100-FM-1 1/16”, 3/32”, 1/8”, 5/32”, 5-100 2.0mm, 2.5mm, 3.5mm ACX-250-1 1/16”, 3/32”, 1/8”, 5/32”, 20-250 3/16”... -
Page 7: Add-On Options
Figure 2) Cable diameter gauge included, to easily and accurately measure cable size. (See Figure 3) Figure 3: Cable Diameter Gauge Figure 2: Carrying Case with Instrument, Calibration Record, charger, adapters and Operating Instructions. pg. 7 ACX-1 Series Instrument www.tensitron.com... -
Page 8: Basic Operation
5. BASIC OPERATION • Charging Instrument Batteries Use only a Tensitron power supply to avoid damage to instrument. Connect power supply cable to instrument. Plug the power supply into a power source with input voltages between 100 – 240 VAC. -
Page 9: Engaging Instrument Onto Cable
If your specific material is not listed, add it to the menu by following the calibration instructions included at the end of these instructions. Or, send a 15’ sample of your material/cable and the instrument to Tensitron and ask to have it added to the menu. Select Cable Size –... - Page 10 Once cable is properly routed, gently squeeze the engagement lever back toward the handle until it locks into the engaged position, parallel to the instrument handle. Don’t over torque! Figure 7: Instrument engaged onto cable pg. 10 ACX-1 Series Instrument www.tensitron.com...
-
Page 11: Display Screens
Backlight To adjust the visual intensity of the LCD screen. ▪ Scroll to SETUP and press ENTER. ▪ Scroll to BACKLIGHT and press ENTER ▪ Select Low, Medium or Full intensity and press ENTER. pg. 11 ACX-1 Series Instrument www.tensitron.com... -
Page 12: Set-Point Menu
Scroll to DATA LOGGING and press ENTER. ▪ Scroll to VIEW DATA LOG and press ENTER. Clear Single Point Log To clear stored data, scroll to CLEAR SINGLE PT LOG, press ENTER, and follow the prompts. pg. 12 ACX-1 Series Instrument www.tensitron.com... -
Page 13: Tension Units Screen
Before engaging the ACX instrument onto the cable, zero the instrument by holding it in the same attitude you’ll be taking the readings and press the “Enter” or “Zero” button. This will eliminate any small tare effects. pg. 13 ACX-1 Series Instrument www.tensitron.com... - Page 14 Verify that the tension value is correct within the accuracy specification for your instrument: Accuracy Specification Model 2% full-scale accuracy: ACX-100-1 +/- 2 lb. ACX-250-1 +/- 5 lb. ACX-500-1 +/- 10 lb. For example, if you are using an ACX-250-1, and suspended weight is 40.0 lb.
- Page 15 After completing a calibration always recheck the values. Refer to “Check Accuracy” in Section 7. pg. 15 ACX-1 Series Instrument www.tensitron.com...
- Page 16 733 S. Bowen Street Longmont, CO 80501 Phone: (303) 702-1980 Fax: (303) 702-1982 E-mail: sales@tensitron.com Web Site: www.tensitron.com...
Need help?
Do you have a question about the ACX-100-1 and is the answer not in the manual?
Questions and answers