Table of Contents
Advertisement
Advertisement
Table of Contents

Related Manuals for WORLD TECH ELITE STRIKER-X


Summary of Contents for WORLD TECH ELITE STRIKER-X
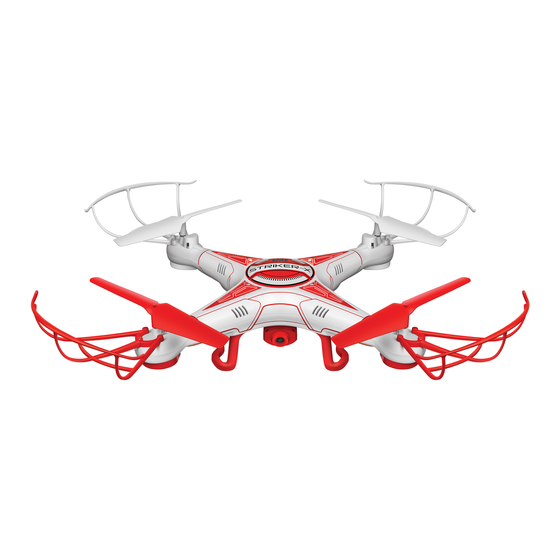
- Page 1 ITEM NO. 33042...
-
Page 2: Table Of Contents
TAB LE O F C ONT ENTS IN TR OD UCT I ON S A F E TY & PRE CAU T I ON S D R O NE D IAG RAM TR ANS MI T TE R DI A GRA M INSTALLING THE TRANSMITTER BATTERY INSTALLING THE DRONE BATTERY CHARGING THE DRONE BATTERY... -
Page 3: In Tr Od Uct I On
I NT R O D U C TIO N Thank you for purchasing this amazing World Tech Toys product. This drone is suitable for indoor and outdoor flight. Please carefully read the entire manual before operating this drone and keep it for reference in the future. -
Page 4: D R O Ne D Iag Ram
D R ON E D IA G RAM BOTTOM OF DRONE Rotor Guard Rotor LED Lights Landing Skids HD Picture/Video Camera Power Switch Landing Skids HD Picture/Video Camera Battery Compartment 720p T R A N SM IT TER D I AGR AM Antenna Autopilot Video Record Control... -
Page 5: Installing The Transmitter Battery
INSTALLING THE TRANSMITTER BATTERY First remove the battery cover by pulling down on both tabs at the top of the cover. Next install 4 AA batteries with the correct polarity. Finally replace the battery cover and make sure the two tabs are secure. CAUTION: Battery Cover 1. -
Page 6: Charging The Drone Battery
CHARGING THE DRONE BATTERY Make sure the drone power switch is in the Unplug the battery pack from the drone. OFF position. Push the battery compartment door away from the center of the drone and swing it open. Slide the battery pack out of the drone. Connect the battery pack to the included USB charger then plug the USB to any powered USB port. -
Page 7: Transmitter Lcd Interface
TRANSMITTER LCD INTERFACE Signal Icon Battery Level Stick Mode Display Forward/Backward Speed Display Trim Display Left/Right Turn Move Left/Right Trimming Display Trim Display Camera Indicator SYNCING THE DRONE TO THE TRANSMITTER Switch ON the drone and place it on a flat surface. The drone’s LED lights will start flashing rapidly. -
Page 8: Flight Controls
FLIGHT CONTROLS Ascend/Descend Move Forward/Backward FRONT BACK Move Left/Right FRONT Move Left Move Right BACK Turn Left/Right Turn Left FRONT Turn Right BACK... -
Page 9: Installing The Memory Card
INSTALLING THE MEMORY CARD Flip the drone upside down. Take the included memory card and make sure the gold contact points are facing you. Insert the memory card into the camera until it clicks into place. To remove the memory card, push it into the camera until you hear a click and the memory card will pop out. -
Page 10: Viewing Video/Photo Files On The Computer
VIEWING VIDEO/PHOTO FILES ON THE COMPUTER If you want to view your video or photo files from the drone on your computer, you’ll have to transfer them over first. Remove the memory card from the drone’s camera and insert it into the memory card adaptor. Then plug the memory card adaptor into the USB port on your computer. -
Page 11: Ad J U Sti Ng The T Ri M
A DJ US T IN G THE TR I M When the drone moves without transmitter input, adjust the trim controls until hovering is stable. Push the RIGHT Drone is turning TRIM button until the to the left. drone stops turning. Turn Right Trim Push the LEFT TRIM... -
Page 12: Special Actions
SPECIAL ACTIONS LAUNCH TOSS You can launch your drone by simply tossing it in the air and pushing the throttle joystick straight up. The new 6-Axis Gyroscope technology allows the drone to automatically stabilize, level itself out and hover smoothly while airborne. FLIP STUNT MODE Hover the drone at least 10 feet off the ground. -
Page 13: Post Flight
POST FLIGHT After you are done flying the drone make sure the battery pack is disconnected and the transmitter power is turned off. If you are not going to use the drone for a long period of time, please remove the AA batteries from the transmitter to prevent them from draining or leaking. -
Page 14: Removing The Rotor Guards
REMOVING THE ROTOR GUARDS The drone comes with its 4 rotor guards already installed. It is recommended that you leave the rotor guards installed at all times. If you need to remove or replace a rotor guard, just follow these easy steps. NOTE: The rotor guards are all identical and can be installed anywhere on the drone. -
Page 15: Tr Ou Bl E S Hoot I Ng
T R OU B L ES HO OT I N G PROBLEM CAUSE SOLUTION Transmitter is not syncing with Drone is unresponsive. The Repeat the power up process. drone. transmitter light keeps flashing. Drone is unresponsive. Transmitter and or drone is not Turn both transmitter and drone ON. -
Page 16: Fcc Warnings
N OTE S: FCC WARNINGS 1. Warning: Changes or modifications to this unit not expressly approved by the party responsible for compliance could void the user’s authority to operate the equipment. NOTE: This equipment has been tested and found to comply with the limits for a Class B digital device, pursuant to Part 15 of the FCC Rules.
Need help?
Do you have a question about the STRIKER-X and is the answer not in the manual?
Questions and answers