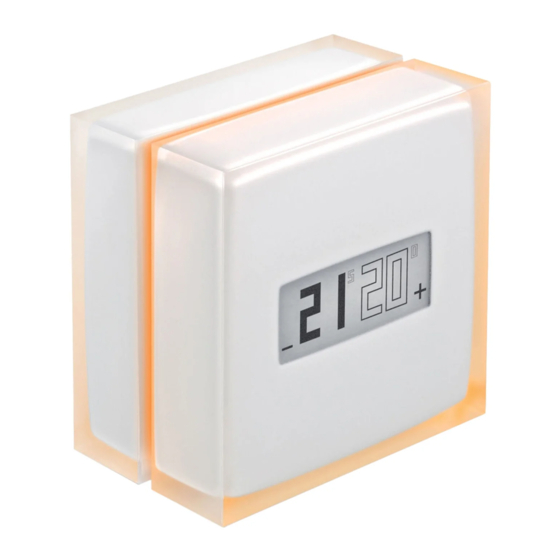
Summary of Contents for Netatmo Smart thermostat
- Page 1 Replacing a wall-mounted thermostat You can watch this installation at: http://netatmo.com/video1...
- Page 3 Warning! • Read these instructions carefully before starting the installation. • The Netatmo Thermostat must be installed according to applicable standards. • Before any intervention, make sure power is turned off. • The Netatmo Thermostat cannot control electric converters.
- Page 4 In the box Thermostat (Mobile stand)* Relay (Boiler adapter)* Mounting Plate Trim plate Color Adhesives Power Plug (Tape)* 3 AAA batteries 4 screws 4 screw anchors * not used in this setup...
- Page 5 Relay Plug the Relay into a wall Plug the Power Plug into the Relay. socket in the same room as your existing thermostat. The Relay will blink white. Switch off the power supply.
- Page 6 Note: If there are more than two wires, the others are power supply wires and are useless here. They are usually brown, blue, green or yellow. In doubt, please send a picture to photo@netatmo.com and our support team will help you identify the right wires...
- Page 7 Replace Disconnect your old thermostat. Remove it from the wall. Pass the wires through the Netatmo mounting plate and screw the latter to the wall.To hide potential scratches and holes left behind, use the trim plate. Screw the control wires previously identified into the electrical terminals and insulate the unused wires.
- Page 8 Customisation You can choose to customize your Thermostat by using one of the colour adhesives. Take off the outer frame of the adhesive. Stick it on the back of your Thermostat.
- Page 9 Thermostat Insert the batteries in the Thermostat. Set the Thermostat on the mounting plate. Switch the power supply back on.
- Page 10 Thermostat The Thermostat will display the start screen and search for the Relay. Desired temperature Measured temperature If the Thermostat has found the If the Thermostat hasn’t found the Relay, it displays the desired Relay, it displays the «!» symbol. temperature and the room In this case, move the relay closer to temperature.
- Page 11 Test clic Push the top of the Thermostat until it displays « MAX ». The Thermostat switches the boiler on. Push the bottom of the Thermostat until it displays « OFF ». The Thermostat switches the boiler off. clic Note: If the Thermostat doesn’t switch on and off the boiler, the control wires have been incorrectly wired.
- Page 12 To use your Thermostat from your smartphone or tablet, visit: http://therm.netatmo.com Smartphone / Tablettes...
-
Page 13: Specifications
Specifications SIZE WIRELESS SPECIFICATIONS Thermostat: 83 x 83 x 22 mm Wi-Fi 802.11 b/g/n compatible (2.4GHz). Supported security: Open/WEP/WPA/ DESIGN WPA2-personal (TKIP and AES). Designed by Starck. Wireless connection between thermostat and Translucent minimalist plexiglass cube. relay: 5 interchangeable colours in the box. radio long range 100 m. -
Page 14: Safety Warnings
用 均不得擅自變更頻率、加大功率或變更原設計之特性及功能。 compliance could void the user’s authority 2. 低功率射頻電機之使用不得影 飛航安全及干擾合法通信;經發 to operate the equipment. Thermostat and 現有干擾現象時,應立即停用,並改善至無干擾時方得繼續使用。 前項合法通信,指依電信法規定作業之無線電通信。 低功率射頻電機須忍受合法通信或工業、科學及醫療用電波輻射性 電機設備之干擾。 Complies with IDA Standards Copyright Netatmo © 2016 All rights reserved. Reproduction and distribution prohibited without written authorization from Netatmo. M1-V7-EN...


Need help?
Do you have a question about the Smart thermostat and is the answer not in the manual?
Questions and answers