Table of Contents
Advertisement
Advertisement
Table of Contents

Related Manuals for Logik LAC08C16

Summary of Contents for Logik LAC08C16
- Page 1 Instruction Manual Local air conditioner LAC08C16...
-
Page 3: Table Of Contents
Contents Safety Warnings ...........................4 Unpacking ............................7 Product Overview ..........................8 Front View ...................................8 Rear View .....................................8 Control Panel ..................................9 Remote Control ................................10 Moving the Unit ..........................10 Installing the Exhaust Hose ......................11 Window Installation ..............................11 Wall Installation ................................13 Installing the Batteries (Remote Control) ..................14 Switching the Unit On/Off .........................15 General Operation ..........................15 Adjusting the Louvre .............................. -
Page 4: Safety Warnings
Safety Warnings GENERAL SAFETY • For your continued safety and to reduce the risk of injury or electric shock, read all instructions carefully before using the unit and keep them for future reference. Please follow all the safety precautions listed below. • Retain this manual. - Page 5 LOCATION • Place and store away from direct sunlight, e.g., do NOT place or store under a window or next to a sliding glass patio door. • Do NOT place or store the unit where it can call or be pulled into water or any other liquid.
- Page 6 CLEANING AND MAINTENANCE • Always turn off the unit and unplug it from the mains socket after use and before cleaning. • Always contact a qualified service agent to carry out repairs or any non-user serviceable maintenance, e.g., interior of the unit. • Never use hazardous chemicals to clean the unit, or allow them to come into contact with the unit.
-
Page 7: Unpacking
Thank you for purchasing your new Air Conditioner. We recommend that you spend some time reading this instruction manual in order that you fully understand all the operational features it offers. You will also find some hints and tips to help you resolve any issues. Read all the safety instructions carefully before use and keep this instruction manual for future reference. -
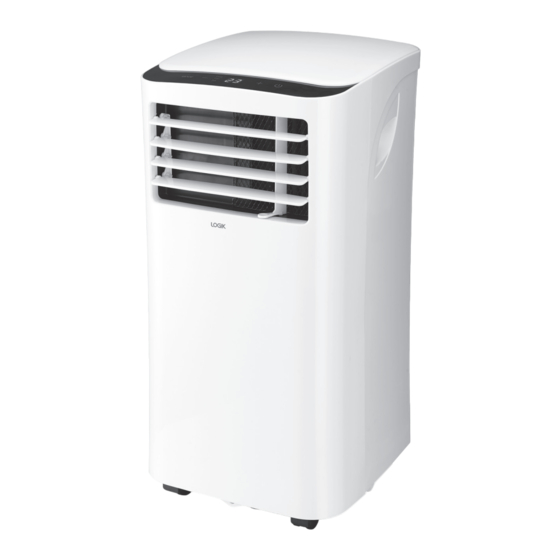
Page 8: Product Overview
Product Overview Front View 1. Control Panel 2. Remote Control Sensor (hidden behind enclosure) 3. Louvre 4. Casters 5. Recessed Handle Rear View 1. Air Filter 2. Air Intake 3. Exhaust Air Outlet 4. Bottom Tray Drain Outlet 5. Drain Outlet... -
Page 9: Control Panel
Control Panel 1. MODE Button 3. Power Indicator Select “Cool”, “Fan” or “Dry”. The indicator 4. Timer Mode Indicator light will illuminate when selected. Button 2. LED Display Switch the unit on or off. • In Cool mode, display the set 6. -
Page 10: Remote Control
Remote Control 1. LED Display 2. TEMP Buttons Increase or decrease the temperature. SET TEMPERATURE (°C) AUTO 3. MODE Button COOL HIGH Select “Dry”, “Fan”, “Auto” (“Auto” mode is not applicable to this model) or “Cool”. 4. SLEEP Button TEMP Set the unit for Sleep feature in Cool mode. -
Page 11: Installing The Exhaust Hose
Installing the Exhaust Hose Window Installation Window Slider Kit Installation Min:67.5cm Max:123cm Min:67.5cm Max:123cm It may be necessary to adjust the length of the window slider kit in order to fit your window. Window slider Never cut out the hole in the window slider kit. kit plug You can use the window slider kit plug to fix the window slider kit after adjustment. - Page 12 Installation in a Double-Hung or Sliding Sash Window 1. Cut the sealing foam (adhesive one) to the proper length and attach it to the window stool (double-hung) or window frame (sliding). 2. Adjust the length of the window slider kit according to the window, then attach it to the window stool (double-hung) or window frame (sliding).
-
Page 13: Wall Installation
Wall Installation max 120cm min 30cm Screw Anchor Exhaust Hose Exhaust Exhaust Hose Adapter Hose Adapter Wall Exhaust Adapter Do not over bend the exhaust hose. -
Page 14: Installing The Batteries (Remote Control)
Installing the Batteries (Remote Control) 1. Remove the cover on the back of the remote control by sliding the battery compartment cover off. 2. Insert 2 x AAA batteries, ensuring that their polarities (+ / –) are pointing in the right direction. 3. -
Page 15: Switching The Unit On/Off
Switching the Unit On/Off • Plug the unit into the mains supply. The Power Indicator will light up, indicating the unit is in standby mode. • Press on the unit or ON/OFF on the remote control to switch on the unit. The Power Indicator light will turn off. -
Page 16: Using The Fan Mode
Using the Fan Mode 1. Press MODE and select “Fan”. The unit will operate the auto fan speed automatically. 2. Press FAN SPEED on the remote control to select Low, High or Auto fan speed. Fan speed can only be adjusted from the remote control. Auto fan speed is selected when the pointer on the remote control display has disappeared. -
Page 17: Cleaning And Maintenance
Cleaning and Maintenance Make sure to unplug the unit before cleaning and maintenance. Cleaning the Exterior • Use a soft cloth to wipe down the exterior. • Do NOT use any abrasive cleaning agents or detergents. • Do NOT immerse any part of the unit in water or any other liquid. Cleaning the Air Filter 1. -
Page 18: Hints And Tips
Hints and Tips Problem Solution Unit does not start or there • Check that the unit is firmly plugged in and the mains is no power when pressing socket is switched on. on the unit or ON/OFF on the • Set a different temperature. remote control. -
Page 19: Specifications
Specifications Brand Logik Model LAC08C16 Sound power level (L 64 dB(A) Refrigerant R410A / 300g, GWP:2088 Refrigerant leakage contributes to climate change. Refrigerant with lower global warming potential (GWP) would contribute less to global warming than a refrigerant with a higher GWP, if leaked into the atmosphere. - Page 20 Do not dispose of batteries with normal household waste. For more information, please contact the local authority or your retailer where you purchased the product. DSG Retail Ltd. (co. no. 504877) 1 Portal Way, London, W3 6RS, UK IB-LAC08C16-161229V3...
Need help?
Do you have a question about the LAC08C16 and is the answer not in the manual?
Questions and answers