Advertisement
Quick Links
Advertisement

Related Manuals for Pyle Pro PLTTB3U


Summary of Contents for Pyle Pro PLTTB3U
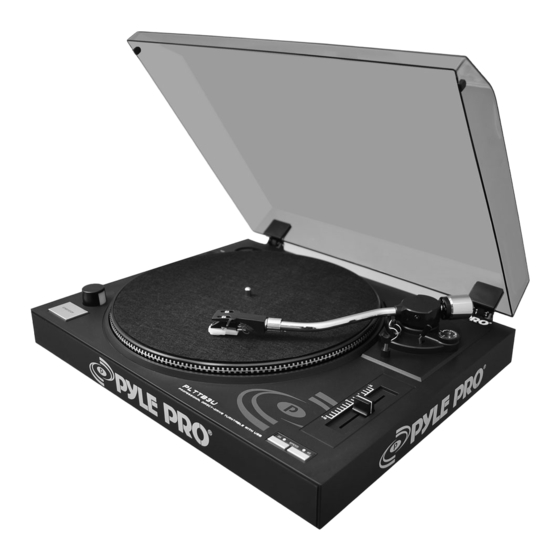
- Page 1 Direct Drive Turntable USB Turntable...
- Page 2 CONTENTS CONTENTS---------------------------------------------------2 DESCRIPTION-----------------------------------------------3,4 Audacity Software Instruction-------------------------5-20...
- Page 3 DESCRIPTION Adapter: Use this adapter when playing 45 RPM records. Power Switch: Use this switch to turn the turntable on and off. Platter: Set the record here when playing. Stroboscope Lamp: This lamp shines on the marking on the outside edge of the platter. (This is useful when making precise adjustment to the platter speed.)
- Page 4 Use this switch to select the 45 RPM speed. 16. Dust Cover: Use this to protect the turntable from exposure to dust. The cover may be opened or removed during use, but should remain closed when the turntable is not in use.
-
Page 5: Initial Starting-Up
White plug into L/H channel input. Remove the protective cap from the stylus. - Place the record of your choice on the turntable. If it is a 45 rpm, do not forget to place the adaptor on the record spindle. -
Page 6: Maintenance
MAINTENANCE TO REPLACE THE STYLUS (FIG.A) Put the rest (11) clip on the pick-up arm. Remove the protective cap from the stylus. Pull the stylus in the direction of arrow (A) and remove it. Put in the new stylus following the reverse procedure. Replace the protective cap on the stylus. -
Page 7: Before Starting The Software
Audacity Quick Guide Before Starting the Software Make sure that your USB turntable is plugged into the computer and both the computer and the turntable are plugged in and on. To Install Software (PC) Plug in your turntable to an AC outlet and connect the USB port on the Turntable to the USB port of your computer. - Page 8 Figure 2: Select USB Audio Device from Preferences After complete the above setting, you are ready for recording. If you are still having difficulty finding the USB Turntable, try to check your system settings or control panel to adjust audio input settings from the sound control panel.
- Page 9 Toolbars Selection tool - for selecting the range of audio you want to edit or listen to. Envelope tool - for changing the volume over time. Draw tool - for modifying individual samples. Zoom tool - for zooming in and out. Timeshift tool - for sliding tracks left or right.
- Page 10 Skip to End - moves the cursor to the end of the last track. Edit Toolbar All of the buttons on this toolbar perform actions - and with a couple of exceptions, they're all just shortcuts of existing menu items to save you time.
- Page 11 Track Pop-Down Menu The Track Pop-Down Menu appears when you click in a track's title. This lets you access a few special commands that apply to individual tracks. Name... - lets you change the name of the track. Move Track Up - exchange places with the track above this one.
- Page 12 Set Rate - sets the number of samples per second of the track. 44100 Hz is used by audio CDs. Tracks can have different sample rates in Audacity; they are automatically resampled to the project sample rate (in the lower-left corner of the window).
- Page 13 Export Selection As MP3... - same as above, but only exports the current selection. Export as Ogg Vorbis... - exports all of the audio as an Ogg Vorbis file. Ogg Vorbis files are compressed and therefore take up much less disk space, but they lose some audio quality.
- Page 14 Delete - Removes the audio data that is currently selected without copying it to the clipboard. Silence - Erases the audio data currently selected, replacing it with silence instead of removing it. Split - Moves the selected region into its own track or tracks, replacing the affected portion of the original track with silence.
- Page 15 Snap-To ... > Snap Off - Turns Snap-To mode off letting you select arbitrary ranges of time Preferences... - opens the Preferences dialog. View Menu Zoom In - Zooms in on the horizontal axis of the audio, displaying more detail about less time.
- Page 16 Float Mixer Toolbar - moves the Mixer Toolbar out of the window and into its own floating window as above. Project Menu Import Audio... - This command is used to import audio from a standard audio format into your project. Use this command if you already have a couple of tracks and you want to add another track to the same project, maybe to mix them...
- Page 17 that track was at a non-default rate then you may need to use Set Rate from the Track Pop-Down menu to set the correct sample rate. New Stereo Track - same as above, but creates a stereo track. You can also create a stereo track by joining two tracks using the track pop-down menu.
- Page 18 Silence - inserts silence Tone... - you can create a Sine wave, Square wave, or Sawtooth wave. White Noise - inserts random audio samples, which sounds like pure static. Any items which appear after these three built-ins are VST, Ladspa, or Nyquist plug-ins.
- Page 19 changing the pitch. This will change the length of the selection. Compressor - compresses the dynamic range of the selection so that the loud parts are softer while keeping the volume of the soft parts the same. You can optionally normalise the recording afterwards, resulting in the entire piece having higher perceived volume.
- Page 20 Repeat - repeats the selection a certain number of times. This operation is quite fast and space- efficient, so it is practical to use it to create nearly-infinite loops. Reverse - This effect reverses the selected audio temporally; after the effect the end of the audio will be heard first and the beginning last.
Need help?
Do you have a question about the PLTTB3U and is the answer not in the manual?
Questions and answers