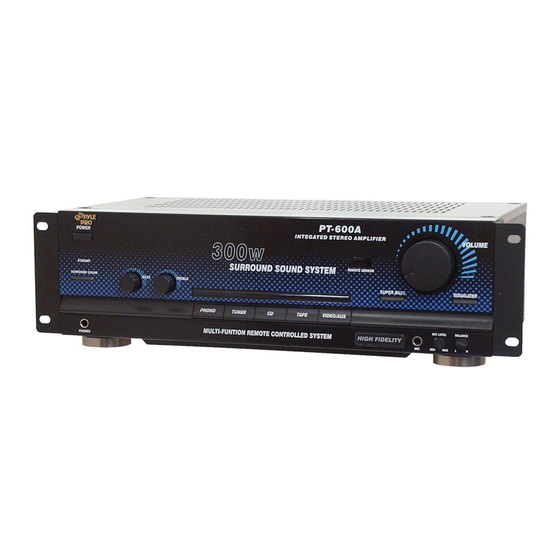
Summary of Contents for Pyle Pro PT-600A
- Page 1 POWER BASS TREBLE PHONES PT-600A INTEGRATED STEREO AMPLIFIER REMOTE SENSOR...
- Page 2 PRECAUTIONS Thank you for purchasing this HI-FI product. Taking time to read these operating instructions carefully before use will acquaint you fully with all its features and help ensure optimum performance. In order to simplify the explanation illustrations may sometimes differ from the originals. RISK OF ELECTRIC SHOCK DO NOT OPEN CAUTION: TO REDUCE THE RISK OF ELECTRIC SHOCK,...
- Page 3 CONNECTIONS Connection precautions When connecting, either disconnect the power plug from the power outlet or turn off the unit’s power using the POWER switch. Check the left and right channels and connect properly (Left to L and Right to R). Insert the plugs securely.
- Page 4 CONNECTIONS Speaker systems Connect the speaker systems to the SPEAKERS terminals on the rear panel of the unit with the speaker cords. When viewed from the front (the listening position), the speaker mounted on the left should be connected to the L terminals, and the speaker mounted on the right should be connected to the R terminals.
-
Page 5: Panel Information
PANEL INFORMATION POW ER BA SS TRE BLE PH O NE S 18 17 16 POWER SWITCH Power is supplied to the amplifier when this switch is depressed and the power is switched off when the switch is released. FUNCTION Press either TAPE, TUNER, AV1/AV2, CD, PHONO, the relative indicator will be grown. -
Page 6: Operating Procedures
OPERATING PROCEDURES PHONO A U D IO Before starting operation Check that the controls have been set to the following positions before commencing operation Rotate the VOLUME control counterclockwise as far as it will go and set it at the “0” minimum volume position. -
Page 7: Operation
OPERATION MEMO PHONO BAND SCAN TUNER TAPE PRESET EQ AV1/AV2 POWER (1). Power Switch (2) AM/FM Selector/Memory Scan/Hold (3) Volume Control Key (+ -) (4) External Processor (5) Preset EQ (6) CD Control Key * STOP * CLOSE/OPEN * PLAY/PAUSE * SKIP/FAST BACKWARD * SKIP/FAST FORWARD (7)Function Keys:... -
Page 8: Specifications
SPECIFICATIONS Power output Min. RMS, both channels driven, from 40-20 kHz, with no more than 0.1% total harmonic distortion. 50 watts per channel into 6 ohms. Load Impedance…………………..6 ohms Total Harmonic Distortion………less than 0.05% at 1/2 rated RMS power output. Frequency response (at 1 watt)…..20 to 20 kHz, + 1 dB, -2dB RIAA curve deviation (PHONO 20 Hz to 20 kHz) …………….………………………+0.5 dB, -0.5 dB...


