Advertisement
Quick Links
Advertisement

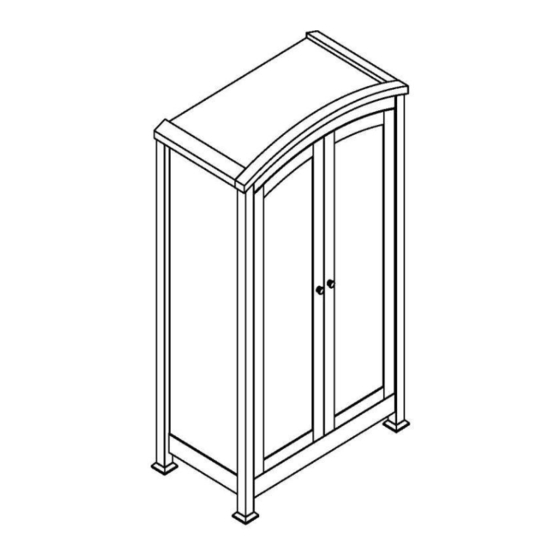
Summary of Contents for IZZIWOTNOT Tranquillity Wardrobe
- Page 1 20 April 2013(KIN 01)
-
Page 2: Important Notes
Important Notes Unpack your furniture carefully onto a soft level surface such as a carpeted floor. Familiarise yourself with the parts by comparing them with the checklist provided below. Do not discard any packaging until you have checked the parts against the list below. This furniture is provided with an anti-topple device for securing to a wall. -
Page 3: Parts Checklist
Parts checklist Item Name Item Name LH Door LH Side RH Door RH Side LH Drawer Side Back Panels RH Drawer Side Back Rail Drawer Back Support Rail For Drawer Drawer Base Plinth For Drawer Drawer Support Rail LH Side Panel For Drawer 1 Drawer Front RH Side Panel For Drawer 1 Frame Side for Drawer... - Page 4 Assembly 1. Attaching dowels to top shelf, LH and RH side for drawer, and feet. Fx12 2. Attaching cam bolts, dowels to bottom shelf, frame sides for drawer.
- Page 5 Assembly 3. Securing support rail and plinth for drawer. 4. Securing LH and RH side panel for drawer.
- Page 6 Assembly 5. Attaching cam bolts, bolts, screws, dowels and hanging rail bracket to LH and RH side. Bx24 6. Securing sides, support rail and plinth for drawer with bottom shelf.
- Page 7 Assembly 7. Securing drawer frame, top shelf and back rails to LH side. Ax14 8. Securing RH side. Ax14...
- Page 8 Assembly 9. Attaching cam bolts to the top. 10. Securing top and overlap cam covers to cams of wardrobe inside. Sx10...
- Page 9 Assembly 11. Attaching joining strip and securing back panels. Cx28 12. Attaching dowels and cam bolts to drawer front, back and sides.
- Page 10 Assembly 13. Assembling sides, back, base and front of drawer.
- Page 11 Assembly 14. Assembling drawer and attaching hanging rail into brackets. 15.Securing hinges to doors. Nx12...
- Page 12 Assembly 16. Assembling and securing doors and door handles. Nx24 The wardrobe is now fully assembly.
- Page 13 Assembly 17. Adjusting the doors if necessary. Adjusting the width of the gap between the doors. Loosen screw to adjust the width of gap between the doors, and re-tighten after correct alignment. Adjusting the height of the doors. loosen screws C on all of hinge plates. Lift or lower the door until it lines up with the top of the other door and re-tighten both of screws.
-
Page 14: Care And Safety
Care and Safety OPTIONAL ONLY. THIS UNIT IS SUPPLIED WITH AN ANTI-TOPPLE DEVICE THAT SECURES THE UNIT TO THE WALL. FAILURE TO USE THIS COULD RESULT IN THE FURNITURE TOPPLING OVER. WE RECOMMEND THAT YOU USE THIS SAFETY DEVICE. Using the screw, washers and strap provided, fix to the rear of the unit using a cross head screw driver. -
Page 15: Customer Service
Daytime Telephone Number Email Product Purchased Purchased Date Price Where Purchased If you would like to receive further information regarding new products, promotions and special offers from IZZIWOTNOT please tick the box provided: Post Email www.izziwotnot.com / sales@izziwotnot.com GUARANTEE All our products are made using the highest quality materials and are manufactured to British Standards, some of the highest quality standards in the world.

Need help?
Do you have a question about the Tranquillity Wardrobe and is the answer not in the manual?
Questions and answers