Subscribe to Our Youtube Channel
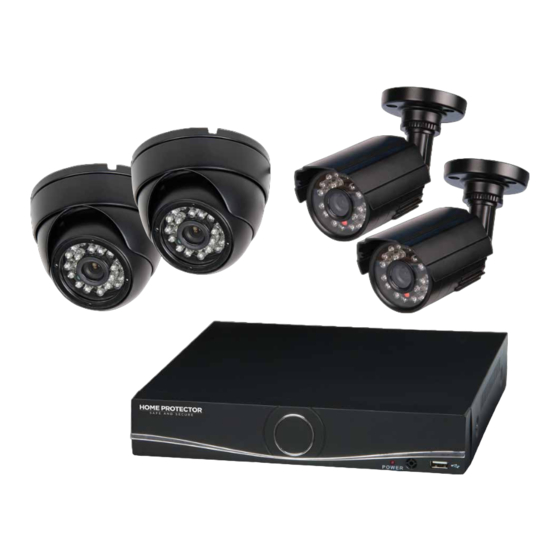
Summary of Contents for Home Protector 4AHD
- Page 1 Now that you have purchased a Home Protector product you can rest assured in the knowledge that as well as your 3 year parts and labour warranty you have the added peace of mind of dedicated helplines and web support.
- Page 2 Getting to Know your DVR This quick start guide will help you to get your CCTV kit up and running as quickly as possible. We suggest you connect up the kit to familiarise yourself with it before installing the cameras in their permanent location. Before installation please check you have all the kit contents listed below and read the following safeguards and warnings carefully.
- Page 3 Power & Camera Connections Connecting the cameras and power supply as shown in Fig. 2 below. 1. Connect the power adaptor [D] to the DC In socket [7 on Fig. 1] on the back of the DVR. 2. Connect the power socket on each 18m combined video/power cable [C] to one of the plugs of the power power adaptor [D].
- Page 4 Video & Data Connections Connecting to your home network see Fig. 3 below Plug the RJ45 Ethernet cable supplied [G] into the LAN port [6 on Fig. 1] on the DVR and the other end into a spare port on your router or wireless access point. Connecting the mouse see Fig.
- Page 5 Connecting the DVR to the Internet Once you’ve connected all the leads, turn on your DVR and you are ready to go, so just follow these simple instructions to get your home security system up and running; 1. Connecting your DVR to your broadband router. Make sure the DVR is turned off and using the Ethernet cable provided, plug one end into the LAN Port (7) on your DVR and connect the other end into an available port on your broadband router.
- Page 6 Waste electrical and electronic products should not be disposed of with household waste. Please recycle where facilities exist. Check with your Local Authority for recycling advice.


Need help?
Do you have a question about the 4AHD and is the answer not in the manual?
Questions and answers