Table of Contents
Advertisement
Quick Links
Advertisement
Table of Contents

Related Manuals for CVS BP3MW1-4Y


Summary of Contents for CVS BP3MW1-4Y
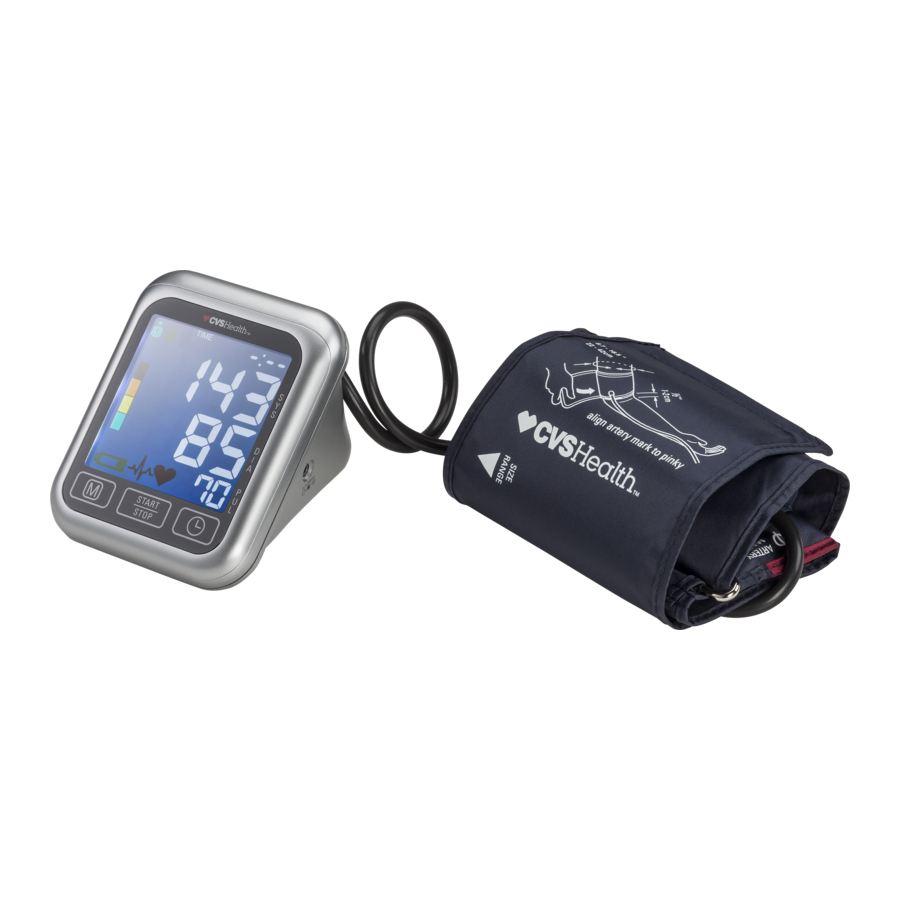
- Page 1 CVS-MW1-4B IB-final-062716-Q10.qxp_MLU3AC1-JAN05-2 2017/3/20 下午2:47 頁面 1...
-
Page 3: Table Of Contents
Automatic Blood Pressure Monitor Instruction Manual Table of contents 1. Introduction 1.1. Features of your automatic blood pressure monitor 1.2 Gentle+™ Measurement System 1.3. Important information about self-measurement 2. Important information on blood pressure and its measurement 2.1. How does high/low blood pressure arise? 2.2. - Page 4 7. Error messages/troubleshooting 8. Care and maintenance 9. Limited Warranty 10. Standards 11. Technical specifications 12. How to contact us...
-
Page 5: Introduction
1. Introduction 1.1. Features of your Automatic Blood Pressure Monitor Your blood pressure monitor is a fully automatic digital blood pressure measuring device for use by adults on the upper arm at home or in your doctor’s/nurse’s office. It enables very fast and reliable measurement of the systolic and diastolic blood pressure as well as the pulse by way of the oscillometric method. -
Page 6: Important Information On Blood Pressure And Its Measurement
2. Important information on blood pressure and its measurement 2.1. How does high/low blood pressure arise? Your level of blood pressure is determined in the circulatory center of the brain and adjusts to a variety of situations through feedback from the nervous system. To adjust blood pressure, the strength and frequency of the heart (pulse), as well as the width of circulatory blood vessels is altered. -
Page 7: Which Values Are Normal
Which values are normal? The following standards for assessing high blood pressure (in adults) have been established by the National Institutes of Health JNC7, 2003. Category Systolic Diastolic (mmHg) (mmHg) Normal <120 and <80 Pre-Hypertension 120-139 or 80-89 Hypertension Stage 1 Hypertension 140-159 or 90-99 Stage 2 Hypertension... - Page 8 d) There are measures which you can take to reduce and even prevent high blood pressure. These measures must be permanent lifestyle changes. 1) Eating habits • Strive for a normal weight corresponding to your age. See your doctor for your ideal weight. •...
-
Page 9: Components Of Your Blood Pressure Monitor
Memory Recall Button b) Wide Range Cuff: For arm circumference 22 cm - 42 cm (8.7” - 16.5 ”) If you ever need to buy a replacement cuff, call CVS/pharmacy Blood Pressure Support toll-free at ® 1-866-464-6184. Please Note: Arm circumference should be measured with a measuring tape in the middle of the relaxed upper arm. -
Page 10: Using Your Blood Pressure Monitor For The First Time
4. Using your blood pressure monitor for the first time 4.1. Inserting the batteries After you have unpacked your device, insert the batteries. The battery compartment is located on the bottom of the device. a) Remove the battery cover. b) Insert the batteries (4 x size AA 1.5 V), observing the Low Battery Indicator indicated polarity. -
Page 11: Using The Ac Power Adapter
• If the power is interrupted during a measurement (e.g., by removal of the adapter from the wall socket), the instrument must be reset by removing the plug from the instrument. If you have any questions regarding the AC adapter, call CVS/pharmacy Blood Pressure Support at 1-866-464-6184. ®... -
Page 12: Cuff Tube Connection
4.5. Cuff tube connection Insert the cuff tube into the opening on the left side of the instrument. 4.6. Select the user This blood pressure monitor is designed to store 120 measurements for each of two users. In addition, there is a guest mode in which results are not stored. -
Page 13: Select The Measuring Mode: Standard Or Measurement Averaging Mode
4.7. Select the measuring mode: standard or measurement averaging mode (MAM) This instrument enables you to select either standard (single measurement) or measurement averaging mode (automatic triple measurement). a) With the unit off, press the TIME button and hold for 3 seconds, the screen will show the current mode. -
Page 14: Measurement Procedure
5. Measurement procedure Please note: You should always be seated before and during measurement. 5.1. Before measurement: • Avoid eating and smoking as well as all forms of exertion directly before measure- ment. These factors influence the measurement result. Find time to relax by sitting in an armchair that gives back and arm support in a quiet atmosphere for about ten minutes before your measurement. -
Page 15: Fitting The Cuff
5.3. Fitting the cuff a) Pass the end of the cuff through the flat metal ring so that a loop is formed. The hook and loop material must be facing outward. (Ignore this step if the cuff has already been prepared). b) Slide the cuff over the left upper arm so that the tube is closer to your lower arm. -
Page 16: Measuring Procedure
Comment If it is not possible to fit the cuff to your left arm, it can also be placed on your right arm. However, all measurements should be made using the same arm. Comparable blood pressure measurements always require the Cuff on right arm same conditions (relax for several minutes before a reading). -
Page 17: Memory - Displaying The Last 120 Measurements
Mode) setting, 3 separate measurements will take place in succession, after which your result is calculated and displayed as a single, averaged measurement. There is a 15 second resting time between each measurement. A count- down indicates the remaining time and a beep will sound for 5 seconds before the 2nd and 3rd readings begin. - Page 18 TIME TIME...
-
Page 19: Hypertension Risk Indicator
5.8. Hypertension risk indicator The bars on the left-hand edge of the display show you the range within which the indicated blood pressure value lies. Depending on the height of the bar, the readout value is either within the normal (green), borderline (yellow) or danger (orange, red) range. -
Page 20: Irregular Heartbeat Detector
5.9. Irregular heartbeat detector The appearance of this symbol indicates that certain pulse irregularities were detected during the measurement. In this case, the result may deviate from your normal basal blood pressure – repeat the measurement. In most cases, this is no cause for concern. -
Page 21: Am/Pm Averaging
3. The memory retains all values although date and time (and possibly also set alarm times) must be reset – the year number will flash automatically after the batteries are replaced. 4. To set date and time, follow the procedure described in Section 4.3. Note: Use four new, Long-Life 1.5 V AA batteries. - Page 22 6. Software functions This unit can be used in connection with your compu- er (PC / MAC) running the PC Link blood pressure Blood Pressure Analyzer Rev.: 3.2.5 or higher analyzer software. Your computer will allow a capacity of monitoring 80 patients, each with 1000 data (note: overuse will lower system efficiency).
- Page 23 Please refer to the "Help" file in the software for detailed instructions or call 1-866-464-6184. 7. CVS Application Please download Microlife BPM Application from the App Store or Google Play before attempting to pair your devices. Microlife BPM Applications can be executed on a...
- Page 24 Monitor. Data Transmission: Please make sure your Blood Pressure Monitor and your iOS / Android device are in connecting status before you do data transmission a). Open Microlife BPM APP on your iOS or Android mobile device. b). When you choose “Download all data”, the App will show a data transmitting display on the screen as below: c).
-
Page 25: Bluetooth Functions & Application (App
8. Bluetooth functions and application (App) Please download the Microlife Connected Health App (referred to as App in this document) from Apple’s App Store or Google Play before pairing your devices. The ® ® App can be executed on a number of mobile platforms with the following specifications: Compatibility: •... -
Page 26: Error Messages/Troubleshooting
9. Error messages/troubleshooting If an error occurs during a measurement, the measurement is discontin- ued and a corresponding error code is displayed (example: Error no. 2). Error No. Possible cause(s)/Solutions ERR 1 The tube may have loosened, or no pulse was detected.* Ensure cuff connections are tight with proper cuff placement. - Page 27 Other possible errors and their solutions If problems occur when using the device, the following points should be checked and, if necessary, the corresponding measures are to be taken: Malfunction Remedy The display remains blank when the instru- 1. Check batteries for the correct polarity. ment is switched on although the batteries 2.
-
Page 28: Care And Maintenance
8. Care and maintenance a) Do not store the unit under direct sunlight, at a high temperature, or in high humidity or dust. Performance may be degraded. b) The cuff contains a sensitive airtight bubble. Handle this cuff carefully and avoid all types of stress through twisting or buckling. c) Clean the device with a soft, dry cloth. -
Page 29: Limited Warranty
9. Limited Lifetime Warranty Your Automatic Blood Pressure Monitor is warranted for the estimated life of the Monitor by Microlife USA Inc, against manufacturer defects for the original purchaser only, from date of purchase. The lifetime warranty applies to the monitor only. The following accessories are warranted for 1 year: cuff and adapter. -
Page 30: Standards
10. Standards Device standard: Device corresponds to the requirements of the standard for non-invasive blood pressure monitors: AAMI/ANSI/IEC 80601-2-30 IEC 60601-1, IEC 60601-1-2, IEC 60601-1-11 Bluetooth sy stem to V4.0 FCC Part 15C Electromagnetic compatibility: Device fulfills the stipulations of the International standard IEC 60601-1-2 Clinical testing: Clinical performance tests were carried out in... - Page 31 Federal Communications Commission (FCC) Statement This device complies with part 15 of the FCC Rules. Operation is subject to the follow- ing two conditions: (1) This device may not cause harmful interference, and (2) this device must accept any interference received, including interference that may cause undesired operation.
-
Page 32: Technical Specifications
CVS-MW1-4B IB-final-062716-Q10.qxp_MLU3AC1-JAN05-2 2017/3/20 下午2:47 頁面 31 11. Technical specifications: Weight: ......468 g (with batteries) Size: . -
Page 33: How To Contact Us
CVS-MW1-4B IB-final-062716-Q10.qxp_MLU3AC1-JAN05-2 2017/3/20 下午2:47 頁面 32 12. How to contact us Distributed by: CVS Pharmacy, Inc. One CVS Drive, Woonsocket, RI 02895 © 2016 CVS/pharmacy www.cvs.com Toll Free Customer Support Line: 1-866-464-6184 Email: CVSbpsupport@microlifeusa.com...
Need help?
Do you have a question about the BP3MW1-4Y and is the answer not in the manual?
Questions and answers