
Related Manuals for Corsair Obsidian 250d


Summary of Contents for Corsair Obsidian 250d
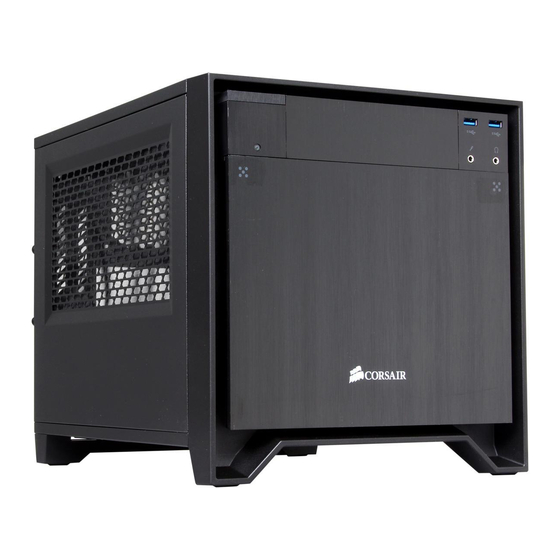
- Page 1 OBSIDIAN SERIES ® 250D OBSIDIAN SERIES ® OBSIDIAN SERIES 250D Mini ITX PC CASE INSTALLATION GUIDE...
- Page 2 CONGRATULATIONS! Thank you for purchasing Obsidian Series 250D ® Mini ITX PC Case Maximum GPU length: ..... 290mm an Obsidian Series 250D ® with one AF120L rear exhaust fan and one Mini ITX PC case. Maximum GPU AF140L front intake fan cooler height: ..........
- Page 3 OBSIDIAN SERIES 250D Mini ITX PC CASE ® ® (x2) USB 3.0, Headphone/Mic, Power/Reset (x1) Corsair AF140L front intake fan Rear dual 80mm fan mounts Front single 200/140/120mm fan mount Windowed top panel change to Side dual 120mm fan mounts compatible...
- Page 4 OBSIDIAN SERIES 250D Mini ITX PC CASE OBSIDIAN SERIES 250D Mini ITX PC CASE ® ® Vented side panels Dual 3.5" and 2.5" tool-free drive bays Full-sized, dual slot GPU compatibility Full-sized 5.25" optical drive bay compatible Full-sized ATX PSU compatibility (x2) Removable magnetic dust filters Removable front and bottom low-restriction dust filters...
- Page 5 > To remove the top panel, pull the panel back and lift up. > To remove the side panel, slide the panel back. Note: Corsair recommends removing both side panels and setting them aside when building your system to avoid accidental damages.
- Page 6 Installing the motherboard Installing the power supply (PSU) > Install your motherboard’s I/O shield (see your motherboard’s manual for guidance). > Unscrew and remove the PSU mounting back plate. > Align the motherboard with the stando s in the case. >...
- Page 7 Installing the PCI-E-PCI card(s) > Slide the PCI bracket cover up by removing the thumbscrews. > Remove the corresponding slot cover(s). > Unscrew the optical drive bay bracket. > Install the PCI card. > Seat the PCI bracket cover and secure the PCI card with screws.
- Page 8 Installing a 5.25" drive/devices (ODD) > Remove the front panel 5.25" drive bay cover. > Insert the ODD into the drive bay until the tool-free latch clicks, securing the drive. > To remove, push the tool-free tab to release the ODD drive and remove.
- Page 9 Installing a 3.5" HDD/ 2.5" SSD > Remove the HDD/SSD backplate from the back of the case. > Remove the tool-free 3.5" HDD or 2.5" SSD tray from the drive cage. > Insert the HDD into the HDD tray or SSD into the SSD tray. >...
- Page 10 Removing the front and bottom dust filters > To remove the front panel dust filter, first remove the solid front panel by pushing the top corners of the aluminum cover. > The front solid panel will pop out for access to the front dust filter. >...
- Page 11 Attach case fan cables to motherboard headers Installing the front I/O connectors > See your motherboard’s manual for fan header locations. > See your motherboard’s manual for front panel header locations and pin-outs. USB 3.0 POWER SW HDD LED POWER LED - HD AUDIO RESET SW POWER LED +...
Need help?
Do you have a question about the Obsidian 250d and is the answer not in the manual?
Questions and answers