Advertisement
Quick Links
Advertisement

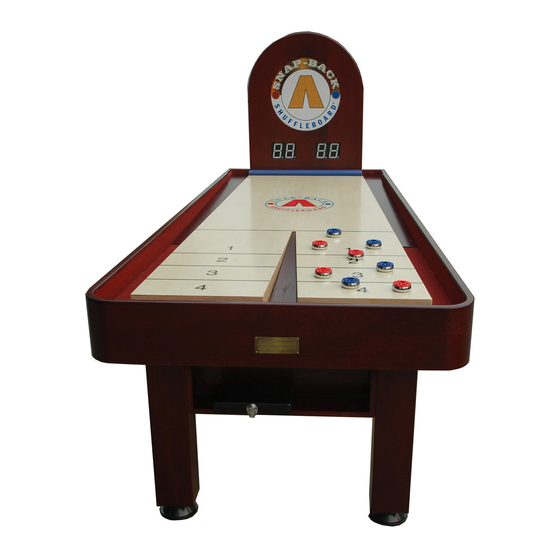
Summary of Contents for Snap-Back Shuffleboard TAVERN
- Page 1 Users Manual TAVERN MODEL TWICE THE FUN IN HALF THE SPACE ...
- Page 2 ASSEMBLY INSTRUCTIONS Congratulations on your purchase of a fine Snap‐Back Shuffleboard®! To make it as easy as possible to assemble your table, we have prepared these pages to walk you through the assembly process, step by step. In order to assemble the table you will need METRIC wrenches to tighten the screws. The wrench is included in your box, so you should be able to assemble the table with the tools provided. First, notice there are two boxes. These boxes contain a cradle box and an accessories box. The cradle box includes a cradle, a playing surface (already assembled on the cradle), ramps(already ...
- Page 3 surface against the floor. ASSEMBLE LEGS The legs are assembled to the table by inserting the legs into the square wooden receptacles. There are 4 such square receptacles in the bottom of the table, one for each leg. Insert the legs into the receptacles but do not bolt them on yet. Note that there are 2 threaded holes on one side of each leg. These holes are for attaching the shelves, so the legs should be inserted into the receptacles with these holes facing the other leg. The shelves need to be screwed onto the legs before the legs are screwed to the table. ...
- Page 4 components were dislodged during shipping. To do this, open the back of the scoreboard and inspect the inside. If any of the wood brackets are loose, use glue to reattach them to ensure the display glass and the PCB are secured to the front of the scoreboard. If you need to glue anything, wait until the glue is dried before proceeding with the rest of the assembly. Find the scoreboard attaching screws and have them ready. Set the scoreboard on the back (Narrow end) of the table, and insert the scoreboard screws through the holes in the bottom of the scoreboard, into the threaded holes in the back of the table. Tighten both screws with the Allen wrench. Next, connect the 9‐pin connectors. Please pay attention to the direction of the male and the female connectors. Close the back of the scoreboard, and plug the unit in. Your scoreboard should be ready to use. Turn on the electrical power by using the switch located under the front of the table. That switch allows you to turn the unit on during play, and turn it off when finished. The score for the red is increased by pushing the red button closest to the scoreboard and reduced ...
- Page 5 HOW TO USE THE CLIMATIC ADJUSTER The table comes from the factory in a level state. You will want to maintain the surface as level as possible, or perhaps just slightly concave. Over time, however, changing humidity conditions sometimes cause the playing surface to become slightly concave or convex. This condition can be corrected by tightening the adjusting nuts on the climatic adjuster. These climatic adjusters are customarily found on fine shuffleboard tables, and all ...
- Page 6 SNAP‐BACK SHUFFLEBOARD RULES OF THE GAME The object of the game is to reach the Game Goal before your opponent. HOW TO START: ‐ A coin toss decides who starts the game. The winner of the coin toss also decides if the game will start from the left or the right. ‐ The first weight (Blue) is slid from the front of the table towards the back, so that it bounces from the back bumper onto the other side of the playing surface. ‐ The opponent then slides his/her weight (Red) so that it bounces from the back bumper to try to bump off the blue weight or to place his/her weight beyond the Blue. ‐The players continue to take turns until all the 8 weights are played. ‐ At this point, the players determine which team scores and add the score from this round to the game score. ‐ The game then continues from the other side, with the player who scored last starting the play in the next round. ...
- Page 7 How to install Scoreboard Bumper Playing surface Small V-shaped ramp (middle ramp) Cradle M8*45 Fasten scoreboard Back shelf M8*45 Fasten table legs Front shelf Legs Leg leveler M8*30 Fasten shelves...
- Page 8 SNAP-BACK Shuffleboard Hardware Picture Spec Purpose Leg leveler Adjust shuffleboard height 6mm Allen wrench Fasten M8 Allen screws Philips screwdriver Fasten Philips screws 24mm open end wrench Adjust climatic adjuster M8*45 Allen screws and washers Fasten table legs M8*45 Allen screws and washers...
Need help?
Do you have a question about the TAVERN and is the answer not in the manual?
Questions and answers