Advertisement
Installation and User Manual
TR
MANUFACTURER:
ARAL MAKİNA MADENİ EŞYA SAN.
VE TİC.LTD.ŞTİ. /O.S.B.8.CD.NO:16
KAYSERI/TURKEY
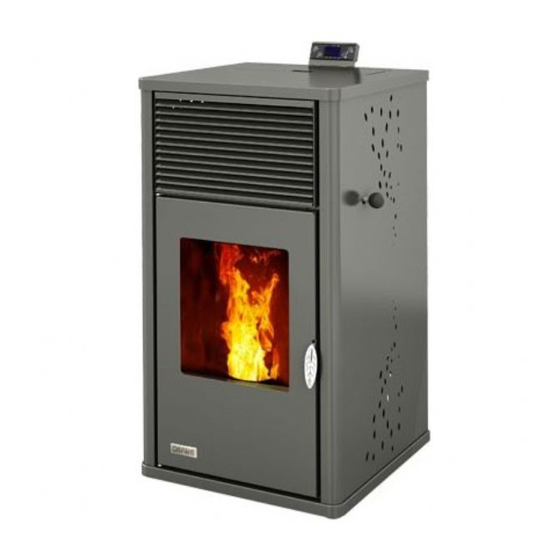
Pellet/Wood Boiler
Model TP-24 / TP-35
Tested according to DIN EN 14785
Type BA 1
For product efficiency and emission values, see the declaration
conformity!
TEL: +90-352 321 28 12
F AX: +90-352 321 28 14
www.teba.com.tr
teba@teba.com.trİMALATCI:
of
Advertisement

Related Manuals for Teba therm TP-24

Summary of Contents for Teba therm TP-24
- Page 1 Installation and User Manual Pellet/Wood Boiler Model TP-24 / TP-35 Tested according to DIN EN 14785 Type BA 1 For product efficiency and emission values, see the declaration conformity! MANUFACTURER: ARAL MAKİNA MADENİ EŞYA SAN. VE TİC.LTD.ŞTİ. /O.S.B.8.CD.NO:16 TEL: +90-352 321 28 12 www.teba.com.tr...
-
Page 2: Table Of Contents
Index General Features Warnings Location and installation General Safety Installation safety distances 4.3.1 Electric 4.3.2 Tesisat 4.3.3 Chimney connection 4.3.4 Safety distances Control Panel Buttons and their functions 10-11 Symbols 11-12 Error codes and their explanation 12-13-14 Menu functions 5.4.1 Settings menu 5.4.1.1 Combustion menu... - Page 3 INTRODUCTION Pellet stoves and boilers are domestic heating appliances. They are fully automatic and easy to use and they can be used both inside and outside of the houses. Pellet stoves and boilers uses peller as fuel and heats your office or house. Some products look like a fireplace.They are comfortable and money saving devices.
-
Page 4: General
TECHNICAL FEATURES MODEL TP-24 Inside use √ Outside use Oven Sanitary water Pellet level sensor Hot air blower Thermal power (kW) Boiler in-out diameter 1’’-3/4’’ Sanitary water in-out Operation pressure 1-1,5 bar Flue pipe diameter 80mm Pellet storage capacity 25kg... - Page 5 ● DAMAGES CAUSED BY USING INAPPROPRIATE PELLET NON-REGULAR CLEANING ARE NOT COVERED BY WARRANTY. PLACEMENT AND INSTALLATION GENERAL Your appliance was tested according to enforcement rules. Thermal efficiency and flue gas emissions are in the official ranges. Your appliance was tested and approved according to EN14785 by an authorized institution.
-
Page 6: Features
apparatus or a patented apparatus manufactured by ARAL MAKİNA. Use of these apparatuses prevent the unwanted results. * If the flue pipe is connected to outside directly please cover the tip of the pipe with a 2x2cm mesh so that birds can’t nest in it. * For better efficiency and longer the life time of the product quality pellet and wood must be used. - Page 7 the connections are controlled for leakage, if there is no leak and the air inside the pipes is removed boiler may be started. After the set temeperature is reached the pump starts, then loosen the purging valves and check whether there is air inside the radiators or not. This procedure is repeated few times in a time interval to be sure that there is no air in the system.
-
Page 8: Safety
4.3.3 Minimum Safety Distances Sayfa 8 / 21... -
Page 9: Control Panel
While you are installing your product please check the fire and chimney regulations on force in your country. . Minimum saftey distances specified below must be complied with; from the rear wall 25 cm from the side wall 15 cm from the radiation area (front side of the stove) 80 cm There mustn’t be any combustible material within 80 cm (80cm) from the door of the stove. - Page 10 4.4 USE AND FUNCTOINS Blinking Stabilization phase Ignition Start phase Stove OFF Extinguishing phase Work phase Modulation/Standby phase Engine Auger ON Igniter Resistance ON Chrono Program enabled Pump ON DISPLAY Display Blinking Time Work Combustion Power set Combustion power change Room Thermostat set Room Thermostat change BUTTONS...
- Page 11 Thermostat Setting (-) Combustion Fan Speed Correction ALARMS DESCRIPTION Display Safety Thermostat HV1: signalled also in case of Stove OFF Block Safety PressureSwitch HV2: signalled with Combustion Fan ON Block Extinguishing for Exhausting Temperature lowering Block Extinguishing for Exhausting over Temperature Block Encoder Error: No Encoder Signal (in case of P25=1 or 2) Block...
- Page 12 Ignition/Exstinguishing The Ignition is extinguishing are activated with a long pushing of the button P1 The Ignition is signalled by the first blinking than fix led L1 The Work state is signalled by the fix led L4 The Modulation state is signalled by the blinking L4 The Extinguishing is activated with a long pressure of the button P1 The Extinguishing is signalled by the blinking led L3 The Extinguishing finished =OFF state is signalled by the fix led L3...
- Page 13 not block the entrance of the pellet to fire pot and start your appliance normally. In this mode it will start with pellet as to wood catch the fire then auger stops pellet feding and your appliance runs on wood. If the flame starts to decrease add some wood.
- Page 14 The long pressure of button P2 activates the Pellet Manual Loading with activation of Auger engine in continuous way. The bottom display shows the actual function The up display shows the passed loading time To stop the loading push any button The loading stops automatically after 300 seconds Pellet Loading Correction The long pressure of button P2 activates the Pellet Manual Loading with...
- Page 15 The Display D1 shows the blinking value With buttons P3 / P4 the blinking value increases or decreases The values are between the range – 7 ÷ 7. The default value is ‘0’ After 3 seconds the new value is memorised and the display shows as normal Display By clicking perform activation P1.
- Page 16 It enables the Programming set. Push the button P2 to enter Push the buttons P3/P4 for select ON= enable programming set OFF=disable programming set To confirm, push the button P2, or push P1 to esc 4.1.2 Program It allows to schedule the 3 time bands available for every day of the week Select Push the button P2 to enter Use the buttons P3/P4 to visualize the time bands set:...
- Page 17 Example 20.30 Set the time OFF for the previous day at: 23:59 Set the time ON for the next day at 00:00 Set the time OFF for the next day to the wanted value: Example 6:30 The system will turn ON on Tuesday at 20.30, and will turn OFF on Wednesday at 6.30 Time and Date It allows to set the current day and time...
-
Page 18: Ash Bin Cleaning
CLEANING AND MAINTANANCE Parts to be cleaned Cleaning period Ash bin daily Fire pot daily Second ash bin monthly Glass daily 5.3.1 ASH BIN CLEANING The ash bin under the fire pot should be cleaned daily. Your product is equipped with two ash bin. The second ash bin is located behid the ash bin that you see under the fire pot. -
Page 19: Fire Pot Cleaning
5.4 FIRE POT CLEANING Be sure that your product is cool then, open the door carefully so that the ashes do not spill around. Clean inside the fire chamber by a vacuum cleaner (refer to picture2). After vacuum cleaning clean the fire pot with a metal brush as shown in picture1. -
Page 20: General Warranty Policy
After cleaning the burning chamber and fire pot replace the pot. Be sure that pot is seated well to its place. 7.0 GENERAL WARRANTY POLICY ARAL MAKİNA MADENİ EŞYA SAN. VE TİC.LTD. ŞTİ warrants product against the production faults for 2(two) years period from the date of installation. - Page 21 conroller damages caused by irregular electric currents and the damages sourced from misuse are not covered by warranty. Damages caused by production faults are cleared within maximum 20 business days and the related part(s) are changed if necessary. Use of of non approved parts by the manufacturer drops the warranty.
Need help?
Do you have a question about the TP-24 and is the answer not in the manual?
Questions and answers