Table of Contents
Advertisement
Advertisement
Table of Contents

Related Manuals for Bush WMDF612W


Summary of Contents for Bush WMDF612W
-
Page 1: Instruction Manual
Instruction manual Washing Machine WMDF612W... - Page 2 You’ll soon be enjoying your new washing machine. It all begins here, with your instructions. Don’t worry, there’s nothing too technical coming up. Just simple, step-by-step guidance to get you up and running quickly. Sound good? Then let’s get started. Help and Guidance We’re here to help you get the most from your <washing machine>.
-
Page 3: Table Of Contents
Contents Safety information Product support Safety information Troubleshooting 34-35 Error Signals Getting to know your washing Technical Specifications machine Help and assistance Ready? Let’s begin Disposal Accessories Guarantee Installing your washing machine Installation requirements Unpacking Connections (electrical, water, gas) Functions Functions Using your washing machine First use of <washing machine>... -
Page 5: Safety Information
Safety information... - Page 6 Safety information Important - Please read these instructions fully before installing or operating your washing machine Before use • Dispose of all packaging carefully and responsibly. • This appliance is for indoor use only. Only install in a • If the supply cord is damaged, it must be replaced dry indoor environment.
- Page 7 Safety information Important - Please read these instructions fully before installing or operating your washing machine During use or the Customer Helpline: 0345 257 7271. • Do not use a multiple socket or extension cord. • Do not use if the power lead is damaged. It must be replaced by the manufacturer, their approved service agent or similarly qualified person.
-
Page 9: Getting To Know Your Washing Machine
Getting to know your washing machine... -
Page 10: Ready? Let's Begin
Getting to know your washing machine You’ll be up and running in no time Ready? Let’s begin... Please read these instructions carefully. They contain important information which will help you get the best from your washing machine and ensure safe and correct installation and operation. -
Page 11: Getting To Know Your Washing Machine
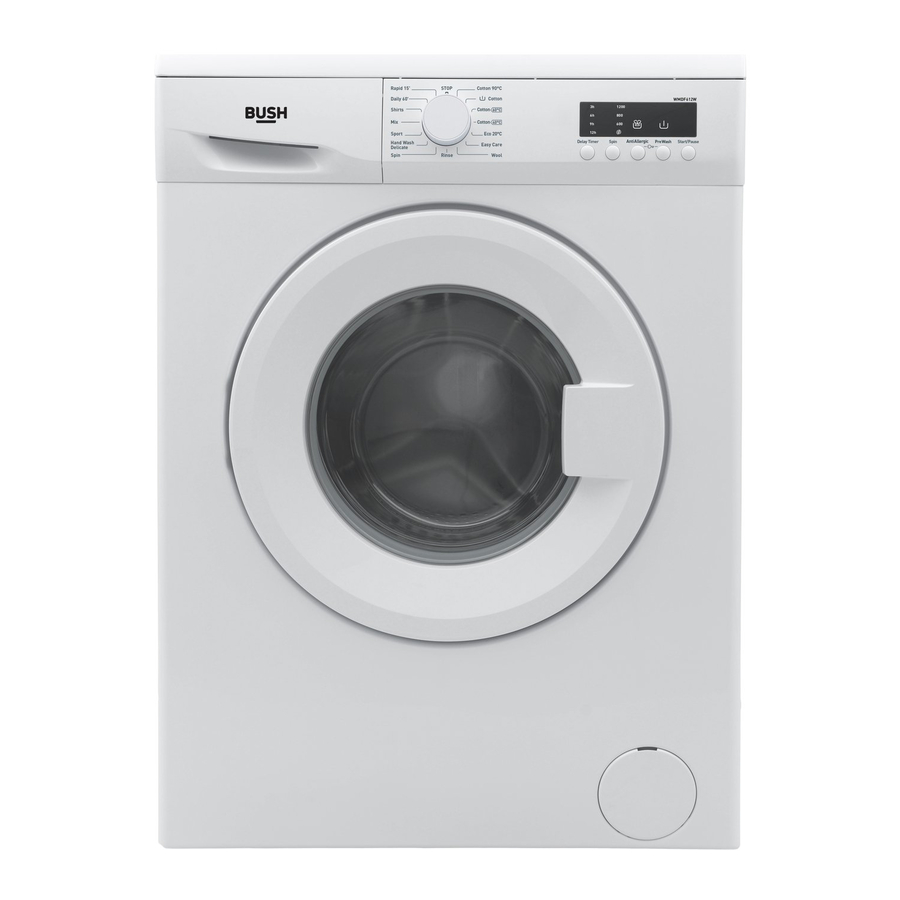
Getting to know your washing machine You’ll be up and running in no time Front Back Detergent drawer Packing bolt x 4 2. Top panel 8. Power lead 3. Programme knob 9. Drain hose 4. Start/Pause button 10. Water inlet 5. -
Page 12: Accessories
Getting to know your washing machine You’ll be up and running in no time Model Capacity Spin Speed Energy class WMDF612W 1200rpm Accessories This machine includes the below accessories, please install these parts before operating. • plastic hole plug x 4 •... -
Page 13: Installing Your Washing Machine
Installing your washing machine... -
Page 14: Unpacking
Installing your washing machine Bringing it all together Unpacking your washing machine Adjusting the feet Caution: 2 people are required to unpack the washing a: For your machine to work efficiently with minimum machine, it is recommended that gloves are worn. vibration it should be settled on flat, non-slippery, firm ground. -
Page 15: Connections (Electrical, Water, Gas)
Installing your washing machine Bringing it all together Connections Electrical Any electrical work that is required Water inlet hose connections to install this washing machine MUST be carried out by a qualified Important: This washing machine MUST only be electrician. connected to a cold water supply. - Page 16 Installing your washing machine Bringing it all together Plug replacement (UK & Ireland only) Should you need to replace the plug; the wires in the power cable are coloured in the following way: Blue – Neutral ‘N’ Brown – Live ‘L’ Green &...
-
Page 17: Functions
Functions... - Page 18 Functions Simple everyday use Programme selection knob For you to select different washing programme. Temperature Auxiliary Spin Speed Extra Rinse Start/Pause Selection Function Auxiliary functions setting Start/Pause Press the button repeatedly to set the Extra Press the button to start Rinse.
- Page 19 Functions Simple everyday use WASHING SEQUENCE 1-Delay timer • Plug your machine into the mains power supply. • Open the water tap. • Open the washing machine door. • Load your items of clothing into the drum, ensuring they are loosely packed. Auxiliary •...
- Page 20 Functions Simple everyday use 3- Extra Rinse function is working, you must press Start/Pause button. After adding/removing laundry, you must press Start/ Select this function by pressing the Extra Rinse button Pause button again to activate delay timer function. when the Extra Rinse indicator is displayed.
- Page 21 Functions Simple everyday use Start/Pause button By pressing on the Start/Pause button, you may start the programme you have selected or suspend a running programme. If you switch your machine to the standby mode, the Start/Pause led on the electronic display will blink If you require any technical guidance or find that your product is not operating as intended, a simple solution can often be found in the Troubleshooting section of these instructions, or online at www.argos-support.co.uk If you still require further assistance, call one of our experts on 0345 257 7271.
- Page 22 Functions Simple everyday use Your machine will stop by itself as soon as the Child Lock programme you have selected finishes. To avoid programme flow from being affected if - “End” led will blink on the display panel. programme buttons are pressed or programme button is turned when performing a washing operation in your machine, a child lock is available.
-
Page 23: Programme Selection Guide
Prog. Time Detergent /Max load Type of laundry temperature (mins) compart. capacity (kg) (°c) WMDF612W WMDF612W Cotton 90° 90° Very dirty, cotton and flax textiles. (Underwear, linen, table- cloths, towels (maximum 3,0 kg), bedclothes, etc. Pre-wash 60° 1&2 Dirty cotton and flax textiles. (Underwear, linen, tablecloths, cotton towels (maximum 3,0 kg), bedclothes, etc.. -
Page 25: Using Your Washing Machine
Using your washing machine... - Page 26 Using your washing machine Getting the most from your appliance NOTE: Maximum loading capacity may vary • Your laundry has product labels on them that specifiy based on the laundry type you will wash, degree their specifications. Wash or dry your laundry according to the specifciations on the product label.
- Page 27 Using your washing machine Getting the most from your appliance Liquid Detergent Apparatus Main wash detergent compartment Softener Compartment Pre-wash detergent compartment • Use detergents produced for automatic washing machine in your machine. The amount of detergent you will use for your laundry is printed on the detergent package.
- Page 28 Using your washing machine Getting the most from your appliance Quick start 8. Press the ( start/pause ) 1. Open the door and 7. Select the desired Load the laundry programme 2. Measure out the detergent 5. Plug the power 3.
-
Page 29: Care And Maintenance
Care and maintenance... -
Page 30: Cleaning
Care and maintenance Looking after your appliance Before cleaning your washing machine. • While closing the pump cover, ensure that the parts on the inner side of the cover match the holes on the front panel side. (5-A) a: Unplug your machine from the mains power supply. •... - Page 31 Care and maintenance Looking after your appliance Detergent drawer limescale remover, especially in hard water areas. Note: After each wash leave the door of the machine Detergents may form sediments in your detergent drawer or in the housing of the detergent drawer over open to help air the drawer and reduce any mould time.
- Page 32 Care and maintenance Looking after your appliance Drum Do not leave metallic objects such as needles, paper clips, coins etc. in your machine. These objects lead to stains in the drum. To clean such rust stains, use a non-chlorine cleaning agent and follow the instructions of manufacturers of the cleaning agent.
-
Page 33: Product Support
Product support... - Page 34 Product support Help is always at hand All repairs to the machine must be carried out by an authorised repair agent. When a repair is required or you are unable to eliminate the failure with the help of the information below: a: Unplug the machine.
- Page 35 Product support Help is always at hand FAILURE PROBABLE CAUSE METHODS OF ELIMINATION Press the start/pause button.In order to stop the foam, dilute one table-spoon of softener in half liter of water and pour it in the Too much detergent has been used. detergent drawer.
-
Page 36: Error Signals
Product support Help is always at hand Error Signals Your machine is equipped with systems which will take the necessary precautions and warn you in case of any. IMPORTANT: IT CAN TAKE UPTO 10 MINUTES FOR ERROR TO REGISTER. Failure code Probable failure Process to be followed Shut the door properly so... -
Page 37: Technical Specifications
Product support Help is always at hand Technical Specifications Model / Item WMDF612W Power supply (220-240) V ~/50Hz Max working 10 amp current Maximum : 1Mpa Water pressure Minumum : 0.01 MPa Maximum power 2100 watt Maximum wash- 6 kg... -
Page 38: Help And Assistance
Product support Help is always at hand Help and assistance If you require any technical guidance or find that your washing machine is not operating as intended, a simple solution can often be found in the Troubleshooting section of these instructions or online at www.argos-support.co.uk If you still require further assistance, call one of our experts on 0345 257 7271*. -
Page 39: Disposal
Product support Help is always at hand Notes on disposal : The symbol on the product or its packaging indicates that this product may not be treated as household waste. Instead it should be handed over to the applicable collection point for the recycling of electrical and electronic equipment. -
Page 40: Guarantee
Help is always at hand Call us now and activate your 12 month guarantee Thank you for choosing Bush. Your new product is guaranteed against faults and breakdowns for 12 months. Don’t forget to register it with us today so we can provide you with our best possible after-sales service and useful updates. - Page 41 Contact: www.argos-support.co.uk Helpline: 0345 257 7271 52221310...
Need help?
Do you have a question about the WMDF612W and is the answer not in the manual?
Questions and answers