Table of Contents
Advertisement
Quick Links
Advertisement
Table of Contents

Related Manuals for Logik L16VUR11


Summary of Contents for Logik L16VUR11
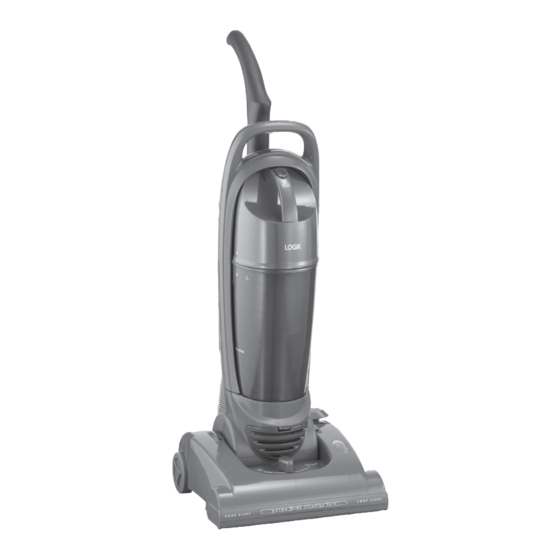
- Page 1 Bagless Upright Vacuum Cleaner Instruction Manual L16VUR11...
-
Page 3: Table Of Contents
Contents Unpacking ..........................4 Overview ............................5 Front View ................................5 Back View................................5 Getting Started ..........................6 Handle Release ..............................6 Using the Mains Cable Holders ........................6 How to Start ..........................7 Carpet Height Adjustment ......................8 Suggested Pile Height Setting........................8 Suggested Settings............................8 Removing and Emptying the Dust Tank ..................9 Cleaning the HEPA Dust Tank Filter ..................10 Cleaning the HEPA Filter Frame ....................11... -
Page 4: Unpacking
Thank you for purchasing your new Logik Bagless Upright Vacuum Cleaner. We recommend that you spend some time reading this instruction manual in order to fully understand all the operational features it offers. You will find some hints and tips to help you resolve any issues. -
Page 5: Overview
Product Overview Front View Back View Dust Tank Cover HEPA Filter CORD CUP Filter sealing HEPA Filter Frame Dust Tank Trap Door Extendable Handle Mains Cable Hook On/Off Switch Carrying Handle Main Body 10. Mains Cable Holder Dust Tank Assembly Release Button 11. -
Page 6: Getting Started
Getting Started Handle Release Before getting start, you may need to insert the handle into the main unit. Push down firmly until handle locks into place. Press the handle release button, then lift the CORD CUP handle to an upright position, the handle will lock automatically. -
Page 7: How To Start
How to Start Turn the mains cable holder down reverse to release the mains cable. Plug the mains cable into the mains socket. Lift up the handle and then depress on the handle release pedal to release the unit. Handle Release Pedal Select the appropriate carpet height. -
Page 8: Carpet Height Adjustment
Carpet Height Adjustment This upright vacuum cleaner can be used on multiple types of carpeting, bare floors or upholstery. To select a pile height setting: Make sure the unit is off and the unit at its upright position. Set the handle to the vertical and locked position. Release the unit by pressing handle release button. -
Page 9: Removing And Emptying The Dust Tank
Removing and Emptying the Dust Tank To reduce the risk of electric shock, the power cord must be disconnected before removing the dust tank, dust tank filter, changing the filters or performing maintenance/trouble shooting checks. The “Dust Tank” must always be emptied when the dirt level reaches the “MAX”... -
Page 10: Cleaning The Hepa Dust Tank Filter
Cleaning the HEPA Dust Tank Filter Please Note the washable HEPA dust tank filter will stop most of the tiniest dust particles and airborne allergens from re-entering the air you breathe. In fact it stops 99.97% of all particles as small as 0.3 microns - many times smaller than a human hair! Because of this incredible filtration performance, the HEPA dust tank filter will quickly accumulate many fine dust particles inside the white filter folds that are difficult to see but which will eventually block or reduce your suction power, if not... -
Page 11: Cleaning The Hepa Filter Frame
Cleaning the HEPA Filter Frame Unlock and remove the dust tank cover by turning the cover anti-clockwise until the arrow on the cover aligns with the arrow on the handle and then lift the cover off. Unlock position Lock position Unlock and remove the filter frame from the dust tank by turning the dust tank anti-clockwise until the arrow on the filter frame aligns with... -
Page 12: Changing And Cleaning The Pre-Motor Filter
Changing and Cleaning the Pre-motor Filter • Never use the vacuum cleaner without the motor filter protection and exhaust filter installed, otherwise damage to the vacuum cleaner may occur. • Failure to keep the filters clean, will result in a loss of performance. Unplug the vacuum cleaner from the mains. -
Page 13: Changing And Cleaning The Exhaust Filter
Changing and Cleaning the Exhaust Filter Unplug the vacuum cleaner from the mains. Remove the filter cover from the vacuum cleaner. Filter Cover Remove the exhaust filter from the filter cover. Clean it in warm soapy water. Ensure the exhaust filter is totally dry before assembly. -
Page 14: Cleaning The Dust Tank
Cleaning the Dust Tank Never use the vacuum cleaner without the dust tank installed, otherwise damage to the vacuum cleaner may occur. Unplug the vacuum cleaner from the mains. Pull the dust tank assembly out from the vacuum cleaner. Dust Tank Assembly Unlock and remove the dust tank cover by turning the cover anti-clockwise until... -
Page 15: Motor Thermostat
Reassemble and lock the dust tank cover by turning the cover clockwise until the arrow on the cover aligns with the arrow on the handle. Then reinsert back into the vacuum cleaner. Unlock position Lock position • We recommend cleaning the dust tank at regular periods. • Inserting a wet dust tank into the vacuum cleaner will create an electrical hazard. -
Page 16: Cleaning And Changing The Belt
Cleaning and Changing the Belt Should the drive belt become worn or slips you can replace with the drive belt. Switch Off the vacuum cleaner and unplug from the mains. Make sure the vacuum cleaner is locked in its upright position Carefully lie the vacuum cleaner down and remove the 4 fixing screws. -
Page 17: Cleaning The Lower Hose
Cleaning the Lower Hose If rubbish is blocked inside the lower hose, press in the tab (avoid using sharp or pointed tool) and pull the lower hose down. Remove the blockage. Reconnected the hose. CORD CUP The hose must be connected while vacuuming, other wise it will not pickup dust. -
Page 18: Hints And Tips
Agitator does not • Broken belt. Replace the belt. turn • Belt installed incorrectly. Check the belt is clean and does not need changing. Specifications L16VUR11 Model Voltage 230 ~ 240V ~ 50Hz Power Consumption 1200-1400W 1600W (MAX) Dust Tank Capacity 2.2 Litres... -
Page 19: Safety Warnings
Safety Warnings For your continued safety and to reduce the risk of injury or electric shock, please follow all the safety precautions listed below. • Read all the instructions carefully before using the appliance and keep them for future reference. • Retain the manual. - Page 20 There are separate collection systems for recycling in the EU. For more information, please contact the local authority or your retailer where you purchased the product. DSG Retail Ltd • Maylands Avenue • Hemel Hempstead Herts • HP2 7TG • England (P.N.: L16VUR11-003)
Need help?
Do you have a question about the L16VUR11 and is the answer not in the manual?
Questions and answers